
 Pin it
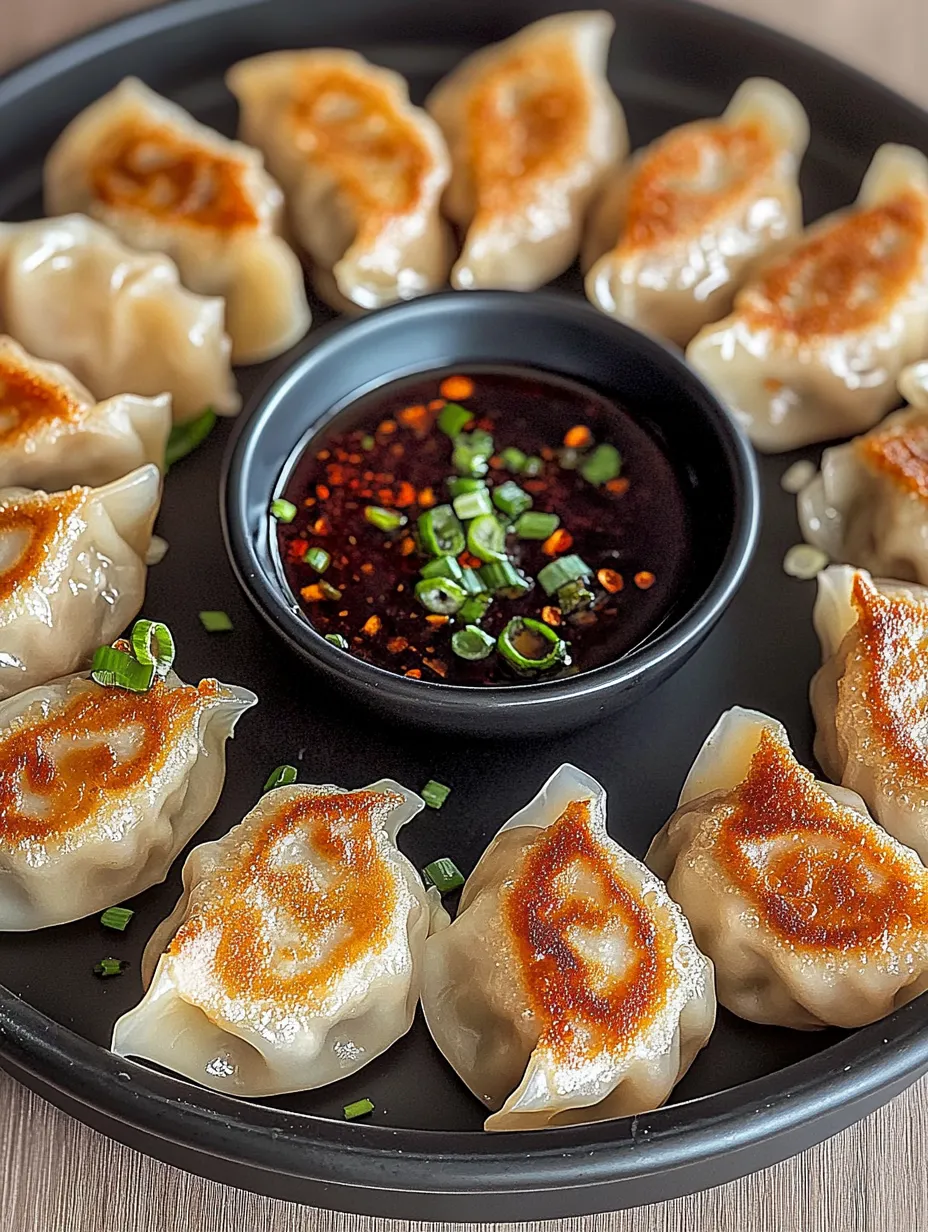
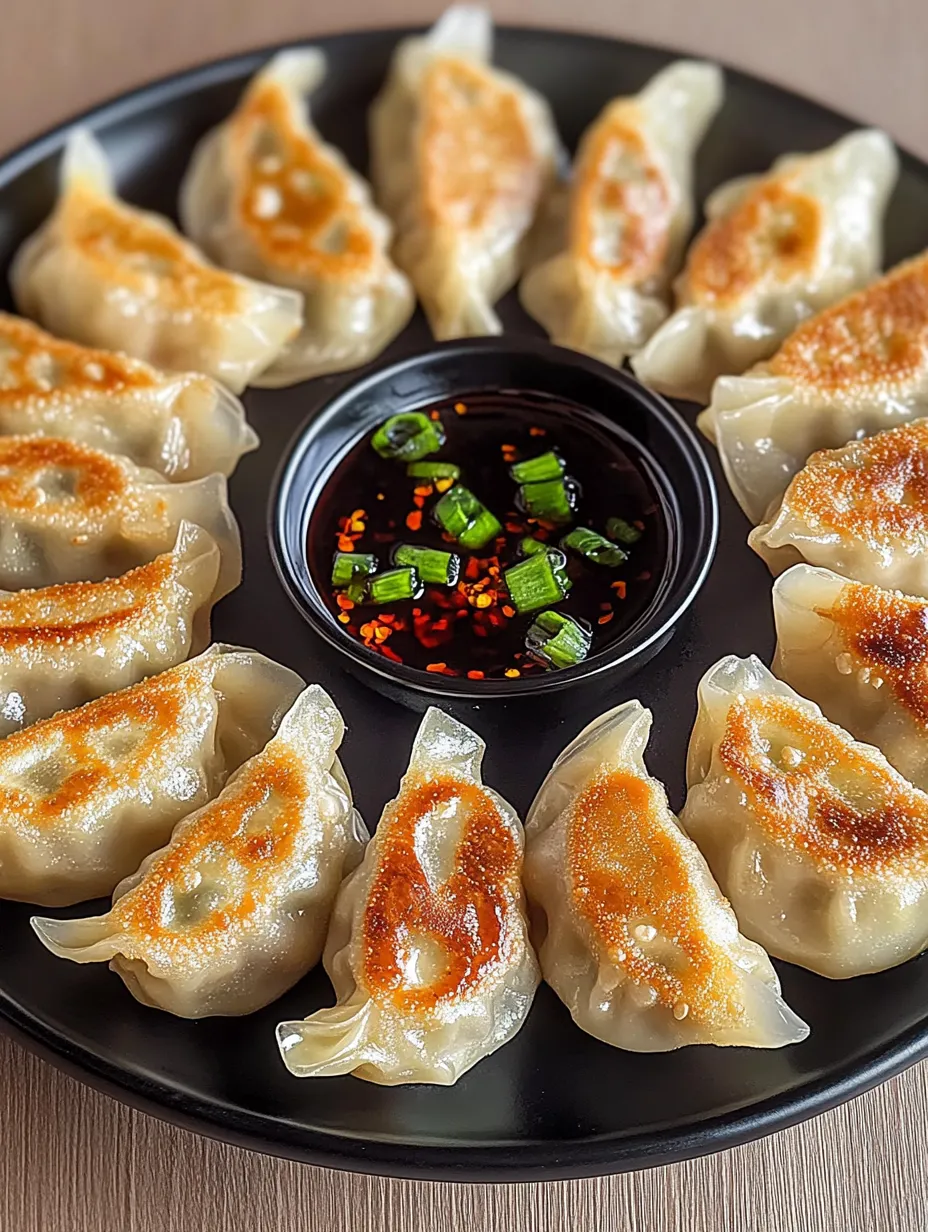
Homemade Dumpling Delight
These remarkable chicken potstickers transform humble ingredients into culinary magic through a simple folding technique that creates the perfect balance of crispy bottoms and tender tops. The beauty lies in their contrasting textures and the flavorful filling that becomes juicy and succulent during the unique pan frying and steaming process. I discovered the joy of making these at home after years of overpaying for mediocre restaurant versions and frozen alternatives that never quite satisfied.
Dumpling Addiction
My potsticker journey began after returning from a trip to Taiwan where I became obsessed with dumplings sold from tiny street stalls. When recreating them at home seemed daunting, a friend's grandmother showed me her simplified folding technique that made the process approachable. What started as an occasional weekend project has become a family tradition with my children joining the assembly line, creating memories alongside dinner. Even my mother, who rarely cooks Asian cuisine, has adopted this recipe as her contribution to family gatherings.
Flavor Foundation
- Ground Chicken (1 pound): Creates a lighter filling that absorbs flavor beautifully while remaining juicy after cooking, though turkey or pork work wonderfully as alternatives
- Napa Cabbage (2 cups chopped): Provides essential moisture and subtle sweetness while adding vegetable content that complements the meat perfectly
- Green Onions (4 stalks): Contribute bright, fresh flavor and color that lifts the entire filling without overwhelming other ingredients
- Fresh Garlic (6 cloves): Delivers aromatic depth that permeates the filling and creates complexity with relatively little effort
- Fresh Ginger (2 inch piece): Adds distinctive warmth and subtle spiciness that defines these dumplings as authentic rather than bland imitations
- Soy Sauce (1 tablespoon): Provides essential umami foundation and saltiness that enhances the chicken's natural flavors
- Oyster Sauce (1 tablespoon): Creates rich depth and subtle sweetness that rounds out the filling's flavor profile
- Sesame Oil (1 tablespoon): Contributes distinctive nutty aroma and flavor that immediately signals authentic Asian preparation
- Chicken Bouillon (1 tablespoon): Intensifies savory notes throughout the filling, creating restaurant quality flavor
- White Pepper (1 teaspoon): Adds gentle heat with floral qualities that black pepper cannot replicate
 Pin it
Dumpling Magic
- Cabbage Preparation:
- Begin with proper cabbage preparation, as this often overlooked step dramatically impacts final texture. Finely chop the Napa cabbage into pieces approximately the size of small confetti, ensuring they'll incorporate evenly throughout the filling. Place the chopped cabbage in a colander set over a bowl or in your sink, then sprinkle evenly with 1 teaspoon salt. Toss thoroughly to distribute the salt and let sit for exactly 10 minutes. The salt draws out excess moisture that would otherwise make your filling soggy. After resting, rinse the cabbage briefly under cold water, then gather handfuls and squeeze firmly to remove as much water as possible. You'll be surprised by how much liquid emerges, and removing it ensures your dumplings remain well structured rather than waterlogged.
- Filling Creation:
- In a large mixing bowl, combine the prepared cabbage with ground chicken, ensuring it's not too cold from the refrigerator for easier mixing. Add finely minced green onions, garlic, and ginger, distributing them evenly throughout the mixture. Measure the soy sauce, oyster sauce, sesame oil, chicken bouillon powder, and white pepper directly into the bowl. Using clean hands or a fork, mix thoroughly but gently until all ingredients are completely incorporated, being careful not to overwork the meat which can become tough. For perfect seasoning, pinch off a small portion and cook it in a microwave or small pan, then taste and adjust flavors as needed before filling all your dumplings. This simple test prevents the disappointment of under seasoned filling that can't be remedied after assembly.
- Wrapper Wisdom:
- Create an efficient dumpling assembly station before beginning. Cover your stack of round dumpling wrappers with a slightly damp towel to prevent drying while you work. Fill a small bowl with water for sealing. Working with one wrapper at a time, place it in your non dominant hand and add approximately 1 tablespoon of filling to the center, being careful not to overfill which prevents proper sealing. Dip your finger in water and trace the outer half edge of the wrapper, creating a moistened semicircle. This water acts as the glue that will seal your dumpling. Fold the wrapper in half over the filling to create a half moon shape, then pinch the center top firmly to create your first seal. Working from this center point, create 3 to 4 pleats along each side by folding small sections of the top layer toward the center, pressing firmly after each pleat to seal against the bottom layer. The pleats should all face the same direction, creating a crescent shape with a flat bottom and curved top.
- Cooking Technique:
- Heat a large non stick skillet or well seasoned cast iron pan over medium high heat until a drop of water sizzles immediately on contact. Add 1 to 2 tablespoons of neutral oil like vegetable or canola, swirling to coat the surface evenly. Arrange your prepared dumplings in the pan with their flat bottoms down and small gap between each to prevent sticking together. Let them cook undisturbed for approximately 2 to 3 minutes until the bottoms develop a golden brown crust. Carefully add 1/3 cup of water to the pan, immediately cover with a tight fitting lid, and reduce heat to medium. The steam created will cook the filling and soften the wrappers while maintaining the crisp bottom. After 5 to 6 minutes, remove the lid and allow any remaining water to evaporate. For extra crispness, increase heat slightly and let the bottoms re crisp for an additional minute before removing from the pan. The finished potstickers should have golden crispy bottoms, tender tops, and be completely cooked through with no pink remaining in the filling.
I particularly treasure the communal aspect of dumpling making. Growing up, my grandmother would gather all the cousins around her kitchen table for assembly line production, telling stories while our little fingers crimped edges. Now I continue this tradition with my own family, finding that even kitchen novices can successfully pleat dumplings after a few attempts. My husband, who claims to be hopeless in the kitchen, takes special pride in his increasingly uniform pleating technique. We've found that making double batches requires little additional effort and rewards us with freezer meals that taste far superior to commercial alternatives.
Delicious Dunking
These versatile potstickers welcome numerous dipping sauce variations that complement their savory filling. Create a classic sauce by combining 3 tablespoons soy sauce, 1 tablespoon rice vinegar, 1 teaspoon sesame oil, and a sprinkle of thinly sliced green onions. For those enjoying heat, add freshly minced garlic and chili oil or red pepper flakes to taste. A sweeter option incorporates 1 teaspoon honey or maple syrup into the base sauce, creating pleasant contrast with the savory dumplings. For tangier flavor, increase the vinegar portion slightly and add a small amount of minced fresh ginger. Serve the sauce in small individual bowls to prevent double dipping when sharing. The ideal serving temperature for the sauce is room temperature or slightly warm rather than cold, which allows the flavors to fully express themselves against the hot dumplings.
Flavorful Adaptations
This foundation recipe welcomes numerous variations to suit different tastes or dietary preferences. For those avoiding poultry, substitute ground pork which provides slightly more fat and richness to the filling. Vegetarians might enjoy a filling of finely chopped mushrooms, cabbage, carrots, and tofu seasoned with the same aromatic blend. Seafood enthusiasts can create a delicate filling with chopped shrimp, a touch of sesame oil, and minced water chestnuts for textural contrast. Those seeking additional vegetables might incorporate finely shredded carrots or bamboo shoots to the standard filling. For spice lovers, adding a teaspoon of chili oil or sambal oelek to the base recipe creates pleasant heat throughout. Those watching carbohydrates can use larger lettuce leaves as wrappers for the filling, creating a fresh "potsticker bowl" that delivers all the flavor in a lighter format.
Storage Solutions
These dumplings excel as make ahead options with proper handling techniques. For immediate storage of uncooked dumplings, arrange them on a parchment lined baking sheet without touching, cover loosely with plastic wrap, and refrigerate for up to 24 hours before cooking. For longer preservation, freeze the dumplings on the baking sheet until solid, approximately 2 hours, then transfer to airtight containers or freezer bags where they'll maintain quality for up to 3 months. The beauty of frozen dumplings lies in their cook from frozen convenience; simply follow the same cooking method but extend the steaming time by 2 to 3 minutes to ensure the filling reaches proper temperature. Cooked leftover dumplings can be refrigerated for up to 3 days and reheated in a pan with a small amount of oil and water to refresh their texture, though they never quite match the glory of freshly made potstickers.
 Pin it
After preparing countless batches of these potstickers, I've come to appreciate them as more than just delicious food but rather as a connection to culinary tradition that's accessible even to home cooks without specialized equipment or ingredients. What begins as a simple mixture of chicken and vegetables transforms through folding and this unique cooking method into something far greater than the sum of its parts. The contrasting textures of crisp bottom and tender top create an eating experience that continually surprises and delights despite its familiarity. While restaurant dumplings often disappoint with thick doughy wrappers or bland filling, these homemade versions deliver perfect balance in every bite, proving that sometimes the most satisfying dishes come from your own kitchen rather than takeout containers.
Frequently Asked Questions
- → Can I make these potstickers with a different type of meat?
- Absolutely! While this recipe uses ground chicken, you can easily substitute ground pork, turkey, or beef with excellent results. For a seafood version, finely chopped shrimp works wonderfully. Vegetarians can use crumbled firm tofu or finely chopped mushrooms mixed with the same seasonings for a meat-free alternative that still delivers on flavor and texture.
- → How do I prevent my potstickers from sticking to the pan?
- To prevent sticking, make sure to use a good quality non-stick pan and add enough oil to coat the bottom before adding the dumplings. Don't try to move the dumplings too early - they need to develop that golden crust first. When adding water for steaming, pour it in gently at the side of the pan rather than directly on the dumplings. If they do stick, add a bit more water and let it steam slightly longer which often helps release them.
- → What's the best dipping sauce for these chicken potstickers?
- A classic potsticker dipping sauce combines 3 tablespoons soy sauce, 1 tablespoon rice vinegar, 1 teaspoon sesame oil, 1 minced garlic clove, and a sprinkle of red pepper flakes. For a sweeter variation, add 1 teaspoon of honey or brown sugar. Chili oil makes a spicy addition, while grated ginger adds more aromatic depth. Adjust the proportions to suit your taste preferences.
- → How long can I keep uncooked potstickers in the freezer?
- Properly frozen potstickers will maintain their quality for up to 3 months. To freeze them correctly, place the uncooked dumplings on a parchment-lined baking sheet without touching each other, freeze until solid (about 2 hours), then transfer to airtight freezer bags with excess air removed. Label with the date for easy tracking. When cooking from frozen, don't thaw first - just add an extra 2-3 minutes to the steaming time.
- → Can I make the wrappers from scratch?
- Yes! Homemade wrappers take more time but offer a wonderful texture. Mix 2 cups all-purpose flour with 3/4 cup hot water and a pinch of salt until it forms a dough. Knead for 5 minutes until smooth, then rest covered for 30 minutes. Divide into 50 small pieces, roll each into a 3-inch circle (keep remaining dough covered while working), and use as you would store-bought wrappers. The hot water dough creates a particularly tender texture.
- → What can I do if I don't have a proper pleating technique mastered?
- Don't worry about perfect pleats - even simple half-moon shapes work great! Just fold the wrapper in half over the filling and firmly press the edges together. Ensure they're well-sealed to prevent filling from leaking. If you're having trouble getting them to stick, make sure your wrapper edges are moist enough with water. Remember that even professional dumpling makers started somewhere, and the technique improves with practice. The most important aspects are a good seal and consistent filling amount.