
 Pin it
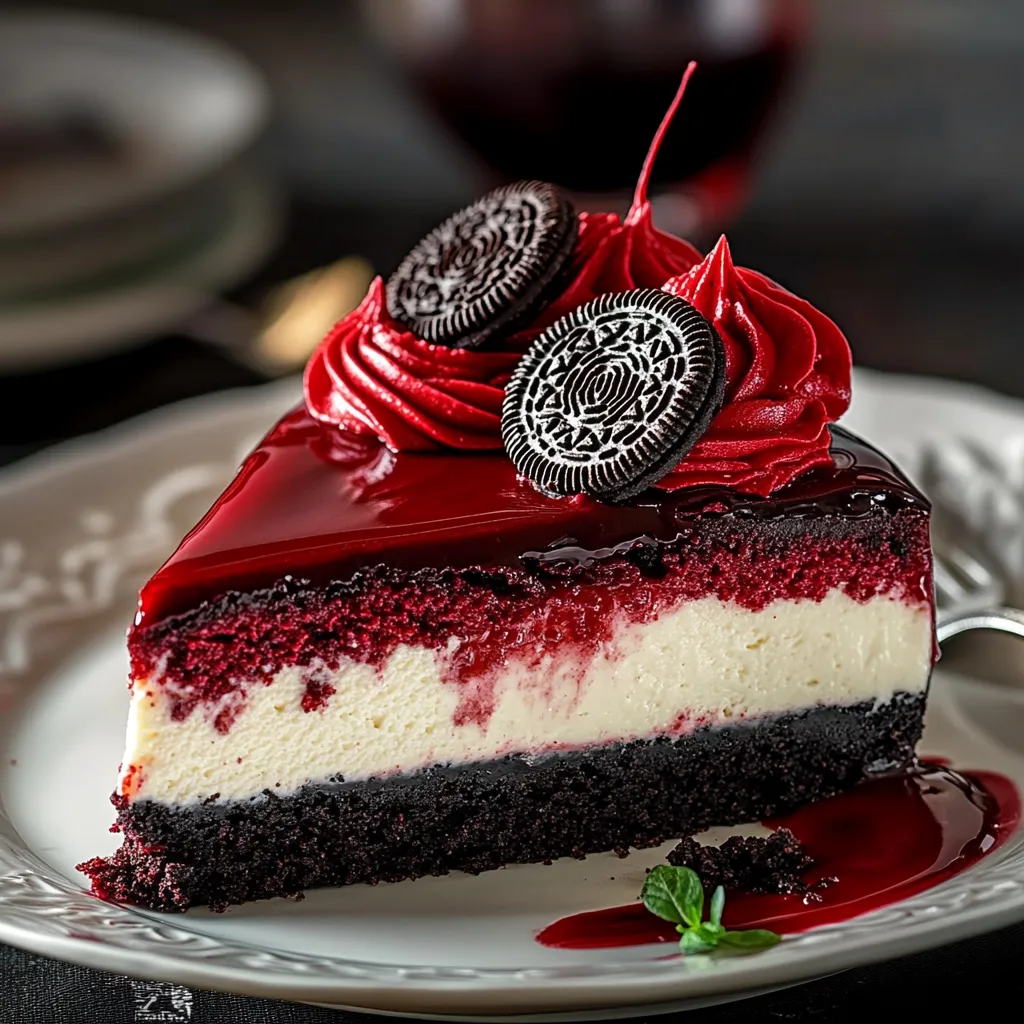
Luxurious Layered Dessert
This extraordinary cheesecake marries the nostalgic flavor of red velvet cake with creamy cheesecake indulgence, all anchored by the beloved crunch of Oreo cookies. The magic happens in the careful layering that creates distinct textures and flavors in each bite while maintaining the signature crimson color that draws everyone to the table. I perfected this recipe after countless attempts to capture the essence of my grandmother's red velvet cake in a form that would create new traditions for modern gatherings.
Celebration Worthy
The first time I served this cheesecake was for my sister's thirtieth birthday after she mentioned missing our grandmother's red velvet cake. The absolute silence that fell over the table as everyone took their first bite, followed by exclamations of delight, confirmed this recipe was something special. Even my father, who typically avoids desserts entirely, requested this for his retirement party. What began as an experiment has become our family's celebration tradition, with everyone claiming dibs on leftovers before the meal even begins.
Superior Ingredients
- Oreo Cookies (36 cookies): Provide both the crunchy foundation for the crust and textural contrast when folded into the filling, offering that distinctive chocolate cookie flavor beloved across generations
- Cream Cheese (32 ounces, full fat): Creates the luxuriously smooth cheesecake texture that cannot be achieved with lower fat versions, essential for proper structure and mouthfeel
- Oreo Filling (scraped from 12 cookies): Introduces a unique sweetness and vanilla note that perfectly complements the tanginess of the cream cheese
- Red Food Coloring (2 tablespoons): Delivers the signature crimson hue that defines red velvet, creating visual drama that makes this dessert instantly recognizable
- Cocoa Powder (3 tablespoons): Contributes subtle chocolate undertones rather than overwhelming chocolate flavor, maintaining the delicate balance that defines true red velvet
- Buttermilk (1 cup): Adds essential tanginess and moisture to the cake layer while activating the leavening agents for proper rise and texture
- Sour Cream (1 cup): Introduces creaminess and subtle tang to both the cake and cheesecake layers, creating depth of flavor beyond simple sweetness
- Dark Chocolate (8 ounces): Forms the base of the ganache topping, adding sophisticated bittersweet notes that balance the overall sweetness of the dessert
 Pin it
Meticulous Method
- Foundation Creation:
- Begin by preparing the perfect Oreo crust that serves as the foundation for this spectacular dessert. Preheat your oven to 325°F and position a rack in the lower third for optimal heat circulation. Separate 24 Oreo cookies and remove the filling from 12 of them, reserving this filling for the cheesecake layer. Place the cookie wafers in a food processor and pulse until they reach a fine, sand like consistency with no large pieces remaining. This uniform texture ensures the crust will hold together perfectly when sliced. Transfer the cookie crumbs to a medium bowl and add 6 tablespoons of melted unsalted butter, stirring until the mixture resembles wet sand and holds together when pressed. Wrap the exterior of a 9 inch springform pan with two layers of heavy duty aluminum foil, ensuring no seams or openings remain that might allow water to enter during baking. Press the cookie mixture firmly and evenly across the bottom and approximately 1 inch up the sides of the prepared pan, using the bottom of a measuring cup to create a smooth, compact surface. Bake the crust for exactly 10 minutes, then remove and allow to cool completely while preparing the remaining components.
- Vibrant Velvet Layer:
- For the signature red velvet cake layer, begin by whisking together 1 cup all purpose flour, 3 tablespoons unsweetened cocoa powder, 1/2 teaspoon baking soda, and 1/4 teaspoon salt in a medium bowl, setting aside once thoroughly combined. In the bowl of a stand mixer fitted with the paddle attachment, cream 6 tablespoons room temperature butter with 3/4 cup granulated sugar until light and fluffy, approximately 3 minutes. Add 1 large egg, beating until completely incorporated, then add 2 tablespoons red food coloring, 1 teaspoon vanilla extract, and 1/2 teaspoon white vinegar, mixing until the batter achieves that signature brilliant red color. Alternately add the dry ingredient mixture and 1/2 cup buttermilk in three additions, beginning and ending with the flour mixture and mixing just until combined after each addition. Pour this vibrant batter into the prepared crust, spreading evenly with an offset spatula. Bake for 20 to 25 minutes or until a toothpick inserted in the center comes out with a few moist crumbs. Allow to cool completely in the pan while preparing the cheesecake layer.
- Creamy Cheesecake Development:
- For the extraordinary cheesecake layer, ensure all ingredients are at room temperature for the smoothest possible texture. In the cleaned bowl of your stand mixer fitted with the paddle attachment, beat 32 ounces full fat cream cheese on medium speed until completely smooth with no lumps remaining, approximately 4 minutes, scraping down the bowl several times during this process. Add 1 1/2 cups granulated sugar and the reserved Oreo cookie filling, beating until fully incorporated and slightly lightened in texture. Add 4 large eggs one at a time, mixing on low speed just until each disappears into the batter. Overmixing after adding eggs can incorporate too much air, leading to cracks during baking. Gently fold in 1 cup sour cream, 2 teaspoons vanilla extract, and 12 roughly chopped Oreo cookies using a rubber spatula, maintaining visible cookie pieces for textural interest throughout the finished cheesecake. Pour this luxurious mixture over the cooled red velvet layer, smoothing the top with an offset spatula.
- Precise Baking Technique:
- Prepare a water bath by placing the foil wrapped springform pan inside a larger roasting pan. Fill the roasting pan with hot water until it reaches halfway up the sides of the springform pan. This critical step ensures gentle, even heating that prevents cracks and creates the silkiest possible texture. Carefully transfer this arrangement to the preheated oven and bake for approximately 1 hour and 30 minutes, or until the edges are set but the center still has a slight jiggle when gently shaken. Without opening the oven door, turn off the heat and allow the cheesecake to cool gradually inside the oven for 1 hour. This slow cooling process prevents the dramatic temperature change that often causes cheesecakes to crack or sink. After this hour, remove from the water bath, carefully peel away the foil, and allow to cool completely at room temperature. Once cooled, cover with plastic wrap and refrigerate overnight or for at least 8 hours to allow the flavors to meld and the texture to set properly.
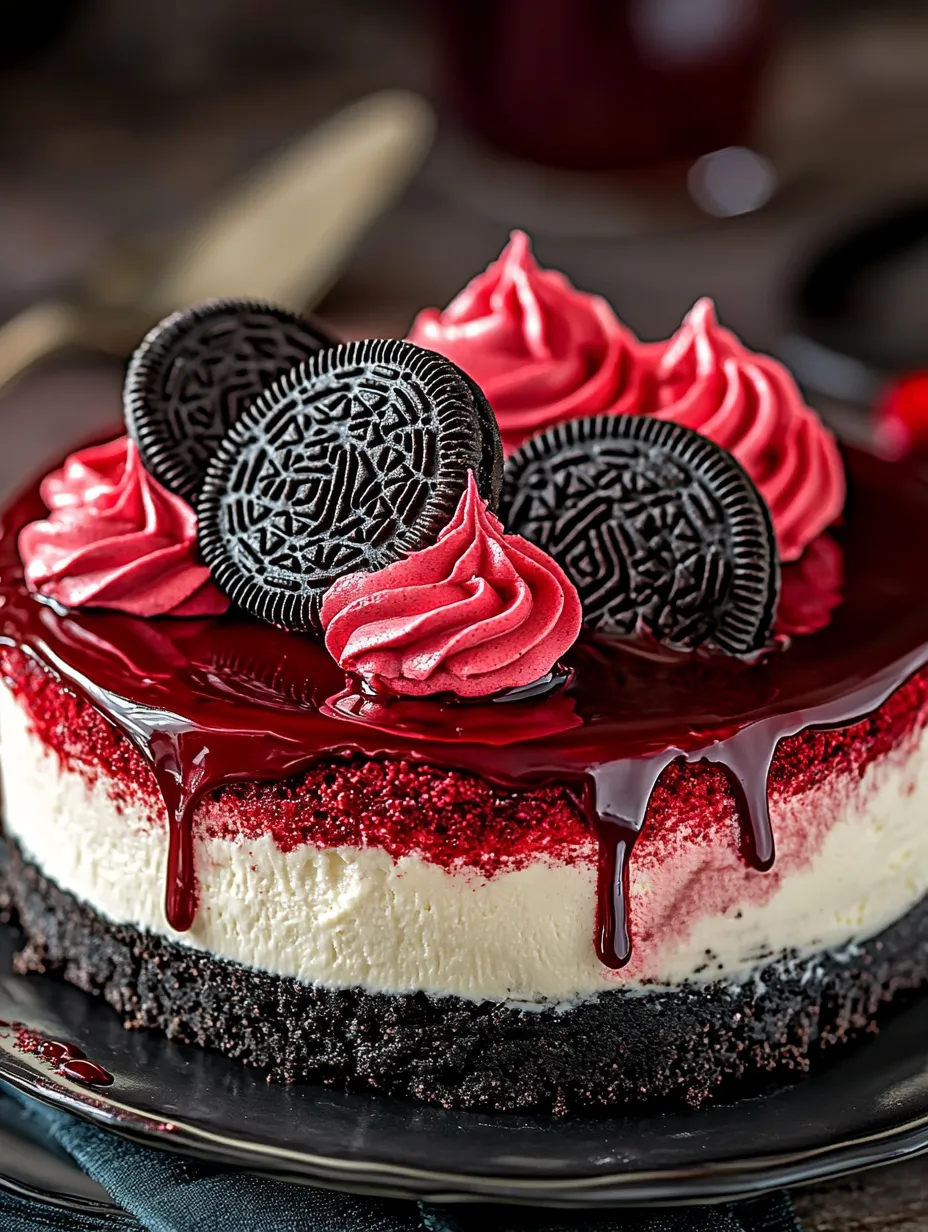
- Finishing Flourishes:
- For the final elegant touches that transform this dessert into a masterpiece, prepare a luscious chocolate ganache by heating 1 cup heavy cream until just simmering, then pouring over 8 ounces finely chopped dark chocolate. Allow to sit undisturbed for 5 minutes, then gently stir until completely smooth and glossy. Cool slightly until the ganache reaches a pourable but not hot consistency. Remove the chilled cheesecake from the springform pan and place on a serving plate. Pour the ganache over the top, allowing it to drip artistically down the sides. Prepare cream cheese frosting by beating 4 ounces softened cream cheese with 2 tablespoons butter, 1 cup powdered sugar, and 1 teaspoon vanilla until smooth and pipeable. Transfer to a piping bag fitted with a large star tip and pipe decorative rosettes around the perimeter of the cheesecake. Garnish these rosettes with additional chopped Oreo cookies for visual interest and textural contrast. Return the completed masterpiece to the refrigerator for at least 30 minutes to set the ganache before serving.
I particularly treasure the shared moments this dessert creates. The first time I taught my teenage niece to make it, the kitchen became a place of connection rather than just cooking. As she carefully folded the cookie pieces into the cheesecake batter, she shared her dreams of becoming a pastry chef, a conversation that might never have happened without this shared project. When my neighbor lost her mother, this cheesecake appeared on her doorstep as an offering of comfort, creating a bridge of support when words failed. The vivid color seems to bring childlike joy even to the most sophisticated guests, momentarily suspending adult concerns in favor of simple pleasure.
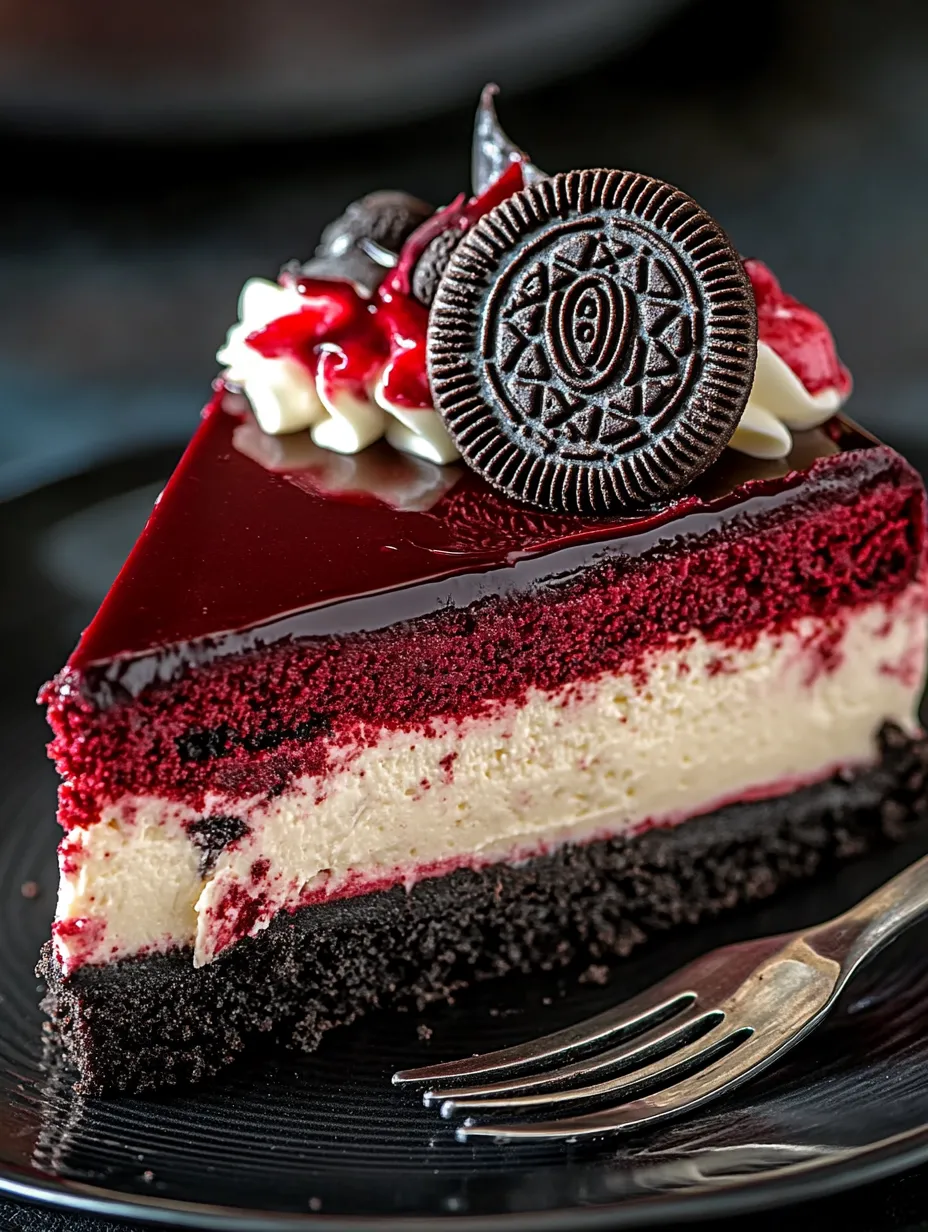
Serving Excellence
This spectacular creation deserves thoughtful presentation that enhances the experience of both flavor and visual appeal. Slice with a sharp knife dipped in hot water and wiped clean between cuts for pristine presentation. Serve on plates that contrast with the dramatic red and white interior, such as simple white china or clear glass dessert plates that showcase the beautiful layering. For special occasions, place fresh raspberries or strawberries alongside each slice, their natural red color complementing the cake while adding freshness against the richness. Coffee enthusiasts will appreciate serving alongside espresso or rich coffee that balances the sweetness while enhancing the subtle chocolate notes. For the ultimate indulgence, add a small scoop of high quality vanilla bean ice cream that slowly melts into the cheesecake, creating an additional textural element for each forkful.
Creative Variations
This foundation recipe welcomes numerous adaptations to suit different occasions or preferences. For chocolate enthusiasts, increase the cocoa in the red velvet layer to 5 tablespoons and add mini chocolate chips to the filling for chocolate intensity throughout. Those preferring subtle elegance might reduce the red food coloring by half for a deeper burgundy color rather than bright red. Holiday adaptations could include peppermint extract in the cheesecake layer and crushed candy canes as garnish for Christmas celebrations. Individual portions can be created using a muffin tin lined with paper liners, reducing baking time appropriately and eliminating the need for slicing. For summer gatherings, consider adding fresh berry compote between the cake and cheesecake layers, introducing seasonal freshness that complements the richness of the other components.
Storage Solutions
This cheesecake maintains excellent quality when properly stored, often tasting even better on the second or third day as flavors continue to develop. Keep refrigerated in a cake container or loosely covered with plastic wrap for up to 5 days, though it rarely survives that long in most households. The cake freezes remarkably well for up to 2 months when properly wrapped. For freezing, chill the finished cheesecake completely, then wrap tightly in plastic wrap followed by aluminum foil to prevent freezer burn. Thaw overnight in the refrigerator before serving, never at room temperature which can cause condensation that affects the texture. For special occasions when preparing ahead is necessary, consider making the cheesecake up to three days in advance but adding the final ganache and decorative elements the day of serving for the freshest appearance.
 Pin it
After perfecting this recipe through countless iterations, I've come to appreciate it as more than just a dessert but rather as a celebration centerpiece that creates memories alongside its flavors. The careful balance of textures between cookie crunch, tender cake, and silky cheesecake offers something for every palate preference. While the process requires patience and attention to detail, the gasps of delight when revealing the striking interior make every careful step worthwhile. This cheesecake represents the beautiful intersection of nostalgia and innovation, honoring classic flavors while presenting them in an unforgettable form that continues to gather people around the table in shared appreciation of something truly special.
Frequently Asked Questions
- → Can I make this Red Velvet Oreo Cheesecake ahead of time?
- Yes, this cheesecake is actually perfect for making ahead of time! The cheesecake needs to chill overnight anyway, but you can make it up to 3 days before serving. Keep it in the springform pan until ready to serve, and store it covered in the refrigerator. The flavors actually continue to develop and meld together, making it even better on day 2 or 3.
- → Can I freeze this Red Velvet Oreo Cheesecake?
- Absolutely! This cheesecake freezes beautifully. After it has completely chilled, remove it from the springform pan and place it on a cardboard round. Wrap it tightly in plastic wrap, then in aluminum foil, and freeze for up to 2 months. To thaw, place it in the refrigerator overnight before serving. Add any fresh toppings after thawing for the best presentation.
- → Why do I need to use a water bath when baking this cheesecake?
- A water bath serves two important purposes when baking cheesecake: First, it creates a humid environment that prevents the top from drying out and cracking. Second, it ensures gentle, even heating throughout the cheesecake, resulting in a silky-smooth texture rather than a rubbery one. Make sure to wrap your springform pan well with foil to prevent water seepage, which can make the crust soggy.
- → How do I know when my cheesecake is done baking?
- A perfectly baked cheesecake should still have a slight jiggle in the center when you gently shake the pan - about a 2-3 inch circle in the middle should wobble slightly. The edges should be set and may have just started to pull away from the sides of the pan. Remember that the cheesecake will continue to cook as it cools in the turned-off oven, and it will firm up considerably during refrigeration.
- → Can I use different types of Oreos for this recipe?
- Yes, you can experiment with different Oreo varieties! Golden Oreos, mint Oreos, or seasonal flavors can all work wonderfully. Just keep in mind that different flavors may alter the overall taste profile. For example, mint Oreos would create a chocolate-mint cheesecake experience, while Golden Oreos would create a more subtle, vanilla-forward flavor.
- → What's the best way to cut clean slices of this cheesecake?
- For clean, professional-looking slices, dip a long, sharp knife in hot water, wipe it dry, then make your cut. Repeat this process with each slice. The heat helps the knife glide through the dense cheesecake smoothly without dragging or causing the filling to stick to the blade. Cleaning the knife between cuts also prevents crumbs from being dragged across your beautiful dessert.