
 Pin it
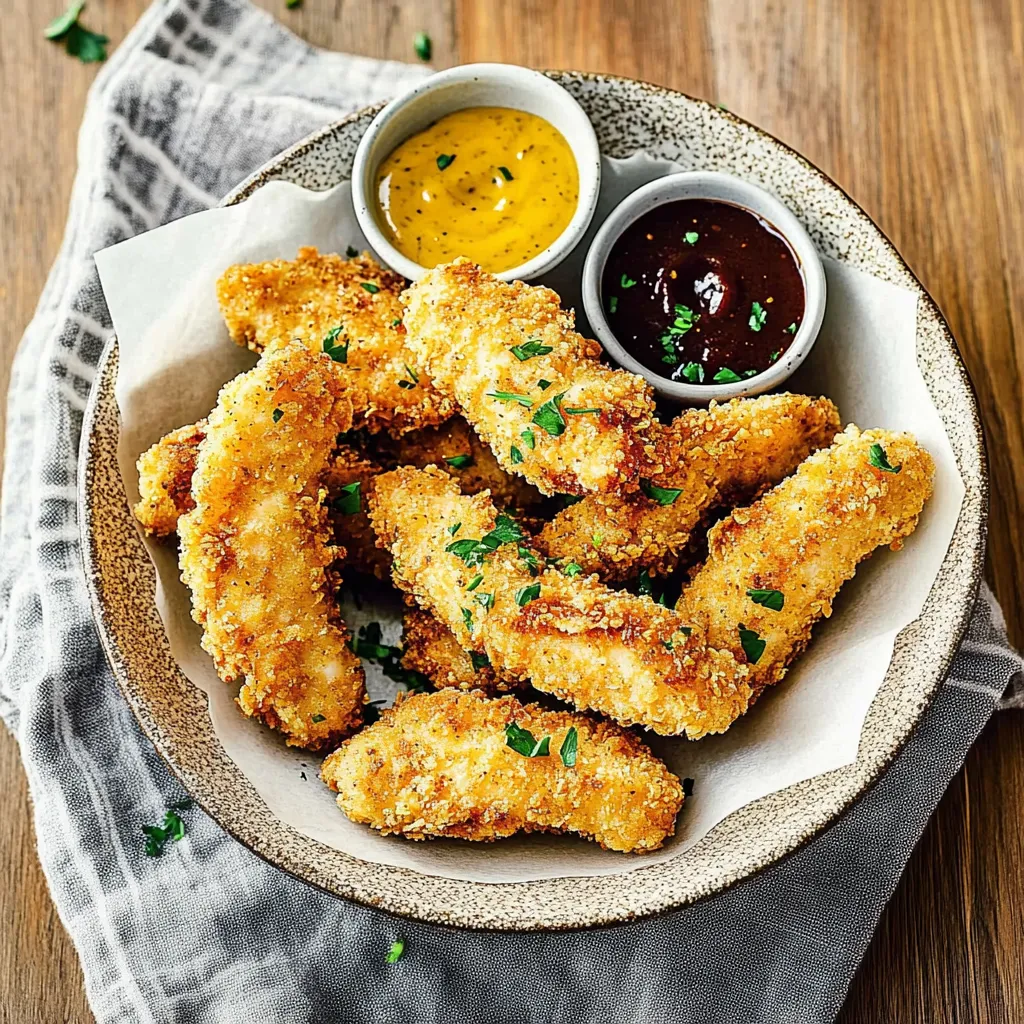
These extraordinary chicken tenders transform ordinary chicken strips into crispy, juicy delights through a clever oven technique that rivals deep frying. The magic happens in the three step coating process and elevated baking method that creates that coveted crunch without excessive oil or complicated equipment. I perfected this recipe after countless attempts to satisfy my children's restaurant chicken tender cravings while avoiding the deep fryer and questionable ingredients in frozen alternatives.
Family Favorite
My journey with these tenders began during a particularly hectic season when drive thru lanes seemed increasingly tempting. What started as a practical solution quickly became our household's most requested meal. Even my mother, typically skeptical of "healthier versions" of traditionally fried foods, requested the recipe after watching her grandchildren devour them without the usual negotiations. The first time my youngest helped prepare them, pressing panko onto chicken with concentrated focus, he developed a sense of ownership that translated to enthusiastic consumption, proving the adage that kids eat what they help cook.
Quality Components
- Chicken Tenders (1.5 pounds): The perfect starting point with their natural tenderness and consistent size that ensures even cooking throughout
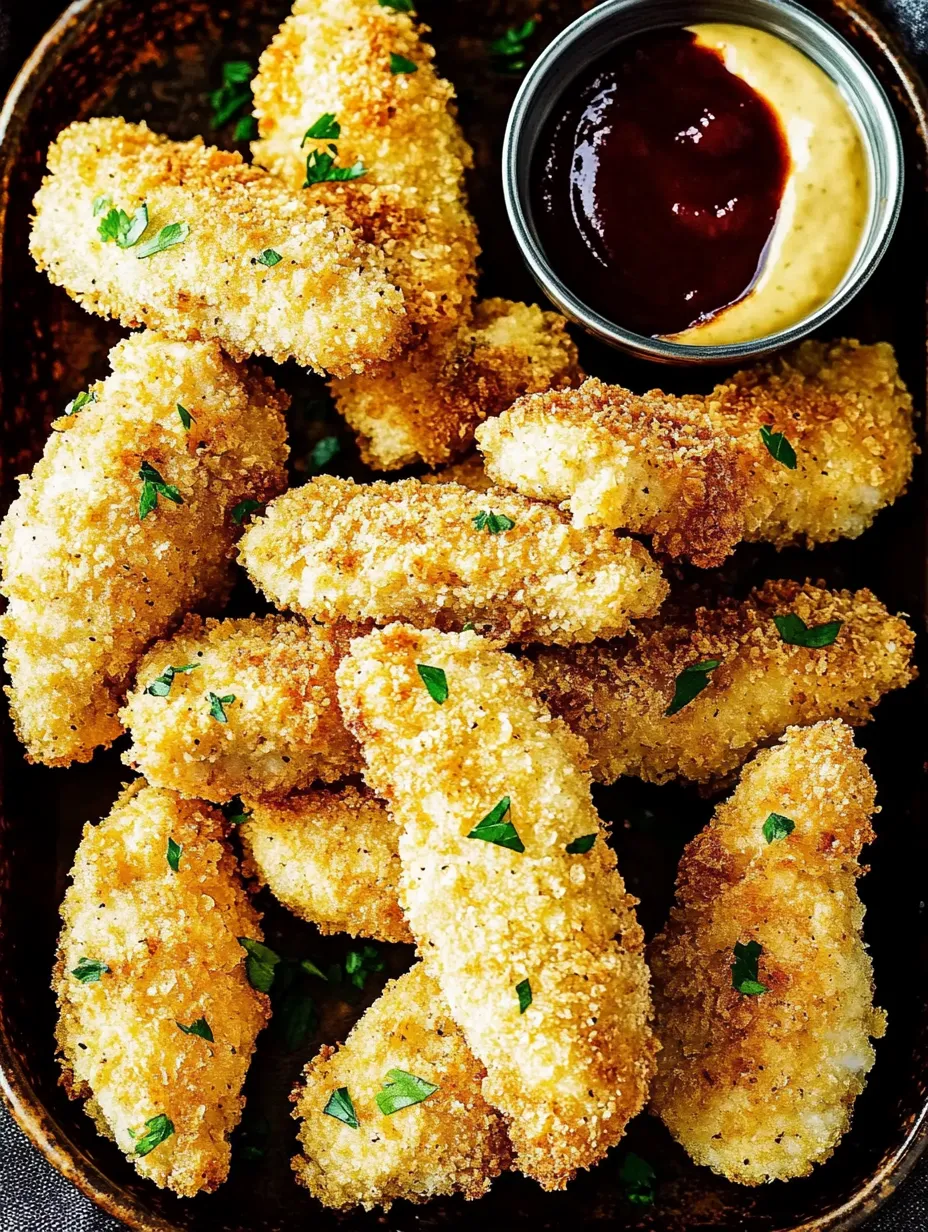
- Panko Breadcrumbs (1.5 cups): The essential coating that creates superior crunch compared to regular breadcrumbs due to their lighter, airier structure
- All Purpose Flour (1/2 cup): Creates the critical first layer that helps subsequent coatings adhere properly to the chicken
- Cornstarch (2 tablespoons): The secret ingredient that, when mixed with flour, creates an ultra crispy exterior that stays crunchy longer
- Paprika (1 teaspoon): Adds subtle color and mild sweet pepper flavor that complements the chicken without overwhelming
- Garlic Powder (1 teaspoon): Provides aromatic depth that permeates the coating with savory notes essential to crave worthy tenders
- Eggs (2 large): Create the essential binding layer between flour and panko while adding richness and helping achieve golden browning
- Cooking Spray: Delivers just enough fat to promote browning and crispness without the heavy oil absorption of deep frying
 Pin it
Simple Technique
- Preparation Excellence:
- Begin by positioning your oven rack in the upper third of the oven and preheating to 400°F for optimal browning and crisping. This higher position allows more direct heat to reach the top of the tenders, creating better color and texture. Line a baking sheet with aluminum foil for easy cleanup, then place a wire rack on top. This elevated cooking method is crucial, allowing hot air to circulate completely around the chicken, which creates consistent crispness on all sides without flipping. The rack also prevents the bottom from becoming soggy, a common problem with directly baked breaded items. Lightly coat the wire rack with cooking spray to prevent sticking during baking. If using chicken breasts instead of pre cut tenders, slice them into even strips approximately 1 inch wide for consistent cooking.
- Coating Station:
- Create an efficient three step breading station for quick assembly. In the first shallow dish, combine 1/2 cup all purpose flour, 2 tablespoons cornstarch, 1 teaspoon paprika, 1 teaspoon garlic powder, 1 teaspoon onion powder, 1/2 teaspoon salt, and 1/4 teaspoon black pepper, whisking thoroughly to distribute the seasonings evenly. This seasoned flour creates the foundation layer that adheres to the chicken while adding the first level of flavor. In the second dish, whisk together 2 large eggs with 2 tablespoons water until completely smooth with no separate egg white strands visible. This egg wash creates the essential sticky layer that allows the breadcrumbs to adhere. In the third dish, place 1.5 cups panko breadcrumbs, keeping them dry and separate from the other ingredients until use. This organization allows for efficient coating without cross contamination or clumping of ingredients.
- Perfect Coating Process:
- Working with one chicken piece at a time, dredge first in the seasoned flour mixture, shaking off any excess. This thin, even coating provides a dry surface for the egg wash to cling to. Next, dip into the egg mixture, allowing extra to drip off while ensuring complete coverage. Finally, press firmly into the panko breadcrumbs, using your fingers to compact the crumbs onto all surfaces of the chicken. This pressing technique is crucial for proper adhesion and creating the densest possible crumb coating. Place the breaded tender on the prepared wire rack, ensuring pieces don't touch to allow for proper air circulation. Repeat with remaining chicken, arranging all pieces in a single layer. Once all tenders are breaded and arranged, lightly spray the tops with cooking spray, which helps promote even browning and crispy texture during baking.
- Baking Brilliance:
- Place the baking sheet with the prepared tenders in the preheated oven and bake for 10 minutes until the coating begins to turn golden and crisp. Carefully flip each tender using tongs and continue baking for an additional 5 to 10 minutes until the internal temperature reaches 165°F and the exterior is golden brown and crispy. The exact timing depends on the thickness of your chicken pieces. For extra crispiness, switch the oven to broil for the final 2 minutes, watching carefully to prevent burning. This brief high heat exposure creates additional surface browning for maximum crunch factor. Allow the finished tenders to rest on the rack for 3 to 5 minutes before serving, which helps set the crust and allows the juices to redistribute within the meat for optimal texture and moisture retention.
I particularly treasure how these tenders create gathering points for my family. Growing up, chicken tenders meant special restaurant outings that punctuated ordinary weeks with celebration. Recreating that experience at home while improving the nutritional profile gives me quiet satisfaction. When teaching my young nephew basic cooking skills, this recipe became his first "signature dish," building confidence through its forgiving nature and impressive results. The way his face lights up with pride when serving these to family creates memories far more valuable than the meal itself. During busy sports seasons, I prepare double batches of these tenders, freezing half before baking to create nearly instant weeknight meals that maintain quality without resorting to commercial frozen options.
Dipping Delights
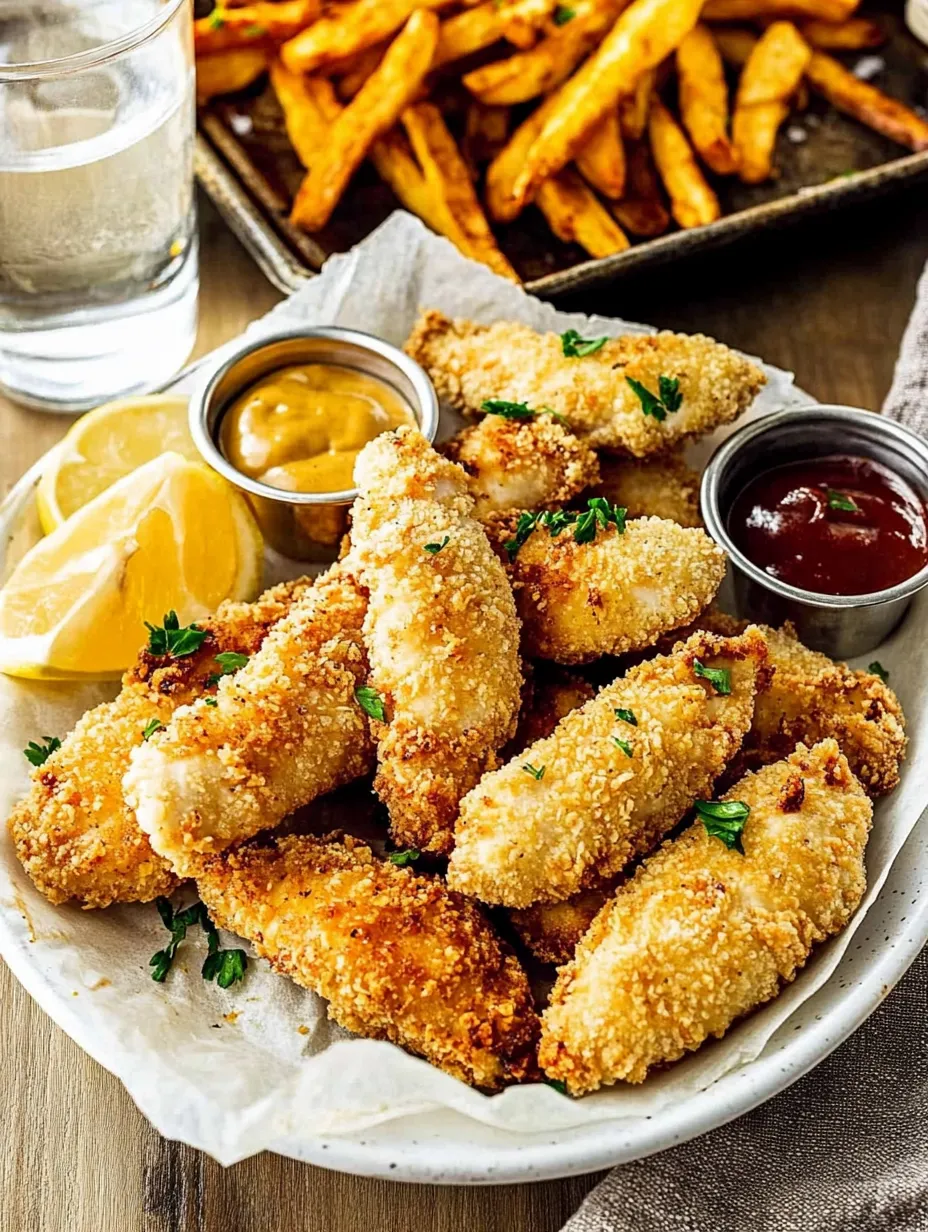
These versatile tenders welcome numerous sauce pairings that complement their crispy exterior and juicy interior. For classic combinations, offer honey mustard made from equal parts honey and Dijon mustard with a splash of vinegar for tangy balance. Homemade ranch creates cooling contrast with its herbal notes, while barbecue sauce provides sweet smokiness that enhances the tender's savory profile. For international flair, consider offering sweet chili sauce or sriracha mayo for Asian inspired heat. Children particularly enjoy "fry sauce" made from ketchup and mayonnaise with a touch of pickle juice for tanginess. For entertaining, create a sauce flight with small ramekins of various options that invite exploration and conversation. Health conscious diners might appreciate Greek yogurt based dips flavored with fresh herbs as lighter alternatives that still deliver creamy satisfaction alongside the crispy chicken.
Meal Completion
This crowd pleasing protein welcomes thoughtfully selected side dishes that transform it from simple chicken tenders to complete meals appropriate for various occasions. For family dinners, serve alongside sweet potato fries or roasted potato wedges seasoned with the same spice blend used in the chicken coating for flavor continuity. Fresh vegetables like roasted broccoli or green beans provide color and nutrition while balancing the meal. Casual gatherings might include creamy coleslaw and buttermilk biscuits for Southern inspired comfort. For lighter meals, serve atop fresh salad greens with various vegetables and a light vinaigrette, allowing the warm tenders to slightly wilt the greens for textural contrast. Children particularly enjoy these cut into "nugget" sizes alongside fresh fruit and vegetable sticks for approachable, balanced meals. The tenders also work beautifully sliced and served in wraps with lettuce, tomato and preferred sauce for lunch options beyond the typical sandwich.
 Pin it
Storage Strategy
These tenders maintain good quality when properly stored, though their absolute peak crispness comes directly from the oven. Allow any leftovers to cool completely before storing in an airtight container in the refrigerator for up to three days. For best texture when reheating, avoid microwave methods which create sogginess. Instead, place refrigerated tenders on a wire rack over a baking sheet in a preheated 375°F oven for 10 minutes until heated through and re crisped. Air fryers also work beautifully for reheating, requiring just 3 to 4 minutes at 375°F. For make ahead convenience, prepare tenders through the breading stage, then freeze in a single layer on a baking sheet until solid. Transfer frozen uncooked tenders to freezer bags where they'll keep for up to three months. When ready to serve, place frozen tenders directly on a wire rack and bake at 400°F for 15 to 20 minutes, adding approximately 5 to 10 minutes to the original cooking time, until they reach 165°F internally.
After perfecting this recipe through countless iterations, I've come to appreciate these tenders not just for their delicious taste but for how they represent kitchen problem solving at its best. What begins as a simple desire to create healthier yet satisfying versions of restaurant favorites transforms through thoughtful technique into something that actually surpasses the original inspiration. The balance of crispy coating and juicy interior proves that healthier cooking methods can deliver crave worthy results without sacrificing texture or flavor. While restaurant versions certainly have their place, this homemade adaptation reminds us that with a few clever techniques, we can create food that delights both children and adults while aligning with our values around ingredients and preparation methods.
Frequently Asked Questions
- → Can I use chicken breasts instead of chicken tenders?
- Yes! If you don't have chicken tenders, you can use boneless skinless chicken breasts and slice them into tender-sized strips. Cut them about 1/2-inch thick and try to keep them all similar in size so they cook evenly.
- → Why add cornstarch to the flour mixture for chicken tenders?
- Cornstarch is the secret ingredient that makes these chicken tenders extra crispy! It creates a lighter, crispier coating than flour alone would. The cornstarch helps absorb moisture from the chicken surface and forms a thin, crisp layer when baked.
- → What if I don't have a wire rack for baking the chicken tenders?
- While a wire rack gives the best results for crispy chicken tenders by allowing air to circulate around them, you can bake them directly on a parchment-lined baking sheet. Just make sure to flip them halfway through cooking, and they might not be quite as crispy on the bottom.
- → Can I make these chicken tenders ahead of time?
- These chicken tenders are best served fresh and hot out of the oven. However, you can prepare the coating mixtures ahead of time and store them separately. You can also coat the chicken and refrigerate it for up to 2 hours before baking.
- → How do I know when the chicken tenders are fully cooked?
- Chicken tenders are fully cooked when they reach an internal temperature of 165°F. If you don't have a meat thermometer, cut into the thickest part of a tender – the meat should be white throughout with no pink, and the juices should run clear.
- → What's the best way to reheat leftover chicken tenders?
- To maintain their crispiness, reheat leftover chicken tenders in an oven or air fryer rather than the microwave. Heat them at 375°F for about 5-7 minutes until heated through. The microwave will make them soggy.