
 Pin it
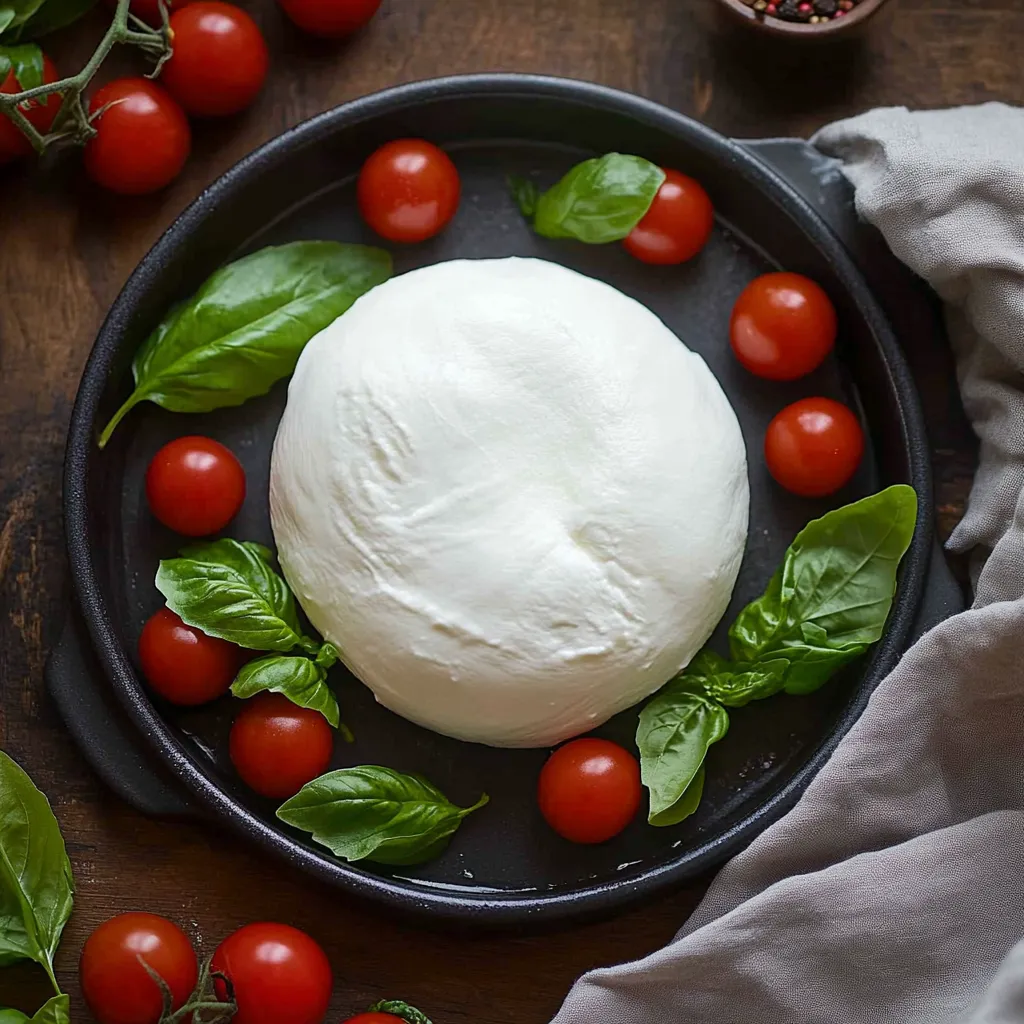
Fresh homemade mozzarella creates an unparalleled sensory experience that commercial versions simply cannot match. The delicate milky flavor and supple texture transform ordinary dishes into memorable meals worth sharing. This ancient cheese requires just four simple ingredients yet yields extraordinary results when crafted with care and attention. The process feels almost magical as liquid milk transforms into stretchy curds through gentle heating and handling. With practice, you can produce approximately fourteen ounces of luxurious cheese in your kitchen within an hour, connecting you to centuries of traditional cheesemaking heritage while providing immense culinary satisfaction.
I first attempted mozzarella making during a particularly ambitious weekend cooking project. The moment those curds began stretching between my fingers like satin ribbons remains vivid in my memory years later. My husband wandered into the kitchen attracted by my excited exclamations and ended up photographing the entire process. We enjoyed that first batch still warm with nothing more than sea salt flakes and good olive oil, agreeing it was unlike anything available from grocery stores regardless of price point.
Essential Components
- Whole Milk: Select unhomogenized varieties for superior curd formation and richer flavor development during the cheese making process
- Citric Acid: This crystalline powder creates the perfect acidic environment that enables proper curd formation without overwhelming the delicate milk flavor
- Liquid Rennet: Derived from traditional enzyme sources, this critical ingredient causes milk proteins to coagulate into solid curds separated from liquid whey
- Natural Salt: Flaked sea salt provides both flavor enhancement and preservative qualities while dissolving beautifully into warm curds
- Cold Water: Pure filtered water without chlorine works best for dissolving citric acid and rennet without introducing off flavors
- Ice Water Bath: Prepared ahead of time, this stops the stretching process at precisely the right moment preserving ideal texture
Finding proper ingredients transformed my cheesemaking success dramatically. After several decent but imperfect attempts using supermarket milk, I discovered a local dairy selling unhomogenized milk with higher protein content. The difference proved remarkable, producing curds that formed more readily and stretched with silky perfection. My neighbor who grew up in southern Italy declared it reminiscent of her grandmother's cheese, which remains the highest compliment this recipe has received.
 Pin it
Creation Process
- Prepare Your Ingredients:
- Begin by measuring precisely one gallon of whole milk which should be cold but not frozen. Dissolve one and a half teaspoons of citric acid powder completely in one quarter cup of cool filtered water, stirring until no crystals remain visible. This solution should appear clear rather than cloudy. In a separate small container, dilute one quarter teaspoon liquid rennet with one quarter cup cool water, stirring gently rather than vigorously which could denature the enzymes. Ensure all measuring tools are completely dry before measuring ingredients since additional moisture alters critical ratios.
- Transform Milk To Curds:
- Pour the entire gallon of milk into a heavy bottomed nonreactive pot placed over medium low heat. Add the citric acid solution while stirring gently but consistently to distribute evenly throughout the milk. Monitor temperature carefully using a calibrated thermometer until milk reaches precisely 90°F, adjusting heat as needed to maintain steady temperature increase. Remove pot from heat completely before adding diluted rennet in a steady stream while stirring slowly with an up and down motion rather than circular pattern. Cover pot and allow mixture to remain completely undisturbed for exactly fifteen minutes during which the magic transformation begins.
- Complete Your Cheese:
- Check for proper curd formation by pressing gently against the surface which should feel like firm custard and pull away cleanly from the sides of the pot. Using a long knife, cut curds into one inch squares creating a grid pattern throughout the pot. Return to gentle heat, slowly bringing temperature to 105°F while occasionally stirring very gently to prevent curds from matting together prematurely. Transfer curds to a colander lined with butter muslin, allowing whey to drain completely for approximately ten minutes. Reserve one cup of whey heated to 185°F for the stretching process. Submerge curds in hot whey for thirty seconds until they become pliable and glossy, then stretch and fold repeatedly until smooth and elastic. Form into balls before submerging in ice water to set the final texture.
I learned the importance of patience during my early cheesemaking attempts when I rushed the heating process due to excitement. The resulting cheese tasted fine but lacked the supple texture that defines proper mozzarella. My Italian grandmother once told me that good cheesemaking happens as much through feeling and observation as through following precise instructions. After making dozens of batches, I understand what she meant completely. The curds themselves tell you when they're ready to be stretched through subtle changes in appearance and resistance that become recognizable with experience.
Glorious Pairings
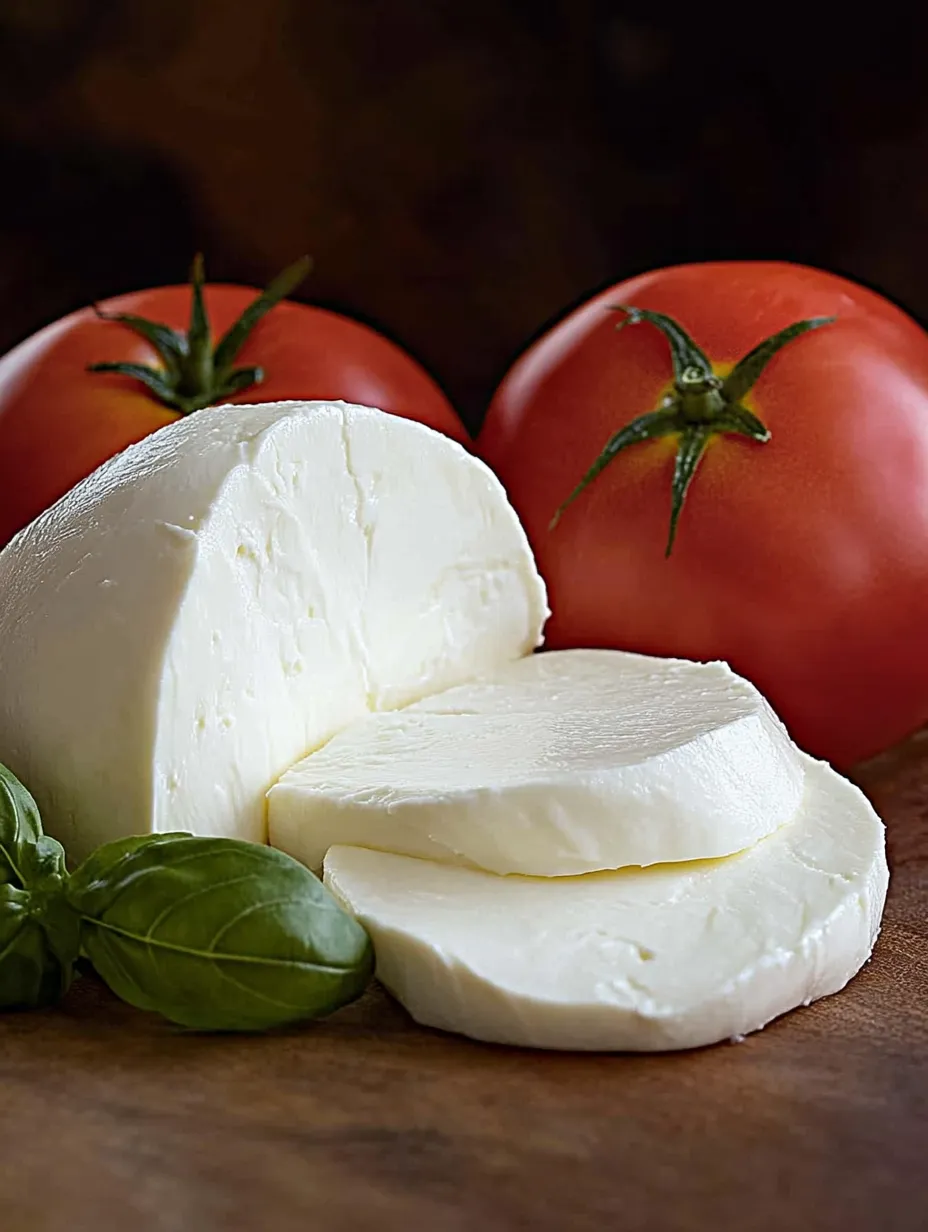
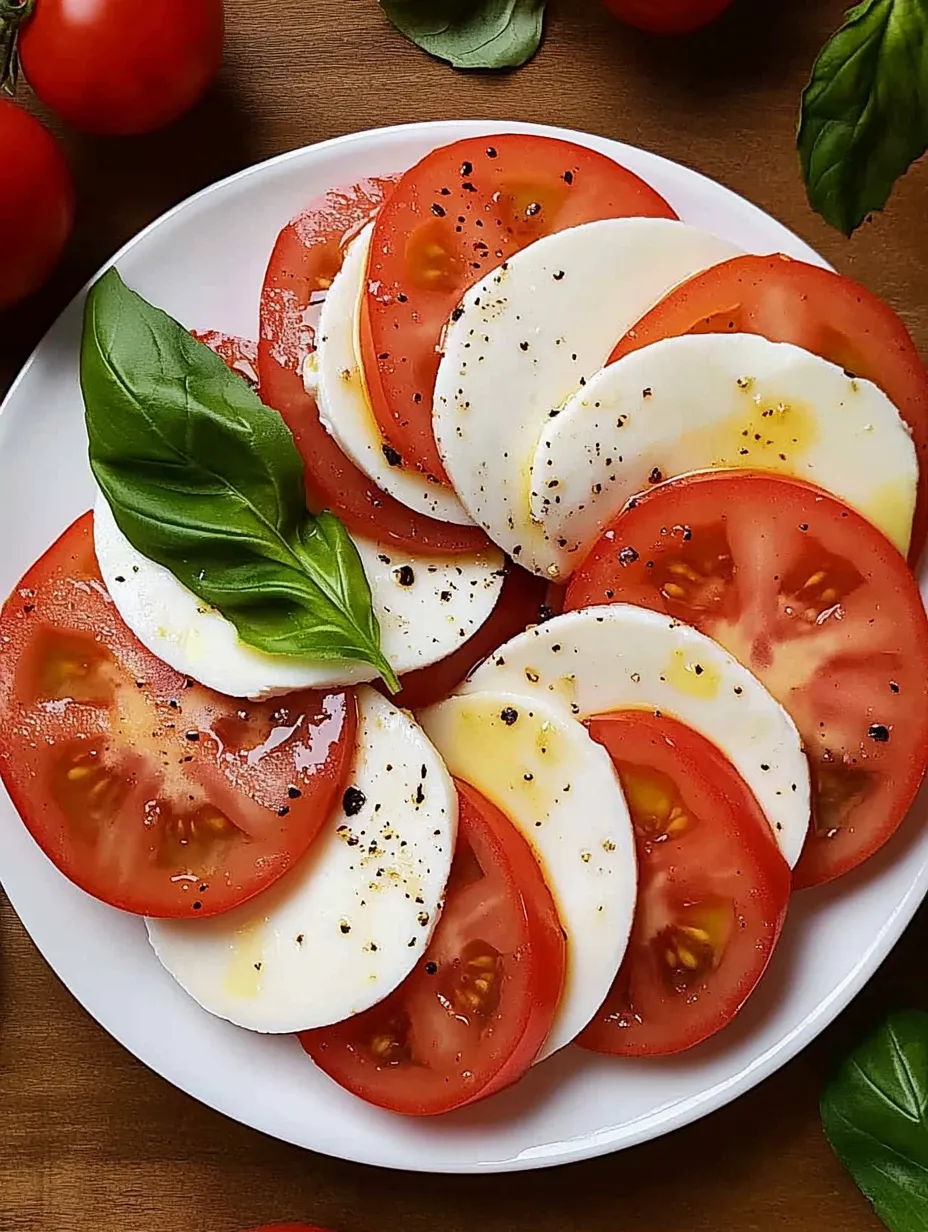
Fresh mozzarella shines brightest when partnered with simple accompaniments that complement rather than overwhelm its delicate flavor. Vine ripened summer tomatoes sliced thickly and layered with cheese, fresh basil leaves, olive oil and flaky salt create the classic insalata caprese that celebrates mozzarella's subtle character. Grilled sourdough bread rubbed with garlic and drizzled with olive oil provides textural contrast against the cheese's softness. During cooler months, roasted red peppers marinated in olive oil with fresh herbs create vibrant partnership with the creamy cheese. Consider serving alongside olives and artisanal salami for an impressive yet effortless antipasto platter.
Wonderful Adaptations
Create variations of traditional mozzarella by incorporating additional elements during the final stages of preparation. Small bundles filled with heavy cream create indulgent burrata perfect for special occasions. Adding chopped fresh herbs such as basil, oregano or thyme to the curds before stretching infuses subtle flavor throughout the finished cheese. Smoked versions develop rich complexity when finished cheese is briefly exposed to applewood or hickory smoke at cool temperatures. Experiment with different milk sources including goat, sheep or buffalo which each contribute distinctive flavor profiles while following the same fundamental technique.
Storage Solutions
Maintain optimal texture and flavor by storing your handcrafted cheese properly. Fresh mozzarella tastes absolutely magnificent when enjoyed still slightly warm immediately after making. For later consumption, place in a container with enough cool filtered water to completely submerge the cheese, changing water daily if keeping longer than overnight. Alternatively, submerge in good quality olive oil infused with herbs for up to five days, recognizing that the texture will gradually become slightly firmer. Avoid plastic wrap which prevents proper moisture exchange and can impart unpleasant flavors to the delicate cheese.
Common Challenges
Address potential difficulties with simple adjustments to ensure cheese making success. Insufficient curd formation often results from milk heated too quickly before adding rennet, easily remedied by allowing temperature to stabilize before proceeding. Excessively soft curds typically indicate problematic milk proteins, usually resolved by selecting higher quality dairy products. Cheese that remains grainy rather than stretching smoothly suggests insufficient acidity which can be corrected by adding slightly more citric acid in future batches. Rubbery final texture commonly results from overheating during stretching or excessive handling, both resolved through gentler technique and careful temperature monitoring.
Historical Context
 Pin it
Understanding mozzarella's rich heritage enhances appreciation for this remarkable cheese. Originating in southern Italy during the 12th century, traditional production relied exclusively on water buffalo milk containing higher fat content than cow varieties. The name derives from "mozzare" meaning "to cut off" referring to the process where cheesemakers cut portions from stretched curd mass. Historically, mozzarella served as practical protein preservation method for communities without refrigeration, necessitating daily production and consumption. Modern availability throughout the world represents relatively recent development compared to the cheese's lengthy history, with traditional production methods remaining largely unchanged for centuries.
Culinary Applications
Beyond familiar caprese salads and pizza toppings, homemade mozzarella elevates numerous dishes through its superior texture and flavor. Incorporate torn pieces into pasta dishes moments before serving where residual heat gently softens without completely melting the cheese. Layer between eggplant slices with rich tomato sauce for traditional parmigiana that showcases both flavor and textural qualities. Create spectacular appetizers by wrapping small mozzarella balls with prosciutto before briefly broiling until cheese begins melting but retains its structure. Consider using as filling for traditional arancini rice balls where the cheese creates magnificent molten center when fried to golden perfection.
Creating something so fundamentally transformed from raw ingredients provides satisfaction unlike any other cooking experience. The first time I served my homemade mozzarella to dinner guests, their expressions of surprise and delight made every minute of preparation worthwhile. One friend immediately requested cheesemaking lessons, leading to monthly gatherings where we explore different variations together. This simple cheese connects us to food traditions stretching back centuries while producing something genuinely superior to commercial alternatives. Perhaps the most beautiful aspect lies in its accessibility, requiring minimal equipment yet producing extraordinary results through careful technique rather than elaborate processes.
Frequently Asked Questions
- → Where can I find rennet and citric acid?
- Rennet and citric acid can be found at specialty food stores, some well-stocked grocery stores, homebrew supply shops, or cheese-making supply retailers. They're also readily available from online retailers that specialize in cheese-making supplies. Citric acid is sometimes available in the canning section of grocery stores, and vegetable-based rennet options exist for vegetarians who avoid animal rennet.
- → Can I use any type of milk for this mozzarella recipe?
- For best results, use regular pasteurized whole milk, not ultra-pasteurized milk. Ultra-pasteurized milk has been heated to very high temperatures which denatures the proteins needed for proper curd formation. Farm-fresh milk works wonderfully if available, but standard pasteurized whole milk from the grocery store will work well too. Avoid skim or low-fat milk as the reduced fat content will affect the texture and richness of your cheese.
- → Why isn't my cheese stretching properly?
- If your cheese isn't stretching well, there are a few possible issues: 1) The pH might not be right - adequate acidification from the citric acid is crucial for stretching. 2) The temperature might be too low - make sure your whey is 185-190°F when stretching. 3) You might be using ultra-pasteurized milk. 4) The curds may not have set properly before cutting. Remember that cheese-making is both a science and an art, so it might take a couple of attempts to get it perfect.
- → How long does homemade mozzarella last?
- Homemade mozzarella is best enjoyed fresh within 2-3 days. Store it in the refrigerator in an airtight container, submerged in cold water. Change the water daily if keeping it for more than a day. Unlike commercially produced mozzarella with preservatives, homemade cheese has a shorter shelf life but offers superior flavor and texture when fresh.
- → What can I do with the leftover whey?
- Don't discard that whey! It's packed with protein and nutrients. Use it to replace water or milk in bread recipes for extra flavor and nutrition, add it to smoothies, use it to cook grains like rice or quinoa, feed it to plants as a nutritious fertilizer, or use it as a starter for fermenting vegetables. You can also use it in soups, to marinate meats, or even as a face toner due to its natural lactic acid content.
- → Can I make this mozzarella without a thermometer?
- While a thermometer is strongly recommended for precise temperature control, experienced cheese makers sometimes use visual and tactile cues. The milk should be warm but not hot to the touch when adding rennet (about body temperature). The stretching water should be very hot but not boiling. However, for beginners especially, a thermometer is invaluable for successful cheese-making, as even small temperature variations can significantly affect your results.