
 Pin it
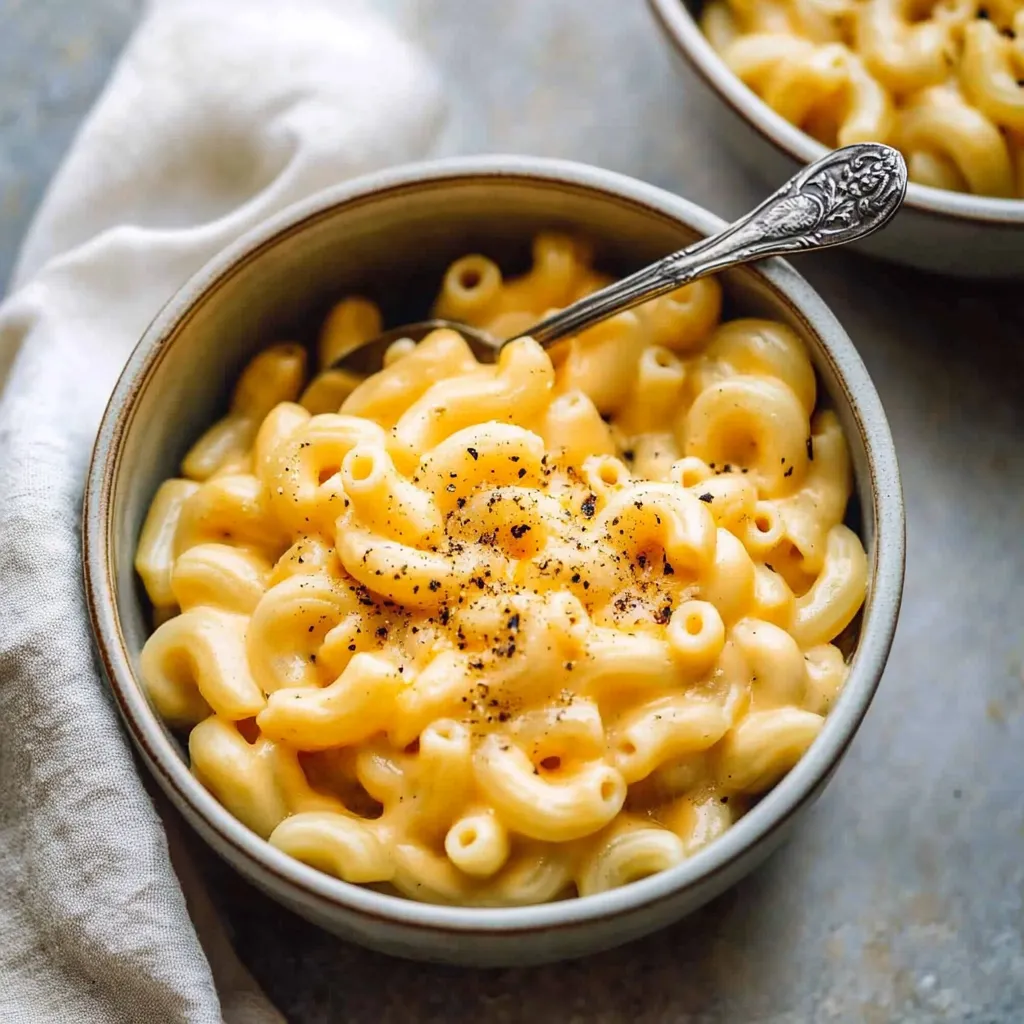
Stovetop mac and cheese transforms humble ingredients into the ultimate comfort food with a silky cheese sauce that hugs every curve of perfectly cooked pasta. This isn't your blue-box childhood memory but rather a genuine homemade classic that comes together in about the same time. The velvety smooth sauce starts with a simple butter-flour base that creates the ideal canvas for sharp cheddar to shine through while maintaining that irresistible creamy texture that keeps everyone coming back for more.
Comfort Classic
- Boxed Upgrade: Tastes infinitely better than packaged versions with minimal extra effort
- Time Saver: Ready in just 20 minutes, perfect for busy weeknights or sudden cravings
- Customization King: Easily adapted with different cheeses, mix-ins, and toppings
I perfected this recipe during a particularly rainy weekend when my kids were bouncing off the walls with cabin fever. The familiar blue box was our standard, but we were out, and driving through the downpour seemed excessive for mac and cheese. With basic pantry ingredients, I cobbled together this version, expecting mild acceptance at best. Instead, my pickiest eater declared it "the good kind of mac and cheese" and has refused the boxed variety ever since. What began as a necessity has become our family's definition of comfort food.
Quality Components
- Sharp Cheddar: Provides the classic mac and cheese flavor with enough punch to stand out
- Whole Milk: Creates the perfect rich base without being as heavy as cream
- Elbow Macaroni: The traditional shape that captures sauce in its curved tubes
- Dry Mustard: The secret ingredient that adds depth without tasting mustardy
- Real Butter: Begins the sauce with essential richness and flavor
 Pin it
Simple Magic
- Pasta Foundation:
- Bring a large pot of water to a rolling boil. Add a generous tablespoon of salt—the water should taste like the ocean for properly seasoned pasta. Pour in 8 ounces of large elbow macaroni and cook according to package directions until al dente, typically 7-9 minutes. The pasta should have a slight resistance when bitten as it will continue absorbing the sauce. Drain thoroughly in a colander but do not rinse, as the starches on the surface help the sauce adhere. Set aside while preparing the cheese sauce.
- Sauce Development:
- Return the empty pasta pot to the stove over medium heat. Add 3 tablespoons unsalted butter and melt until foaming subsides. Sprinkle in 3 tablespoons all-purpose flour and 1/2 teaspoon ground mustard, whisking constantly to create a smooth paste (roux). Cook for about 1 minute to eliminate the raw flour taste while preventing any browning. This brief cooking creates the perfect neutral base for cheese flavors to shine. Gradually pour in 2 cups of warm whole milk, whisking continuously to prevent lumps from forming. Patience is key here—add the milk slowly for the smoothest sauce.
- Cheese Incorporation:
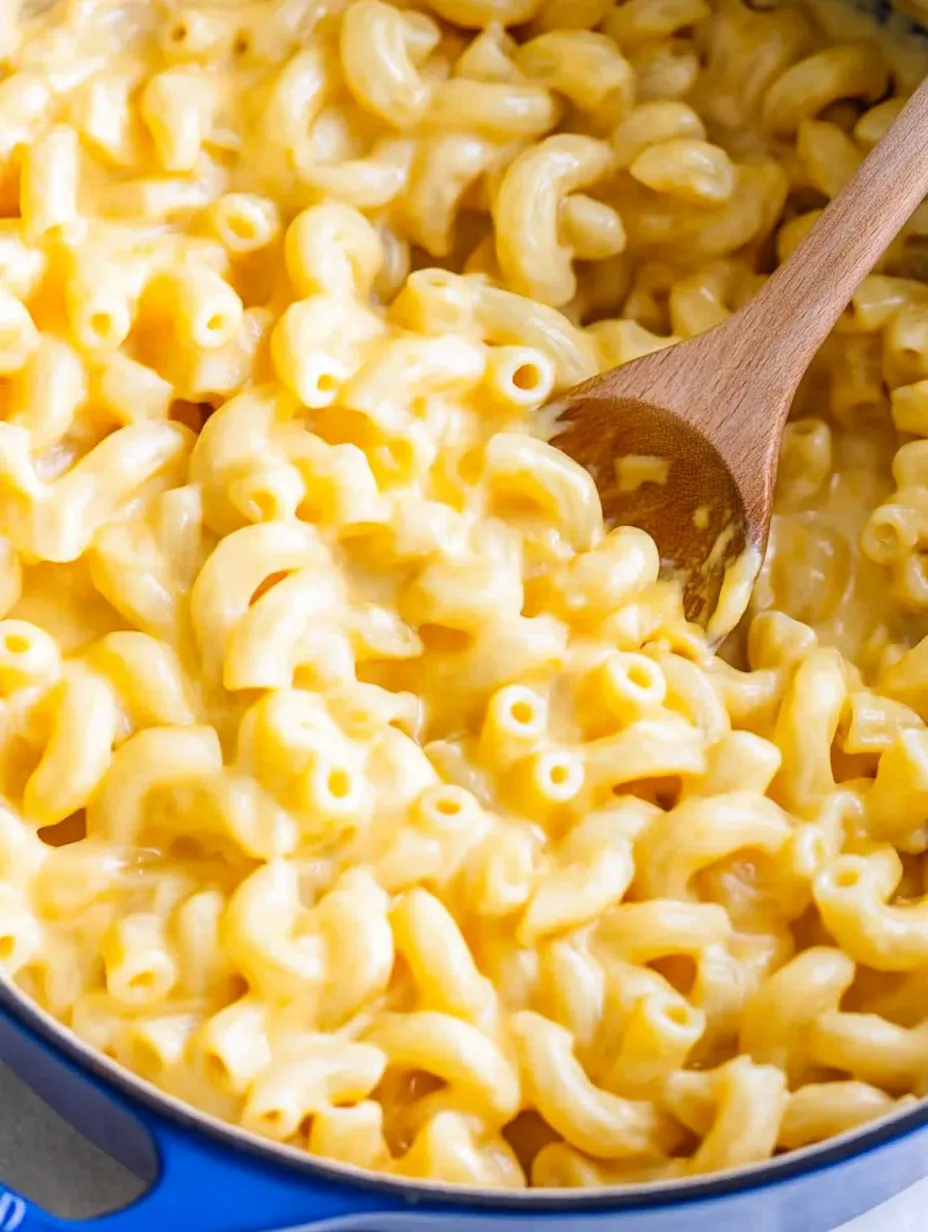
- Continue cooking the milk mixture, stirring frequently with a wooden spoon or silicone spatula, until it noticeably thickens and coats the back of the spoon, about 3-5 minutes. Reduce heat to low and add 8 ounces (about 2 cups) freshly shredded sharp cheddar cheese in small handfuls, stirring until completely melted before adding more. This gradual addition prevents the sauce from becoming grainy or breaking. Season with 1/2 teaspoon salt and 1/4 teaspoon freshly ground black pepper, adjusting to taste. The sauce should be silky smooth and coat the spoon beautifully.
- Perfect Union:
- Add the drained pasta to the cheese sauce, folding gently until every piece is evenly coated. The warm pasta will absorb some of the sauce, so if it seems slightly too loose at first, give it a minute to come together. For extra richness, you can add another small handful of shredded cheese at this point, stirring until just melted. Remove from heat and serve immediately in warmed bowls for the most luxurious texture. For a classic presentation, top with a light sprinkle of additional cheese or crushed crackers.
My father, who grew up on a dairy farm and considers himself something of a cheese expert, visited shortly after I'd perfected this recipe. Known for his brutal honesty about food, I nervously served him a bowl as an easy lunch. He took one bite, looked up in surprise, and said, "Now that's proper mac and cheese." Coming from someone who rarely offers compliments, this simple validation confirmed that sometimes the simplest recipes are the most satisfying.
Flavor Variations
Create a gourmet four-cheese blend by combining sharp cheddar with smoked gouda, creamy Havarti, and a touch of Parmesan for complex flavor notes. For a spicy kick, stir in a few dashes of hot sauce or a pinch of cayenne pepper. Bacon lovers can add crispy crumbled bacon both in the sauce and as a topping. For a complete meal, fold in steamed broccoli florets and diced ham during the final step for a one-pot dinner solution.
Topping Transformations
While delicious on its own, this stovetop version welcomes creative toppings. For texture contrast, sprinkle with toasted panko breadcrumbs sautéed briefly in butter until golden. Herb enthusiasts can add finely chopped fresh chives or parsley for color and freshness. For a crunchy finish without extra cooking, crush butter crackers over individual servings just before eating. During summer, top with garden-fresh diced tomatoes for a bright counterpoint to the rich sauce.
 Pin it
Storage Strategy
Store cooled leftovers in an airtight container in the refrigerator for up to five days. The pasta will absorb sauce as it sits, so when reheating, add a splash of milk and stir frequently over low heat to restore creamy consistency. Alternatively, reheat individual portions in the microwave at 50% power, stirring halfway through and adding a small amount of milk if needed. For longer storage, freeze in portion-sized containers for up to two months, though the texture may become slightly grainy after thawing.
I created this recipe during a financially tight period when we needed to stretch our grocery budget without sacrificing meals that brought joy to our table. What began as a practical solution has evolved into one of our most requested family favorites. On particularly difficult days, this simple dish has the magical ability to improve moods and create moments of contentment around our table. Sometimes the most meaningful family traditions grow from the humblest ingredients, proving that with a little care and attention, even everyday meals can become memorable experiences.
Frequently Asked Questions
- → Can I use different types of cheese for this mac and cheese?
- Absolutely! While sharp cheddar gives the classic mac and cheese flavor, you can experiment with different cheese combinations. Try mixing cheddar with Gruyère for depth, Monterey Jack for extra creaminess, or adding a bit of Parmesan for sharpness. For a more complex flavor profile, use a combination of cheeses—just make sure they're good melting cheeses. Blue cheese, smoked gouda, or pepper jack can also add interesting flavor dimensions in small amounts.
- → Why does the recipe call for room temperature milk?
- Room temperature milk is important because adding cold milk to a hot roux can cause the sauce to seize or become lumpy. The temperature difference creates a shock that can make flour particles clump together. Letting the milk sit out for about 15-30 minutes before cooking helps create a smoother sauce. If you're short on time, you can gently warm the milk in the microwave or on the stovetop until it's just barely warm (not hot) before adding it to the roux.
- → My sauce came out grainy/clumpy. What went wrong?
- A grainy cheese sauce is usually caused by one of three issues: 1) The cheese was added when the base sauce was too hot, causing the proteins to separate; 2) The cheese was added too quickly rather than gradually; or 3) Pre-shredded cheese with anti-caking agents was used. To fix this, always lower the heat before adding cheese, incorporate it gradually while stirring constantly, and use block cheese that you've freshly grated yourself. If your sauce has already broken, sometimes adding a splash of milk and gently reheating while whisking can help smooth it out.
- → Can I make this mac and cheese ahead of time?
- This stovetop mac and cheese is best served immediately after making, as the sauce can thicken and the pasta may absorb moisture as it sits. However, if you need to make it ahead, prepare it as directed but slightly undercook the pasta. When ready to serve, reheat gently on the stovetop with an additional splash of milk to loosen the sauce, stirring frequently. For best texture, don't refrigerate for more than a day before reheating, as the sauce can break or become grainy when chilled and reheated.
- → What can I add to this mac and cheese to make it a complete meal?
- To transform this mac and cheese into a more substantial meal, try adding proteins like diced ham, crumbled bacon, shredded rotisserie chicken, or sautéed ground beef. For vegetables, stir in steamed broccoli florets, peas, sautéed mushrooms, caramelized onions, or roasted cherry tomatoes. You can also add these mix-ins to individual portions if family members have different preferences. For a spicy kick, mix in some diced jalapeños, a dash of hot sauce, or a sprinkle of red pepper flakes.
- → Is there a way to make this recipe gluten-free?
- Yes, this recipe can easily be adapted for gluten-free diets. Simply substitute the regular elbow macaroni with your favorite gluten-free pasta (corn and rice blends tend to hold up best). For the roux, replace the all-purpose flour with an equal amount of gluten-free all-purpose flour blend, sweet rice flour, or cornstarch (use half the amount if using cornstarch). Make sure to check that your ground mustard is certified gluten-free, as some spice blends may contain gluten as an anti-caking agent.