
 Pin it
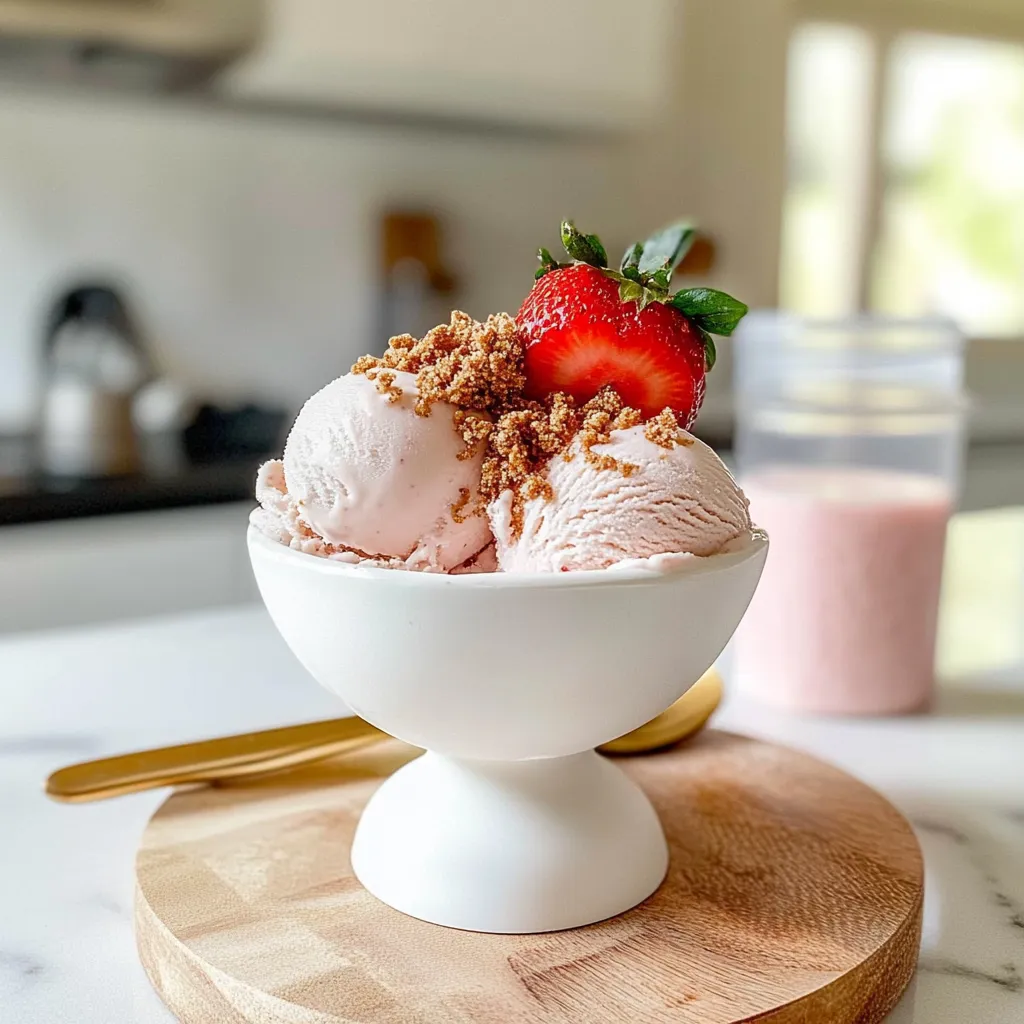
Berry Creamy Delight
This strawberry ice cream transforms simple ingredients into a luxuriously smooth frozen treat without complicated techniques or equipment. The unexpected hero ingredient, cottage cheese, creates exceptional creaminess while adding subtle tang that perfectly complements sweet strawberries. I developed this recipe after experimenting with protein rich alternatives to traditional ice cream bases, and the results exceeded every expectation for flavor, texture, and simplicity.
Simply Extraordinary
My obsession with this recipe began when trying to create healthier versions of childhood favorites. What started as a nutritional experiment quickly became a family staple. Even my pickiest nephew requests this "special pink ice cream" every time he visits, completely unaware of the cottage cheese hiding inside. The most satisfying moment was watching my dessert loving husband take his first bite and declare it better than any store bought strawberry ice cream he'd ever tried.
Quality Components
- Cottage Cheese (3/4 cup): The foundation of exceptional creaminess, contributing protein and subtle tang while blending into velvety smoothness without any curds remaining
- Milk (1 cup): Provides essential liquid for proper blending while adding richness that helps create that authentic ice cream mouthfeel
- Frozen Strawberries (10 whole berries): Deliver bright, authentic flavor and natural sweetness while contributing to the frozen texture of the final product
- Maple Syrup (3 tablespoons): Adds depth of sweetness beyond what plain sugar provides, complementing the strawberry flavor with subtle caramel notes
- Vanilla Bean Paste (2 teaspoons): Enhances all other flavors while adding sophisticated visual appeal with tiny specks throughout the ice cream
- Gelatin (1 tablespoon): The secret textural ingredient that prevents ice crystals and ensures scoopability even after extended freezing
 Pin it
Freezer Technique
- Perfect Preparation:
- Begin with room temperature cottage cheese for the smoothest possible result. Add the cottage cheese, milk, maple syrup, and vanilla bean paste to your blender. Process on high speed for 60 seconds until completely smooth with no visible curds remaining. This initial blending step is crucial for texture development. Next, sprinkle the gelatin evenly over the surface and allow it to bloom for 30 seconds before blending again to incorporate fully. The gelatin creates small molecular connections that prevent large ice crystals from forming, resulting in smoother ice cream. Finally, add your frozen strawberries and blend until the mixture is completely uniform with a beautiful pink color throughout. Taste the mixture at this point and adjust sweetness if needed, remembering that cold temperatures will slightly dull the perceived sweetness.
- Freezing Foundation:
- Pour your blended mixture into the specialized Ninja Creami container, leaving approximately half inch of space at the top to allow for expansion during freezing. Tap the container gently on the counter several times to release any trapped air bubbles which could affect the final texture. Secure the lid tightly and place the container in the coldest part of your freezer, typically the back section rather than the door. Allow the mixture to freeze completely for at least 24 hours before processing. This extended freezing period ensures that the mixture reaches the optimal solid state required for the Ninja Creami to work its magic. The colder and more thoroughly frozen your mixture, the better texture you will achieve in the final ice cream.
- Transformation Process:
- Once fully frozen, remove the container from the freezer and immediately remove the lid. Insert the container into the Ninja Creami base according to manufacturer instructions. Select the ice cream setting and press start, allowing the machine to work through its full cycle without interruption. The specialized paddles will shave through the frozen mixture hundreds of times per minute, aerating and creating microscopic ice crystals that result in smooth, creamy ice cream. When the cycle completes, assess the texture. If any areas appear unmixed or if the texture seems too firm, use the "re spin" function to process again. For truly exceptional results, consider using the "mix in" function to incorporate crushed Biscoff cookies, chocolate chips, or additional fresh strawberry pieces at this stage.
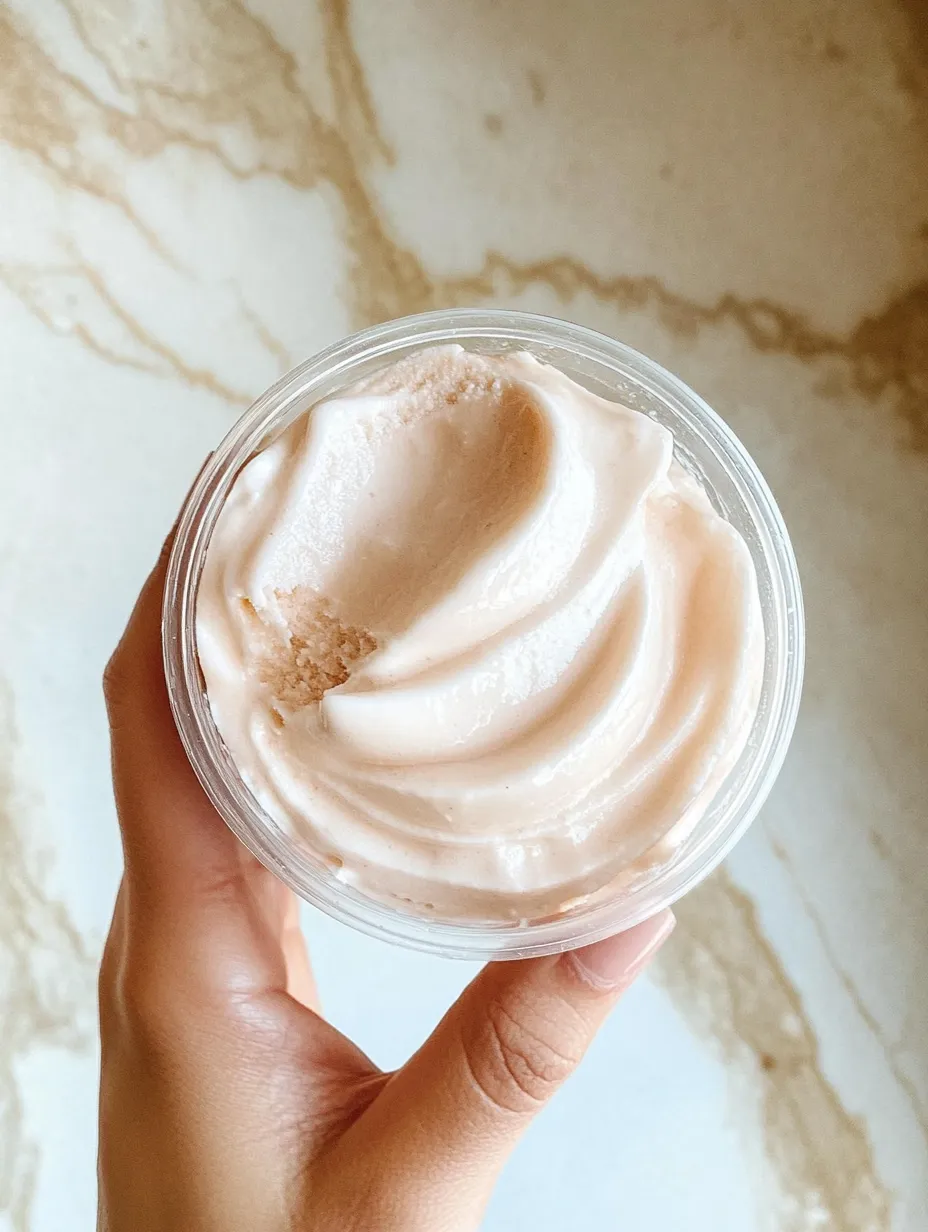
- Serving Perfection:
- For immediate enjoyment, scoop the freshly processed ice cream directly from the Ninja Creami container. The texture will be similar to soft serve at this stage, perfect for cones or as a topping for warm desserts. For a more traditional ice cream consistency, transfer the processed mixture to a separate freezer safe container and freeze for an additional 30 minutes. When serving from storage, allow the ice cream to temper at room temperature for 5 to 10 minutes before scooping. This brief warming period softens the exterior just enough for perfect scooping while maintaining the frozen integrity of the center. Serve in chilled bowls to prevent premature melting, especially during warmer months.
I particularly appreciate how this recipe transforms humble cottage cheese into something extraordinary. My grandmother always saved her strawberry patch's best berries for ice cream, insisting that only perfect specimens deserved such treatment. While using frozen berries makes this recipe accessible year round, I still find myself making special batches during local strawberry season when the fruit is at its peak sweetness. My husband now requests this ice cream for his birthday instead of cake, which speaks volumes about its crowd pleasing potential.
Perfect Pairings
This versatile ice cream welcomes numerous accompaniments that enhance the strawberry flavor. Create an elevated sundae by topping with warm balsamic glazed strawberries that intensify the berry notes while adding sophisticated contrast. For textural interest, sprinkle with crushed amaretti cookies or toasted sliced almonds that complement both the strawberry and vanilla flavors beautifully. Chocolate lovers might appreciate a drizzle of warm ganache that hardens slightly upon contact with the cold ice cream. Serve alongside butter cookies or shortbread for a simple yet elegant dessert that allows the ice cream to remain the star. For special occasions, sandwich between two soft sugar cookies and refreeze briefly for homemade ice cream sandwiches that outshine any store bought version.
Flavor Variations
This foundation recipe welcomes countless adaptations depending on your preferences and available ingredients. Consider substituting frozen blueberries, raspberries, or a mixed berry blend for different fruit profiles while maintaining the same creamy texture. Chocolate enthusiasts might add two tablespoons of unsweetened cocoa powder and chocolate chips for a berry chocolate version. Those seeking more indulgence could swirl in a ribbon of strawberry jam just before the final freeze for striking visual appeal and concentrated flavor pockets. Spice lovers might incorporate a pinch of cardamom or cinnamon which pair surprisingly well with strawberries. For a tropical twist, replace half the strawberries with frozen mango chunks and add a tablespoon of coconut cream to the base mixture before freezing.
Storage Wisdom
Properly stored, this homemade ice cream maintains excellent quality for up to two weeks in the freezer. Transfer any unused portion to a shallow, airtight container to minimize exposure to air and prevent freezer burn. Press a piece of parchment paper or plastic wrap directly onto the surface of the ice cream before securing the lid to create an additional barrier against air exposure. Store in the coldest part of your freezer, away from the door where temperature fluctuations occur most frequently. For longer storage periods, consider dividing into smaller individual portions that can be enjoyed without repeatedly thawing and refreezing the entire batch. When ready to serve from storage, allow to soften at room temperature for 5 to 10 minutes or microwave for 10 seconds for ideal scooping consistency.
 Pin it
After countless batches perfecting this recipe, I've come to appreciate its remarkable versatility and foolproof nature. What begins as seemingly disparate ingredients transforms through simple techniques into something truly special that delivers pure joy in every spoonful. While traditional ice cream recipes often involve cooking custard bases and monitoring temperatures, this streamlined approach produces results that rival or exceed those complex methods. The protein from cottage cheese creates exceptional mouthfeel while offering nutritional benefits rarely found in frozen desserts. Whether served simply in a bowl, used to elevate other desserts, or enjoyed straight from the container during late night kitchen visits, this strawberry ice cream represents the perfect balance of simplicity and indulgence.
Frequently Asked Questions
- → Can I make this Cottage Cheese Strawberry Ice Cream without a Ninja Creami?
- Yes, you can adapt this recipe without a Ninja Creami. After blending all ingredients, pour the mixture into a freezer-safe container. Freeze for 30 minutes, then stir vigorously with a fork to break up ice crystals. Repeat this process every 30 minutes for 2-3 hours. Alternatively, use a traditional ice cream maker according to manufacturer's instructions. The texture may not be identical, but you'll still get a delicious frozen treat.
- → Can I substitute the gelatin to make this ice cream vegetarian?
- Yes, for a vegetarian version, substitute the gelatin with 1 tablespoon of agar-agar powder or 2 tablespoons of cornstarch. Both will help stabilize the ice cream, though the texture might be slightly different. For agar-agar, you may need to heat it with a small amount of the milk first to activate it before blending with other ingredients.
- → What type of cottage cheese works best for this ice cream?
- A full-fat or 4% milkfat cottage cheese produces the creamiest results, but 2% will also work well. The key is using a brand with a thick, creamy consistency rather than a watery one. Good Culture, Friendship, or Nancy's are excellent options. If your cottage cheese seems watery, drain it in a fine-mesh sieve for 30 minutes before measuring.
- → Can I use different fruits instead of strawberries?
- Absolutely! This recipe works beautifully with other berries like blueberries, raspberries, or blackberries. Peaches, mangoes, or cherries are also excellent options. Keep the same quantity (about 1.5 cups of frozen fruit) and adjust the maple syrup to taste, as some fruits are naturally sweeter than others.
- → How long will this homemade ice cream keep in the freezer?
- This cottage cheese ice cream will keep well in an airtight container in the freezer for up to 2 weeks. After longer storage, it may develop more ice crystals and become harder. To serve after extended freezing, let it sit at room temperature for 5-10 minutes to soften slightly before scooping.
- → Can I make this recipe dairy-free?
- Yes, you can make a dairy-free version by substituting the milk with almond, oat, or coconut milk and replacing the cottage cheese with silken tofu or a thick coconut yogurt. You may need to adjust the sweetener slightly and possibly add 1 tablespoon of coconut oil to help with creaminess since you'll be losing some of the fat from the dairy products.