
 Pin it
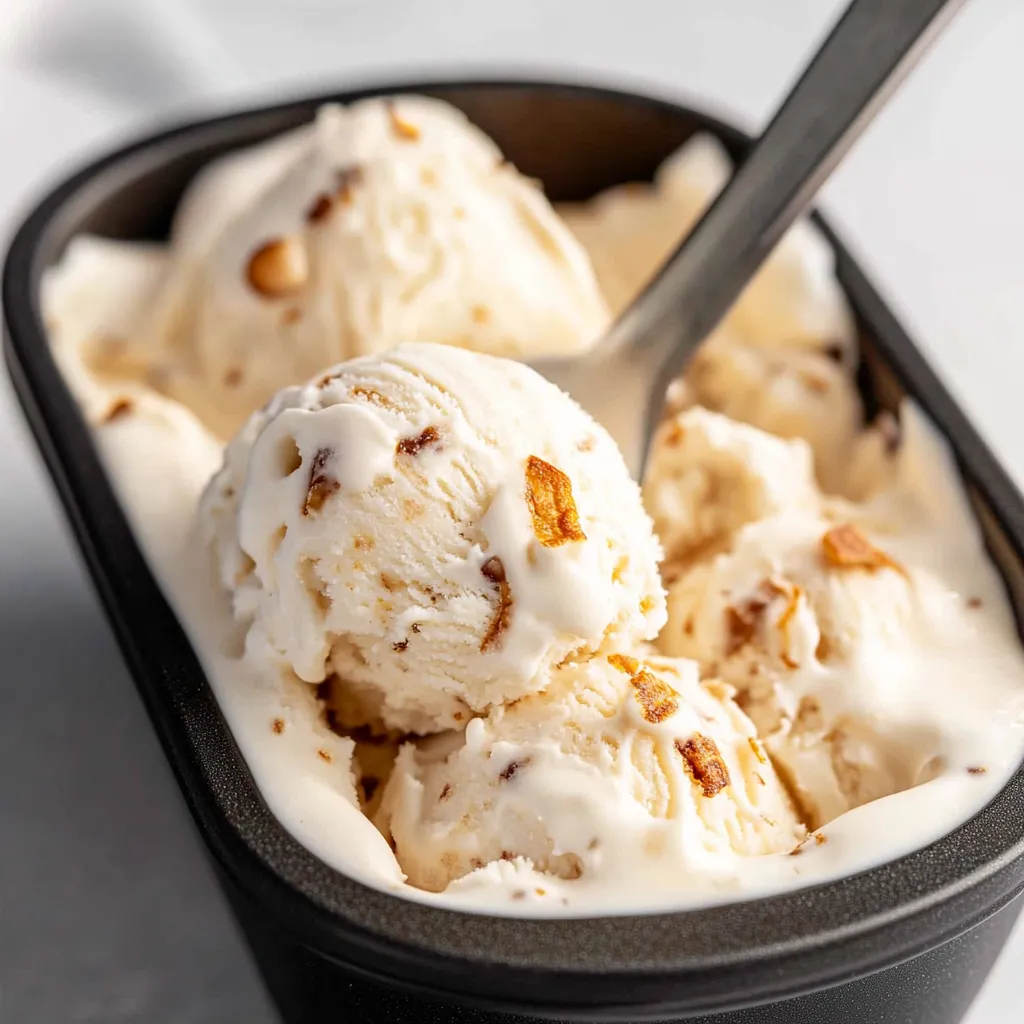
Toasted marshmallow ice cream brings together childhood nostalgia and simple homemade goodness in every creamy bite. On a hot summer night when nothing else would satisfy my sweet tooth I whipped this up and it has been a hit ever since. All you need are three easy ingredients no fancy ice cream maker required.
I first whipped this up for a family BBQ where it vanished within minutes and everyone begged for the recipe. Every time I make it it sparks that happy oooh when someone tastes the toasted marshmallows mixed in.
Ingredients
- Whipping cream: Look for at least 35 percent milk fat which whips up light and holds structure for a creamy base
- Sweetened condensed milk: This gives the mixture sweetness and a silky texture Choose a brand with milk and sugar as main ingredients for the richest flavor
- Mini marshmallows: These roast quickly for that signature toasty taste Pick the freshest bag possible since stale ones do not melt smoothly
Step-by-Step Instructions
- Whip the Cream:
- Beat cold whipping cream on medium speed for about four minutes until soft peaks begin to form The cream will look thick and hold its shape when you lift the mixer
- Combine with Condensed Milk:
- Lower the mixer speed and slowly pour in the sweetened condensed milk Continue to beat until thoroughly combined The mixture should be smooth and pale
- Toast the Marshmallows:
- Spread mini marshmallows on a foil lined baking sheet Place under your broiler for about one to two minutes until deeply golden brown You have to watch closely since marshmallows can go from toasted to burnt in seconds
- Add Toasted Marshmallows:
- Scrape the hot marshmallows right into your whipped cream mixture While they are still melty fold them in gently so ribbons of marshmallow weave throughout
- Freeze:
- Pour everything into a freezer safe container Fill all the way to the top for best scoopability Freeze for at least eight hours until solid and scoopable
 Pin it
I always look forward to the marshmallow step since the scent fills the kitchen with memories of cozy campfires My daughter loves to lick the spoon after we swirl in the toasty bits
Storage Tips
Store the ice cream in a freezer safe container with a tight lid Press a piece of plastic wrap directly on the surface to prevent ice crystals Homemade ice cream is best within one week for peak creaminess
Ingredient Substitutions
You can swap regular size marshmallows just snip them into smaller pieces before toasting Dairy free whipping cream substitutes work but give a slightly less rich texture If you want a little chocolate flavor add a handful of mini chocolate chips after folding in the marshmallows
Serving Suggestions
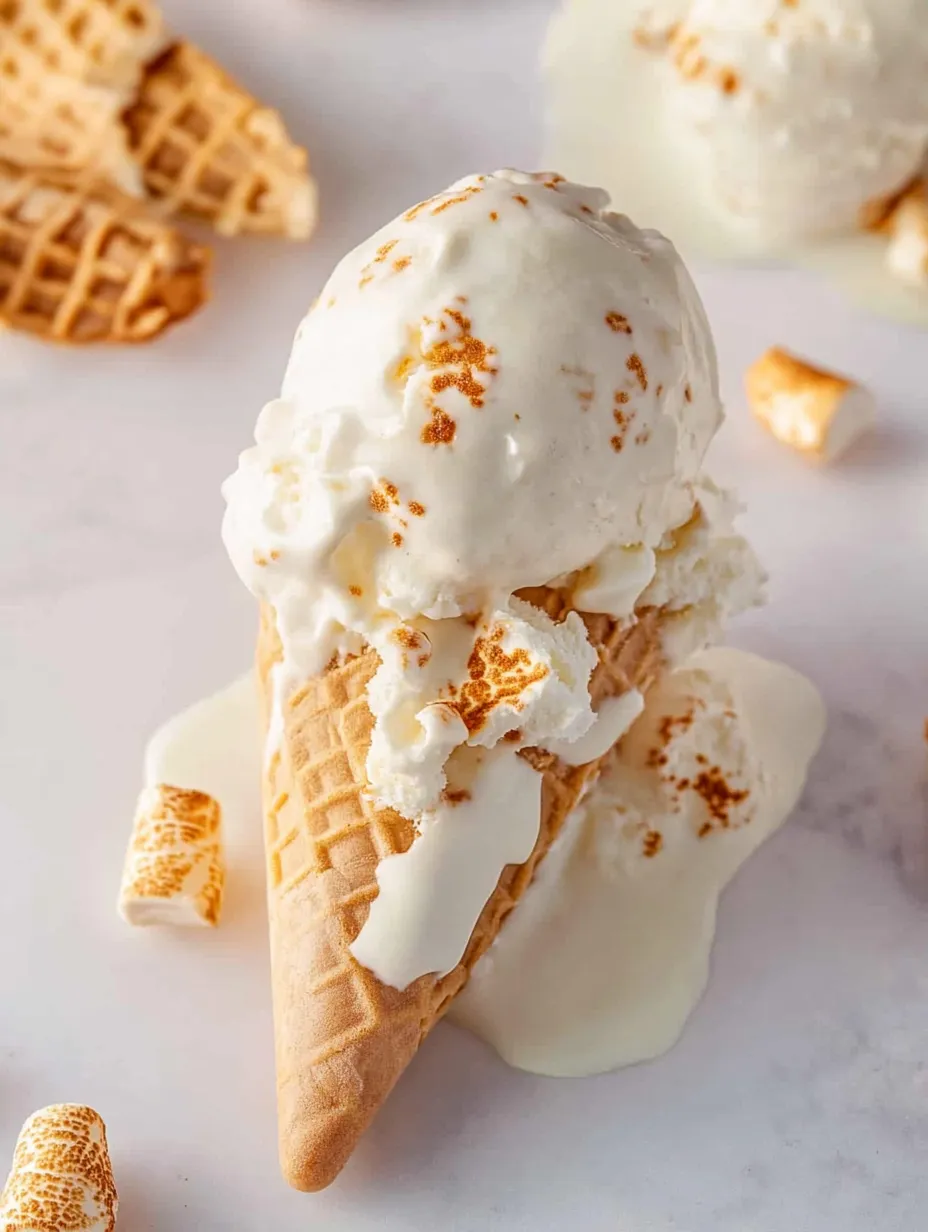
Serve scoops in cones or bowls topped with extra mini marshmallows or a drizzle of chocolate sauce Sandwich a scoop between graham crackers for a s’mores style twist For party flair sprinkle with crushed graham cracker crumbs
A Little Ice Cream History
No churn ice cream recipes like this soared in popularity before home ice cream machines were common The method using whipped cream and sweetened condensed milk dates back generations and is especially beloved in American home kitchens for its simplicity
Frequently Asked Questions
- → Can I use regular marshmallows instead of mini marshmallows?
Yes, you can use regular marshmallows; just chop them into smaller pieces for even toasting and blending.
- → How long should I broil the marshmallows?
Broil for 1 to 2 minutes, watching closely as they can burn quickly. Remove when golden and toasted.
- → Do I need an ice cream maker?
No special machine is required for this dessert; a hand mixer and freezer-safe container will do the job.
- → How long does it need to freeze?
Freeze the mixture for at least 8 hours or until it is fully set and scoopable for the best texture.
- → Can I add mix-ins like chocolate or nuts?
Absolutely! Fold in chocolate chunks or nuts after blending the base for extra flavor and crunch.