
 Pin it
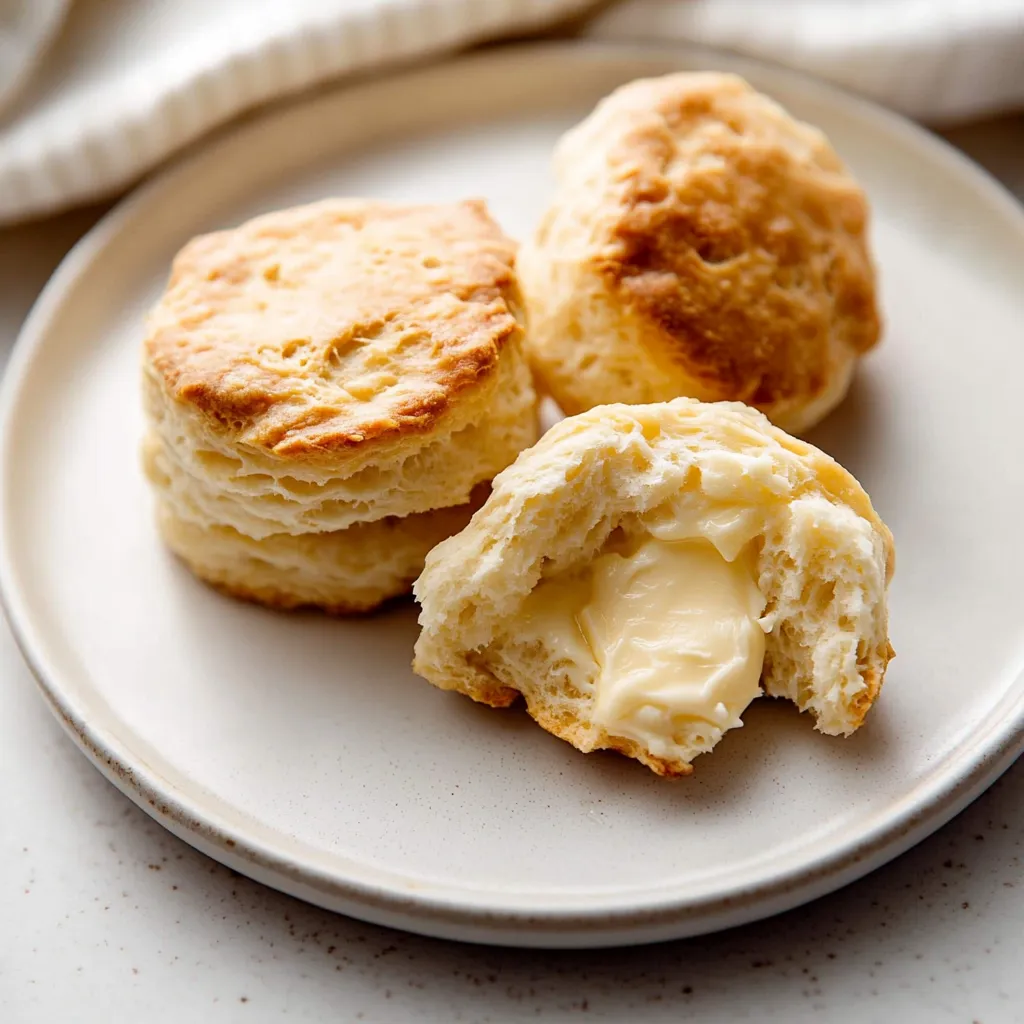
Perfect Homemade Biscuits are incredibly flaky, buttery, and melt in your mouth delicious. They require only seven simple ingredients found in most kitchens. The recipe takes just 35 minutes from start to finish, making them perfect for any meal.
Understanding Biscuit Magic
American style biscuits differ greatly from their international counterparts. These quick bread delights use baking powder and baking soda instead of yeast, creating a uniquely tender and flaky texture. Every bite reveals multiple buttery layers that simply cannot be replicated with store bought versions.
 Pin it
The Perfect Ingredients Matter
Quality ingredients make exceptional biscuits. All purpose flour provides the perfect structure, while cold butter creates those sought after flaky layers. Fresh buttermilk adds tanginess and tenderness, working with honey to create a perfectly balanced flavor profile.
Mastering The Technique
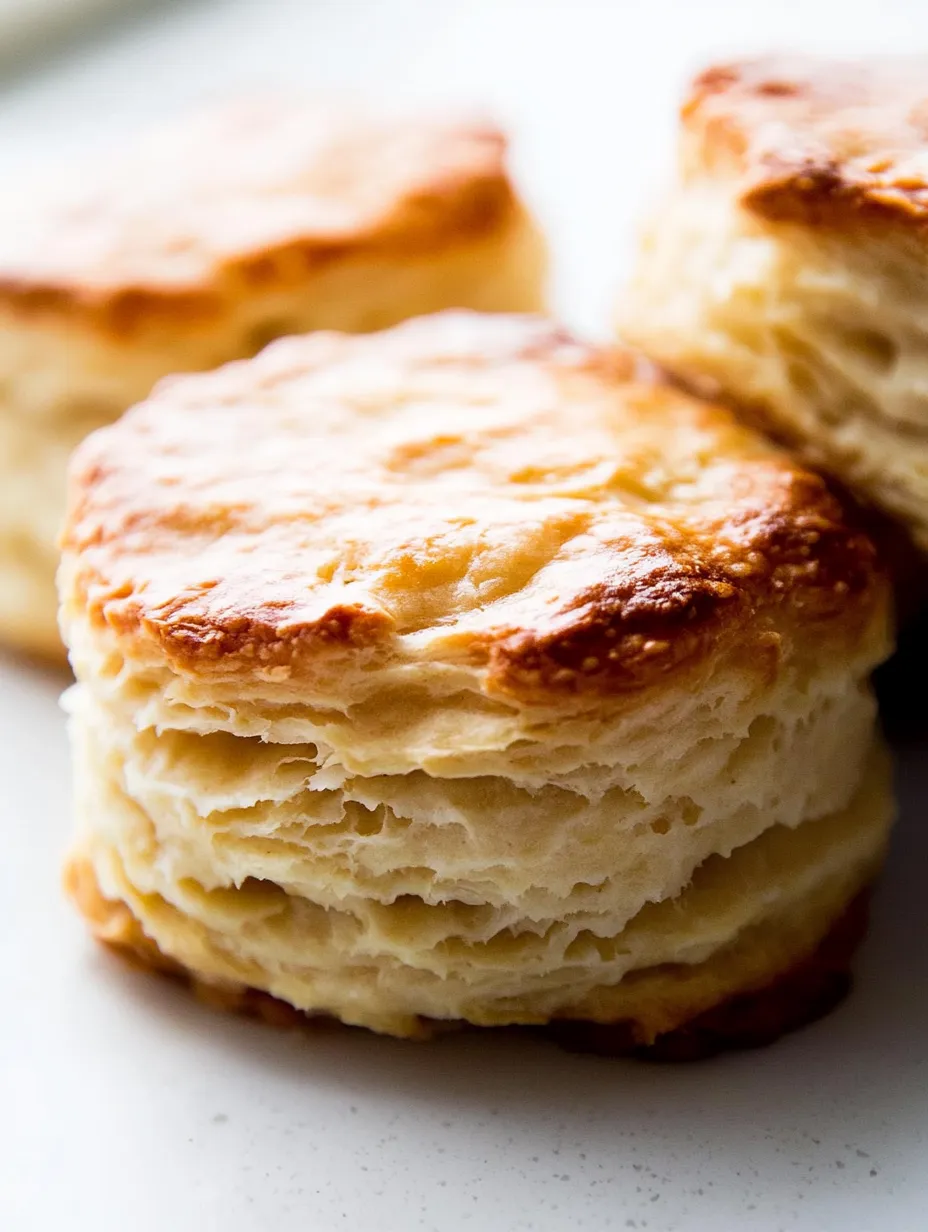
The secret to perfect biscuits lies in gentle handling and proper folding. The butter should remain cold throughout the process, creating small pockets that become steamy layers during baking. Each fold multiplies these layers, resulting in incredibly flaky biscuits.
Creating The Layers
The flatten and fold technique creates dozens of flaky layers. This method involves patting the dough into a rectangle and folding it like a letter. Repeating this process three times develops the characteristic flaky texture that makes these biscuits special.
Versatile Serving Options
These biscuits shine at any meal throughout the day. For breakfast, split and fill them with eggs, cheese, and bacon. At lunch, they make perfect sandwich bread for chicken or ham. Dinner sees them soaking up gravy or stews, while dessert transforms them into strawberry shortcakes with whipped cream.
Storage Solutions
Fresh biscuits maintain their quality when stored properly. Keep them in an airtight container at room temperature for two days. They'll last five days in the refrigerator though may become slightly firmer. Freeze baked biscuits for up to three months, wrapped well to prevent freezer burn.
 Pin it
Troubleshooting Common Issues
Understanding potential problems helps achieve perfect results. If biscuits spread instead of rising, the butter likely became too warm. Tough biscuits usually result from overworking the dough. Uneven browning typically means oven temperature needs adjusting or rack position should be changed.
Detailed Instructions
- Preparation:
- Preheat oven to 425°F (218°C). Place rack in middle position. Line a baking sheet with parchment paper or prepare a cast iron skillet. Ensure butter and buttermilk are very cold.
- Mixing Dry Ingredients:
- In a large bowl, whisk together 2½ cups all purpose flour, 2 tablespoons baking powder, ½ teaspoon baking soda, and 1 teaspoon salt until well combined.
- Incorporating Butter:
- Cut 1/2 cup cold butter into small cubes. Using fingertips or pastry cutter, work butter into flour mixture until it resembles coarse crumbs with some pea sized pieces remaining.
- Adding Wet Ingredients:
- Pour in 1 cup cold buttermilk and 2 tablespoons honey. Stir gently with a wooden spoon until just combined. Dough will look shaggy and some flour may remain unmixed.
- Creating Layers:
- Turn dough onto lightly floured surface. Pat into a rectangle about 1/2 inch thick. Fold dough into thirds like a letter. Pat down again and repeat folding process two more times.
- Cutting Biscuits:
- Pat dough to 1 inch thickness. Using a 2½ inch biscuit cutter, press straight down without twisting. Place biscuits close together on prepared pan, sides touching.
- Baking Process:
- Brush tops with additional buttermilk. Bake for 20 to 21 minutes until golden brown on top and bottom. Rotate pan halfway through if needed for even browning.
- Final Touches:
- Remove from oven and immediately brush with honey butter mixture if desired. Let cool for 5 minutes before serving.
These homemade biscuits bring comfort and joy to any meal. Their versatility and delicious taste make them a cherished addition to your baking repertoire, sure to become a family favorite passed down through generations.
Frequently Asked Questions
- → Why do the ingredients need to be cold?
- Cold ingredients, especially butter and buttermilk, create steam while baking, which helps form flaky layers and creates a higher rise in the biscuits.
- → Can I make these biscuits ahead of time?
- Yes, you can freeze the shaped unbaked biscuits for up to 3 months or refrigerate the dough for up to 2 days before baking.
- → Why shouldn't I twist the biscuit cutter?
- Twisting seals the edges of the biscuits, which prevents them from rising properly. Press straight down and pull straight up when cutting.
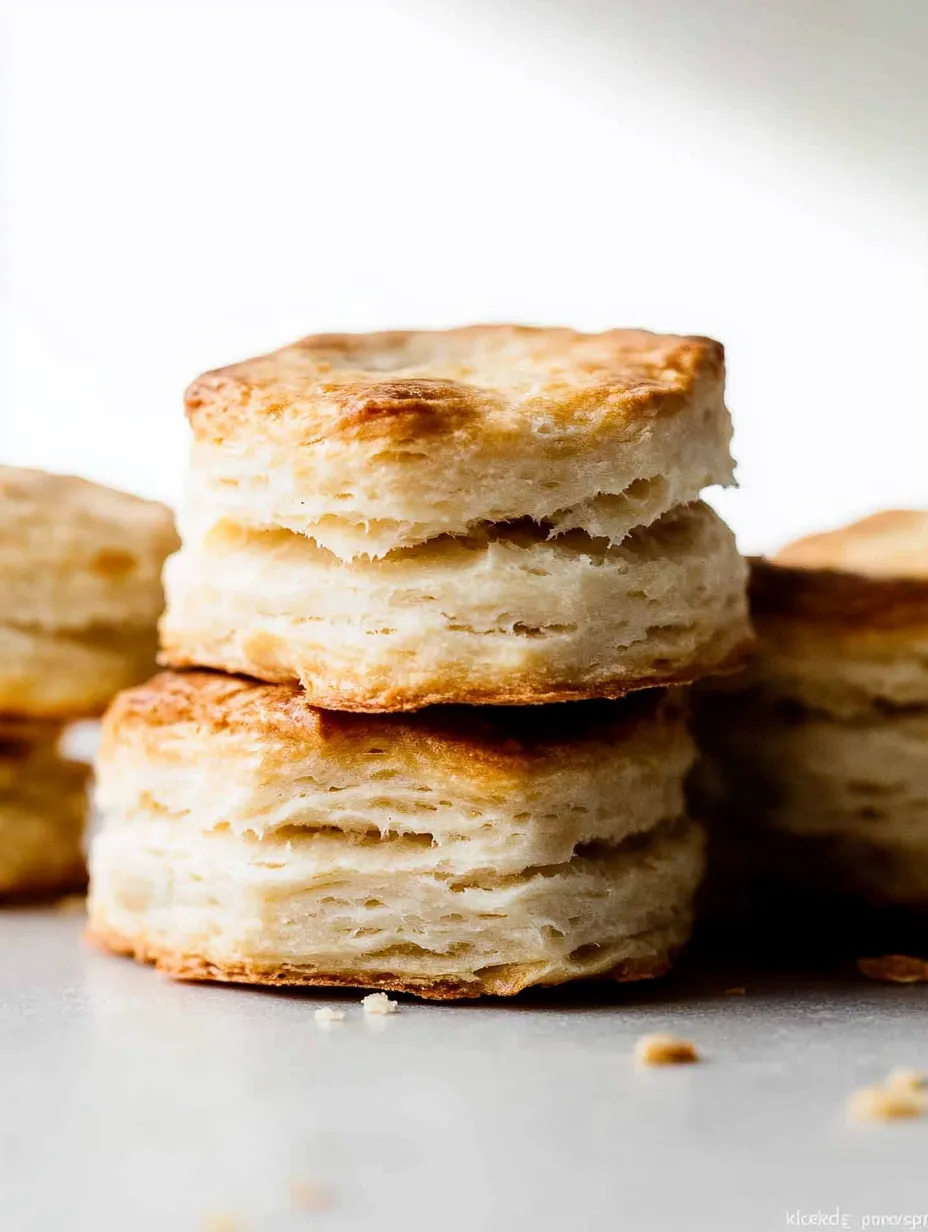
- → Why should the biscuits touch while baking?
- When biscuits touch during baking, they support each other as they rise, resulting in taller, flakier biscuits with soft sides.
- → How do I store leftover biscuits?
- Store biscuits in an airtight container at room temperature or in the refrigerator for up to 5 days. They can also be frozen for up to 3 months.