
 Pin it
This silky smooth almond milk delivers pure, clean flavor that store bought versions simply cannot match, with a rich creaminess that transforms everything from morning coffee to favorite baking recipes. The process of transforming humble almonds into this luxurious beverage connects you to traditional food preparation methods while eliminating the additives and stabilizers found in commercial alternatives. Each glass offers a delicate nutty sweetness that tastes indulgent yet provides wholesome nutrition, proving that sometimes the simplest ingredients create the most satisfying results.
I first started making homemade almond milk after becoming frustrated with commercial brands that contained various gums, stabilizers, and preservatives despite their "natural" marketing claims. After my first batch, I was genuinely surprised by the clean, fresh taste that made store versions seem flat and artificial by comparison. My family immediately noticed the difference, with my husband commenting that his morning coffee tasted notably better. Even my children, who typically avoid plant milks, happily drink this version straight from the glass, making our transition to more plant based options significantly easier.
Quality Ingredient Selection
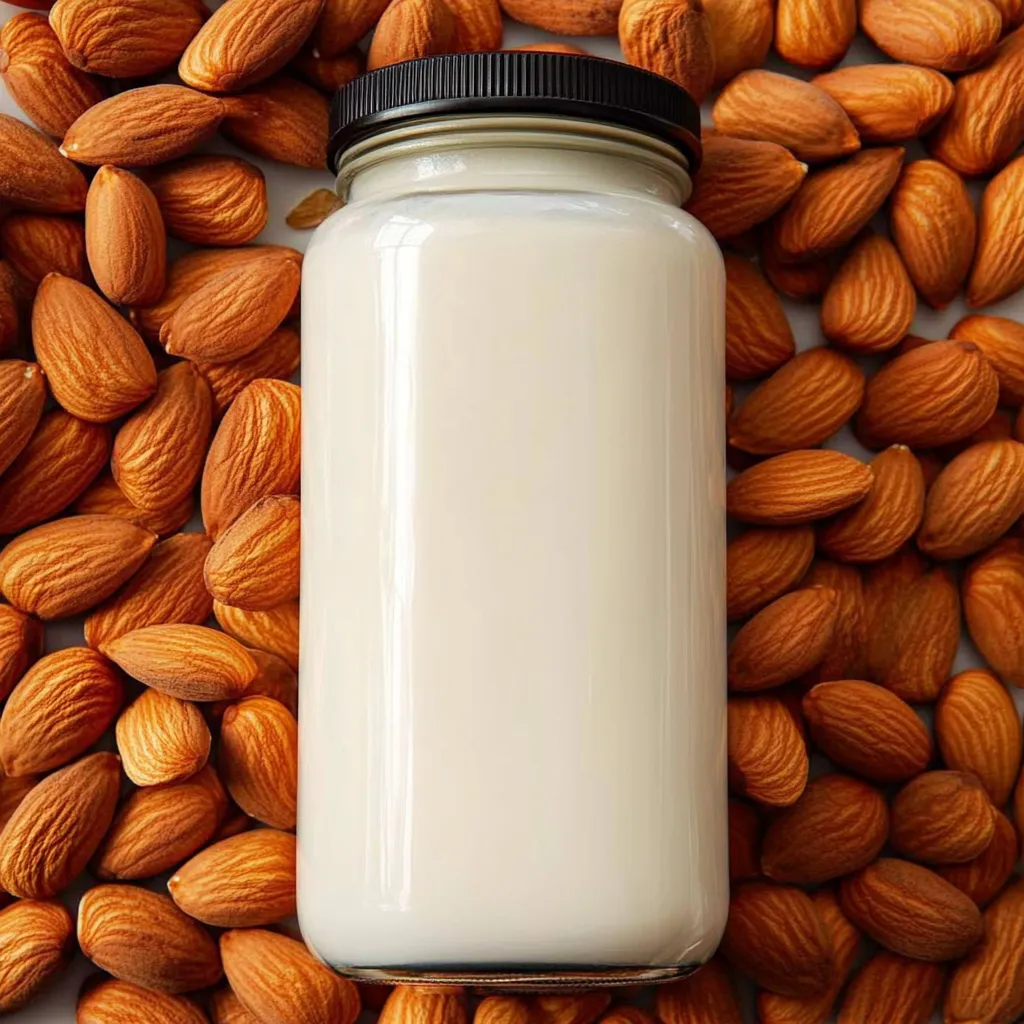
- Raw almonds: provide the foundation for this milk with their natural oils and sweet flavor. Always choose truly raw, unpasteurized almonds when possible for maximum nutritional benefit and the purest taste profile.
- Filtered water: ensures clean flavor without chlorine or mineral notes that might interfere with the delicate almond taste. The quality of your water directly influences the final product, making this simple choice surprisingly important.
- Vanilla bean paste: adds complex flavor depth with authentic specks of real vanilla, creating visual appeal and richer taste than extract alone. The subtle warmth complements the natural almond notes perfectly.
- Pure maple syrup: contributes gentle sweetness with caramel undertones that enhance rather than mask the almond flavor. Unlike refined sugar, its complex profile integrates beautifully with the natural nuttiness.
- Sea salt: might seem unexpected but proves essential for enhancing flavor dimensions and creating balanced taste. Just a tiny pinch transforms flat flavor into something vibrant and complete.
Complete Preparation Process
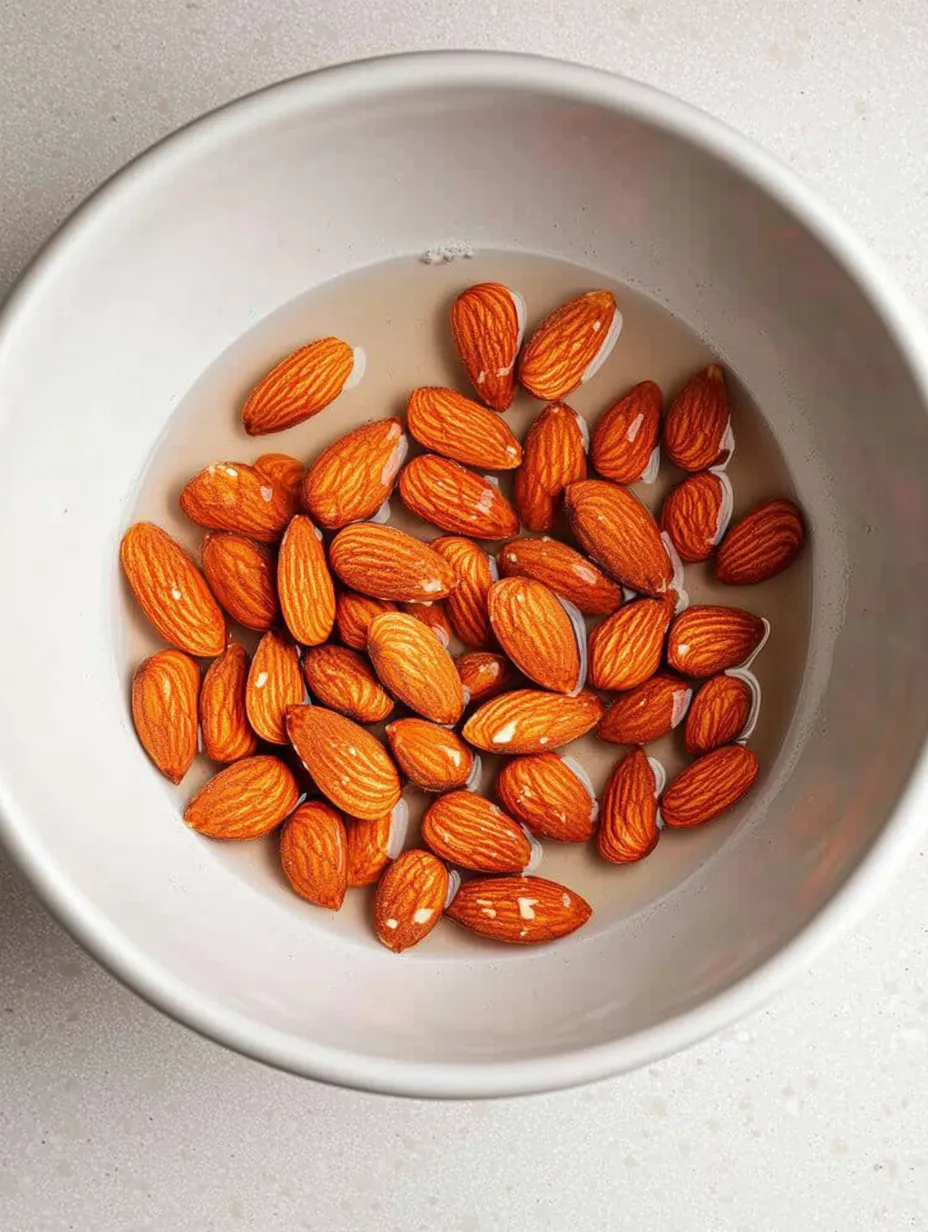
- Begin With Soaking:
- Place one cup of raw almonds in a glass bowl and cover completely with filtered water, adding an additional inch of water above the nut line to allow for expansion. Cover the bowl with a clean kitchen towel and let sit on the counter for 8 to 12 hours or overnight. This crucial soaking process softens the almonds, making their nutrition more bioavailable while ensuring the creamiest possible texture in the finished milk.
- Prepare For Blending:
- After soaking, drain the almonds thoroughly and rinse under cool water until it runs clear. This removes any compounds released during soaking that can cause bitterness. Transfer the rinsed almonds to a high speed blender and add four cups of fresh filtered water. If desired, add half teaspoon vanilla bean paste, one tablespoon maple syrup, and a tiny pinch of sea salt to enhance the natural flavor profile.
- Create The Milk:
- Blend on high speed for a full two minutes to completely break down the almond fibers and release their natural creaminess into the water. The mixture will become opaque white with a frothy layer on top, indicating thorough blending. This extended blending time ensures maximum flavor extraction and the smoothest possible texture in your finished milk.
- Strain Thoroughly:
- Place a nut milk bag or several layers of cheesecloth over a large bowl or pitcher. Slowly pour the blended mixture into the bag, allowing the liquid to filter through while capturing the pulp. Once all liquid has been poured in, gently squeeze the bag to extract remaining milk from the pulp, being careful not to force pulp particles through the cloth. This patience during straining creates silky smooth milk without grittiness.
- Complete The Process:
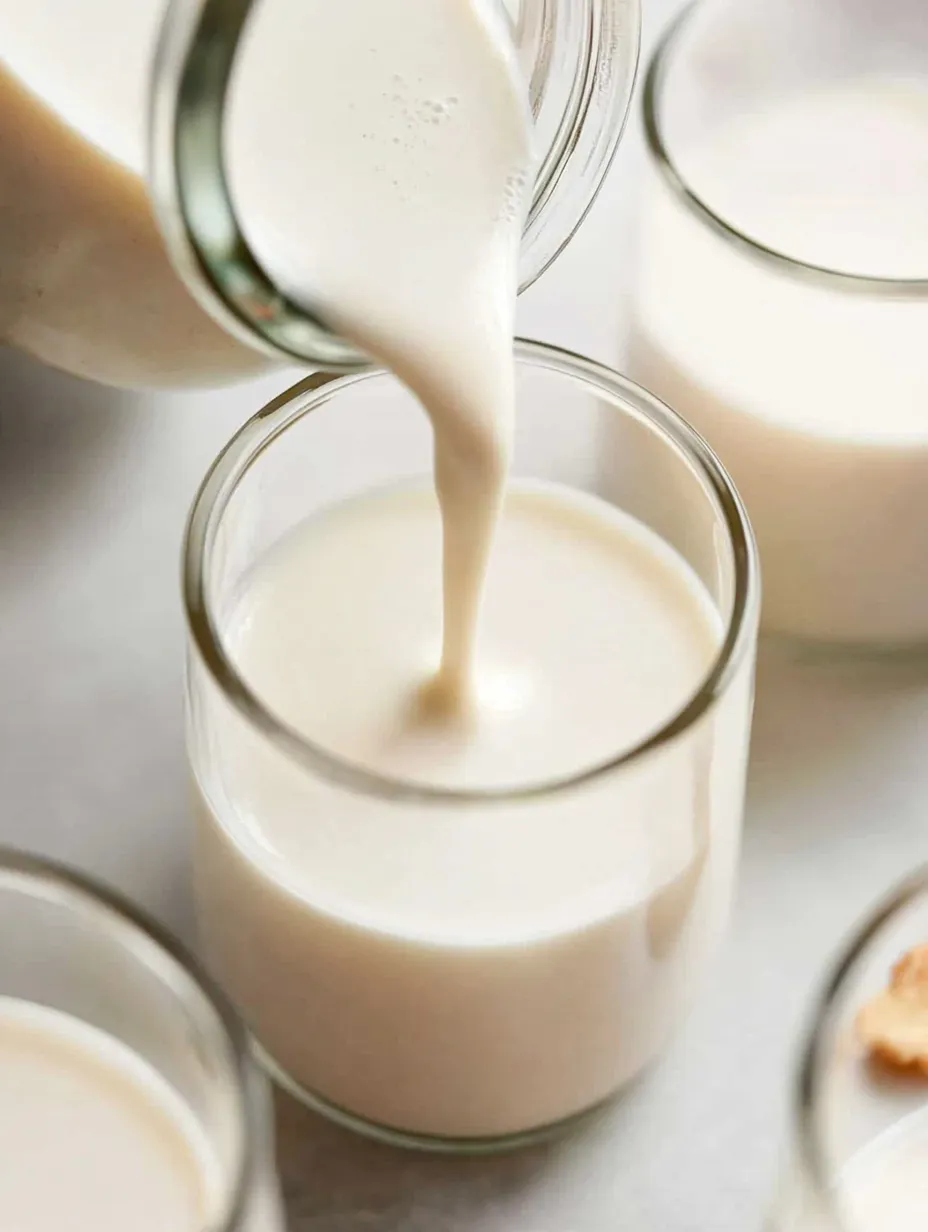
- Transfer the strained milk to a clean glass jar or bottle with a tight fitting lid. While the milk can be enjoyed immediately, its flavor develops and improves after chilling for at least two hours. Store in the refrigerator for 4 to 5 days, remembering to shake well before each use as natural separation occurs without commercial stabilizers. This separation is actually a sign of quality and purity rather than a flaw.
 Pin it
My family particularly appreciates the versatility of this homemade milk. My husband uses it in his morning coffee ritual, claiming it creates the perfect creamy texture without overwhelming the coffee flavor like commercial creamers. I enjoy it in afternoon tea or warmed with a touch of cinnamon before bed. The children prefer it ice cold over cereal or blended into smoothies. What makes this special for us is how a single recipe adapts to everyone's preferences while providing wholesome nutrition without the additives found in store versions.
Delightful Flavor Variations
Transform this basic recipe into exciting variations that suit different culinary uses and personal preferences. For chocolate almond milk, add two tablespoons raw cacao powder and increase maple syrup to three tablespoons during blending. Create warming chai almond milk by adding quarter teaspoon each of cinnamon, cardamom, and ginger with a tiny pinch of cloves. For a protein enhanced version, blend in two tablespoons hemp seeds before straining. Vanilla bean lovers can increase vanilla paste to a full teaspoon and add an additional tablespoon of maple syrup for a dessert like treat that remains nutritious.
Practical Usage Ideas
Use this versatile milk as the liquid base in morning smoothies, providing creaminess and nutrition without artificial ingredients. Create the perfect latte by warming gently before adding to espresso, where its natural sweetness reduces or eliminates the need for added sugar. Transform ordinary oatmeal by cooking the grains directly in almond milk instead of water for remarkably creamy results. For weekend treats, use as the liquid in pancake or waffle batter, creating delightfully light texture and subtle flavor enhancement. Replace dairy milk measure for measure in most baking recipes, often improving both flavor and texture.
Waste Reduction Solutions
Save the strained almond pulp in a container and refrigerate for up to three days or freeze for longer storage. Spread on a parchment lined baking sheet and dry in a 200°F oven for about two hours, stirring occasionally, to create almond meal for baking. Alternatively, add the wet pulp directly to smoothies for fiber enhancement without affecting flavor. Mix into overnight oats or baked oatmeal for protein boost and textural interest. For zero waste approach, combine with dates, cocoa, and coconut oil in a food processor, then shape into energy balls for nutritious snacks that utilize every part of your almonds.
 Pin it
This homemade almond milk represents what I value most about kitchen basics creating pure, fresh alternatives to commercial products through simple processes that connect us to traditional food preparation. The transformation of plain almonds into this versatile beverage demonstrates how minimal ingredients often yield the most satisfying results. Beyond the practical benefits of avoiding additives and reducing packaging waste, this recipe provides genuine pleasure through superior flavor while offering gentle nutrition that supports wellbeing rather than merely filling a glass. The practice of making almond milk has become less about following a dietary trend and more about appreciating how simple ingredients, thoughtfully prepared, create everyday luxury that enhances everything it touches.
Frequently Asked Questions
- → Do I really need to soak the almonds overnight?
- Yes, soaking the almonds is a crucial step in making truly creamy homemade almond milk. The soaking process serves several important purposes: it softens the almonds, making them much easier to blend into a smooth consistency; it helps remove some of the phytic acid and enzyme inhibitors naturally present in raw nuts, potentially making the nutrients more bioavailable; and it contributes to a creamier, more milk-like texture in the final product. While you might find some quick recipes that skip this step, the difference in quality is noticeable. If you're really in a pinch, you can use hot water and reduce soaking time to 4 hours, but 8-12 hours delivers the best results. Plan ahead by starting the soak before bed, and your almonds will be ready for blending by morning.
- → What's the best way to strain homemade almond milk?
- For straining homemade almond milk, a proper nut milk bag is the gold standard - it's specifically designed for this purpose with fine mesh that catches all the pulp while allowing the smooth milk to pass through. However, you have several alternatives that work nearly as well. A fine-mesh strainer lined with a few layers of cheesecloth creates a similar setup - just gather the cheesecloth corners to squeeze out all the milk. In a pinch, a clean tea towel, pillowcase (clean, thin cotton), or even several layers of paper towels can work. French press coffee makers can also do a decent job separating the liquid from the pulp. Whichever method you choose, strain the milk slowly and be patient with the squeezing process to extract as much liquid as possible. The more thoroughly you strain, the smoother and longer-lasting your almond milk will be.
- → How can I make my almond milk creamier or thicker?
- To make your homemade almond milk creamier and thicker, try these effective adjustments: First, the simplest method is reducing the water-to-almond ratio - try using just 1½ cups of water instead of 2 cups for the same amount of almonds. For extra richness, add 1-2 tablespoons of a neutral oil like refined coconut oil or avocado oil during blending. A tablespoon of cashew butter blended in also creates remarkable creaminess. For a barista-style milk that foams well in coffee, add ½ teaspoon of sunflower lecithin (available at health food stores) to help emulsify the mixture. Soaking the almonds longer (up to 24 hours, changing the water halfway) can also yield creamier results. Finally, if you're making milk specifically for cooking or creamy applications, adding 1 tablespoon of cooked white rice during blending creates a naturally thicker consistency without affecting the flavor significantly.
- → Why does my homemade almond milk separate, and is this normal?
- Yes, separation is completely normal in homemade almond milk and actually indicates your milk is free from artificial emulsifiers and stabilizers! Commercial almond milks contain additives like gellan gum, carrageenan, or lecithin specifically to prevent this natural separation. What you're seeing is simply the denser almond particles settling at the bottom while the water rises to the top - it's not spoilage or a sign that you did anything wrong. The solution is simple: just give your container a good shake or stir before each use to recombine everything. If separation really bothers you, you can add a natural emulsifier like sunflower lecithin (¼-½ teaspoon per batch) during blending, which helps the fats and water stay mixed longer. Otherwise, embrace the separation as proof of your milk's natural, additive-free quality!
- → How long does homemade almond milk last?
- Homemade almond milk typically stays fresh for 4-5 days when properly stored in the refrigerator in a clean, airtight container. Since it contains no preservatives, it has a shorter shelf life than commercial versions. To maximize freshness: ensure all equipment is very clean when making your milk; store it in the coldest part of your refrigerator (not the door); use glass containers rather than plastic when possible; and consider making smaller batches more frequently rather than large amounts that might spoil. You can tell almond milk has gone bad if it develops an off smell, tastes sour, or becomes unusually thick or clumpy (beyond normal separation, which is fixed with a simple shake). If you won't use all your milk within the 4-5 day window, you can freeze it in ice cube trays, then transfer the frozen cubes to freezer bags for up to 3 months - perfect for adding to smoothies!
- → What can I do with the leftover almond pulp?
- The leftover almond pulp from making homemade milk is too valuable to throw away! One of the most popular uses is making almond flour: spread the pulp on a baking sheet and dry it in the oven at the lowest setting (around 170°F) for 2-3 hours until completely dry, then pulse in a food processor until fine. This homemade almond flour works beautifully in baking. For easier options, add the wet pulp directly to smoothies, oatmeal, or yogurt for extra nutrition and texture. It makes a great addition to homemade granola, energy balls, or cookie dough. You can even mix it into veggie burger patties as a binder. For skincare enthusiasts, the wet pulp makes an excellent gentle body scrub when mixed with a little oil and honey. The pulp freezes well too, so you can save it until you're ready to use it. With so many possibilities, you'll start seeing this 'byproduct' as a bonus ingredient in your kitchen!