
 Pin it
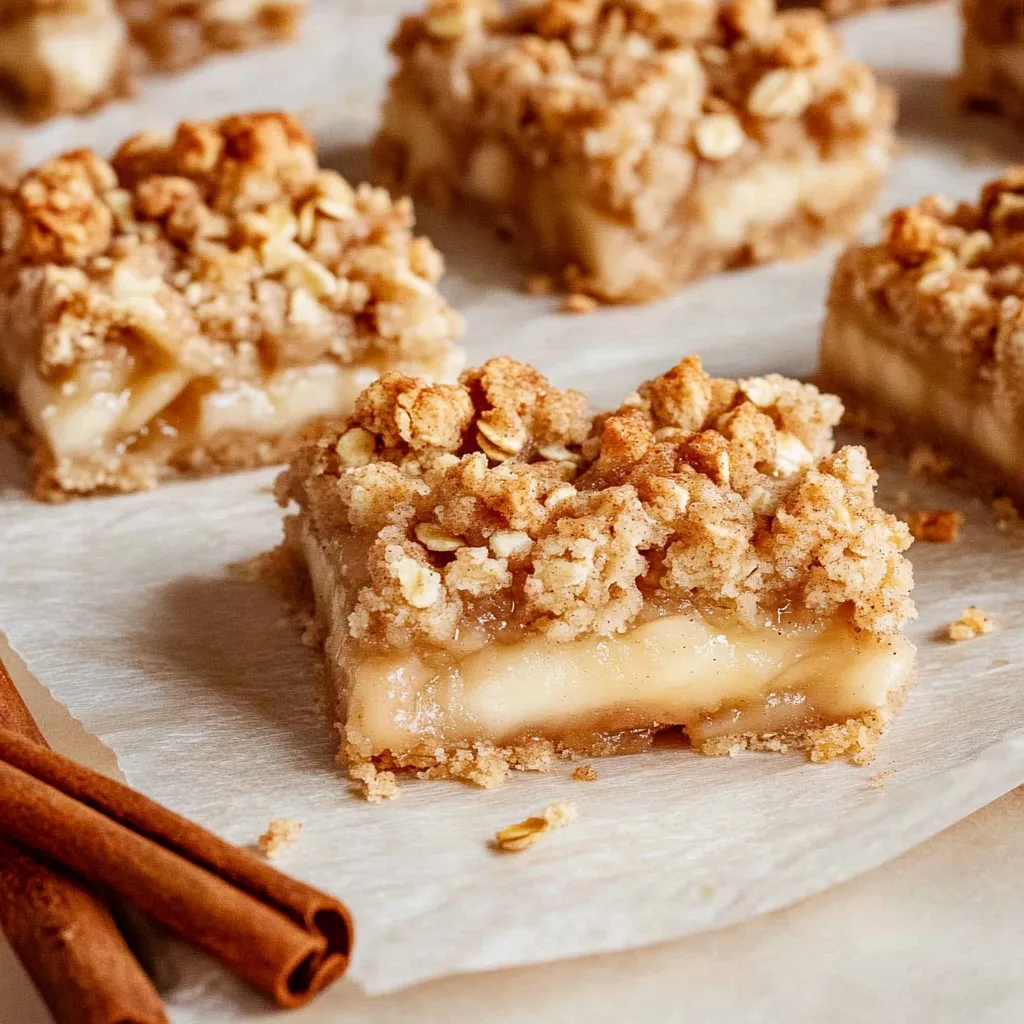
Apple cheesecake oatmeal bars combine four magnificent elements into one spectacular treat, delivering contrasting textures and complementary flavors in each perfect bite. The foundation begins with a golden oatmeal crust that provides slight chewiness with delicate crunch. Next comes a layer of silky cream cheese filling that offers tangy richness reminiscent of classic cheesecake. The third layer features tender cinnamon spiced apples that provide gentle sweetness with subtle tartness. Finally, a generous sprinkling of oatmeal crumble topping adds wonderful textural contrast while tying all components together. These magnificent bars satisfy multiple cravings simultaneously while delivering nostalgic comfort in portable form.
My introduction to these bars happened during an autumn visit to my sister's farm several years ago. After a long day harvesting apples in her small orchard, she served these alongside steaming mugs of spiced cider. The contrast between crisp fall air outside and the warm cinnamon aroma indoors created a moment of pure contentment. Now whenever September arrives, making these bars marks the official beginning of apple season in my household. My children recognize the distinctive scent of these baking and come running to the kitchen, knowing autumn celebrations have officially begun.
Thoughtful Ingredient Selection
- Old fashioned rolled oats: Provide perfect hearty texture and slight chewiness impossible to achieve with quick cooking varieties
- Light brown sugar: Introduces subtle caramel undertones that complement both apples and cream cheese beautifully
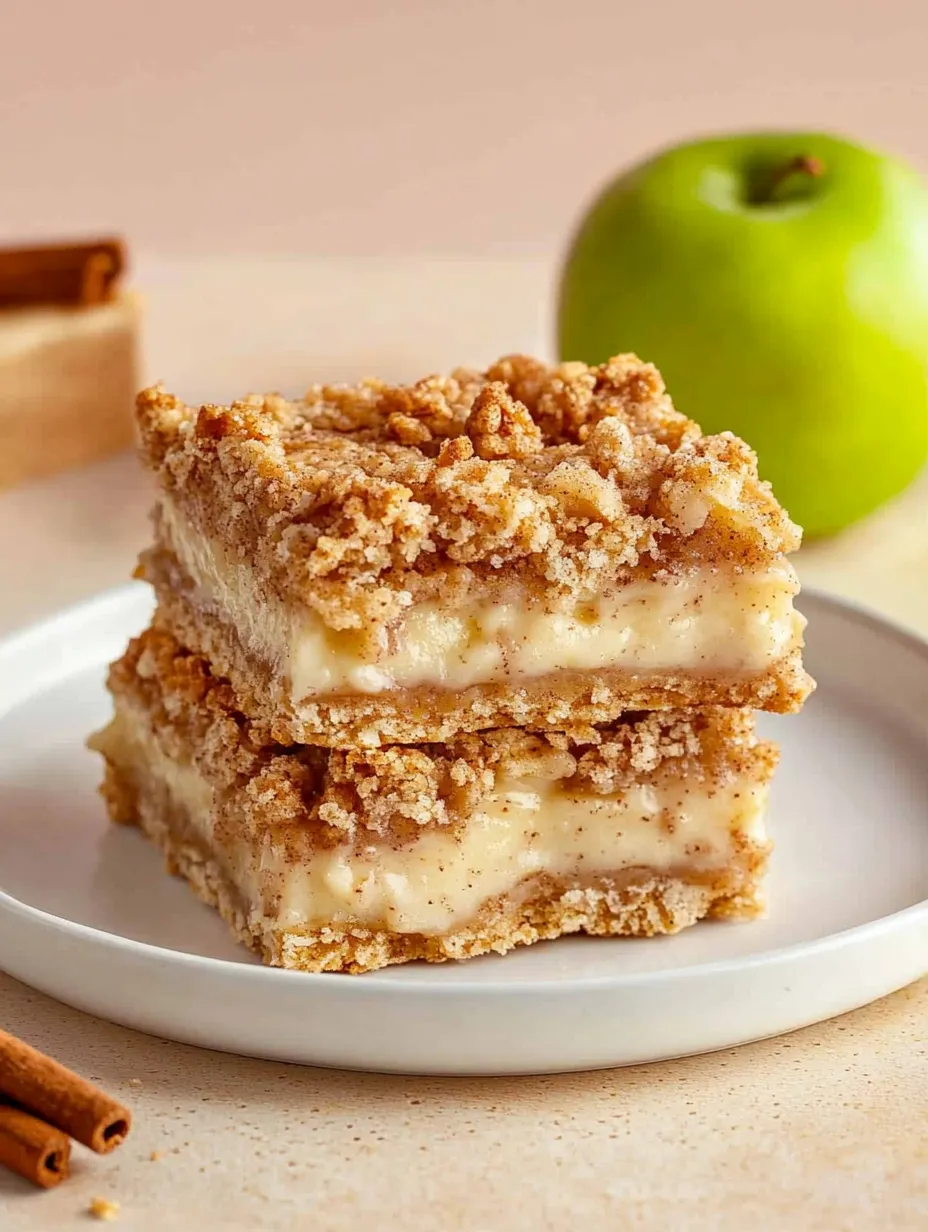
- Granny Smith apples: Maintain slight firmness even after baking, offering pleasant texture contrast to creamy cheese layer
- Full fat block cream cheese: Delivers proper richness and stability essential for perfect cheesecake texture
- Fresh lemon zest: Brightens the cream cheese layer, balancing richness with subtle citrus notes
- Ground cinnamon: Adds warm spice notes that enhance natural apple flavors without overwhelming
When selecting apples, firm varieties that hold their shape during baking work best for these bars. While I typically use Granny Smith for their perfect balance of tartness and structure, Pink Lady or Honeycrisp apples make wonderful alternatives when available. One autumn when visiting an orchard, I used a combination of three different apple varieties which created intriguing complexity of flavors throughout the bars. My daughter now insists this approach produces the best version, though honestly, even with basic supermarket Granny Smiths, these bars never disappoint.
 Pin it
Foolproof Preparation Instructions
Create Versatile Base Mixture
- Combine flour, oats, salt and baking soda in large mixing bowl, whisking to distribute ingredients evenly. Melt butter completely, allowing it to cool slightly before combining with brown sugar and vanilla in separate bowl. Pour wet ingredients into dry ingredients, mixing thoroughly until no dry spots remain. Mixture should hold together when pressed between fingers. Reserve approximately one cup of mixture for topping, setting aside while preparing base layer.
Form Perfect Foundation
- Line baking pan with parchment paper, allowing excess to extend over edges for easy removal later. Press remaining oat mixture firmly into pan using flat bottomed measuring cup to create even layer. Apply gentle pressure to ensure cohesive base without compressing too densely. Bake until just beginning to turn golden at edges, being careful not to overbake as base continues cooking during final baking phase.
Prepare Creamy Middle
- Beat room temperature cream cheese until completely smooth with no lumps remaining. Add sugar gradually while continuing to beat, incorporating fully before adding lemon zest and egg. Mix until just combined, avoiding overbeating which incorporates excess air. Mixture should appear silky and uniform. Spread over partially cooled base using offset spatula to create even layer extending to all edges.
Create Apple Layer
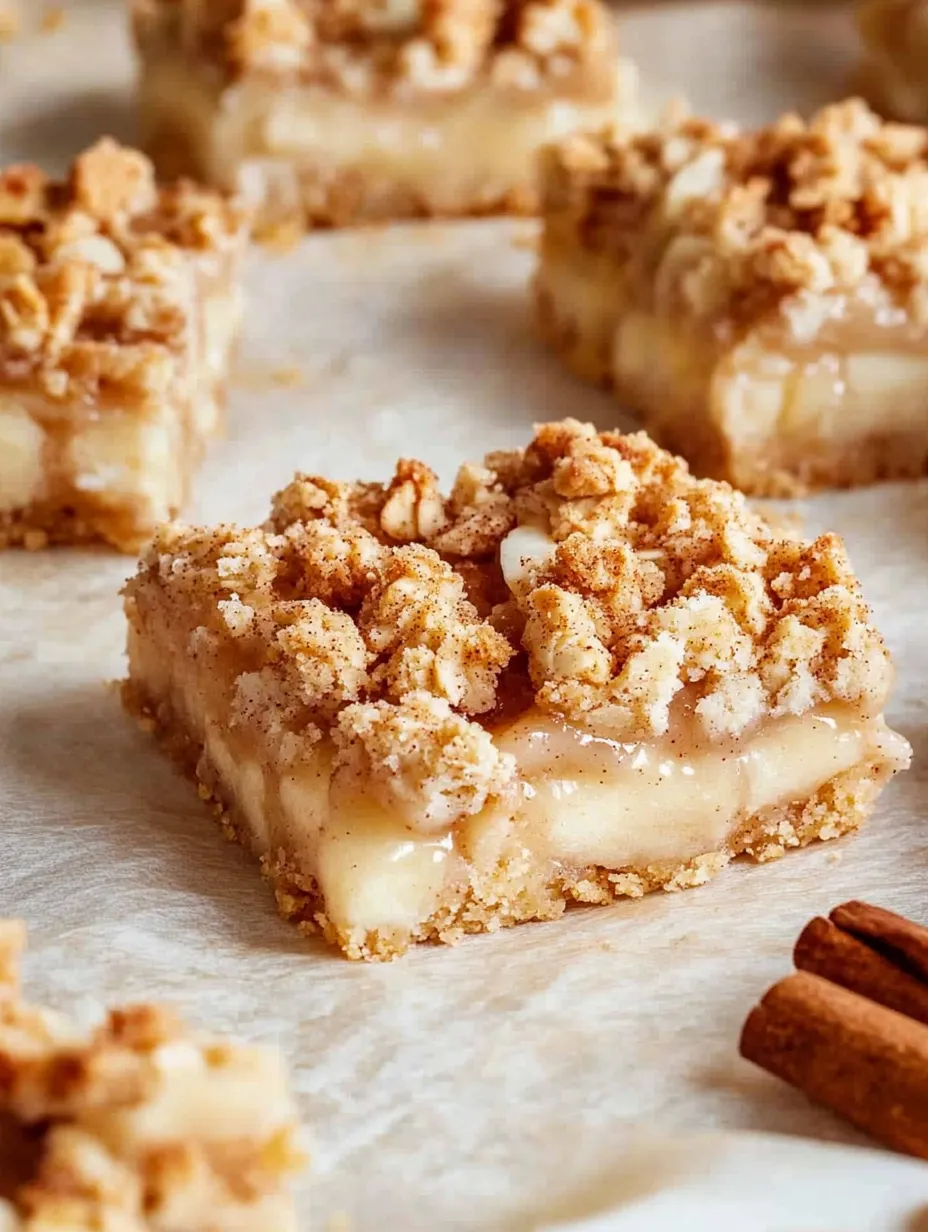
- Toss peeled and diced apples with brown sugar, cornstarch and cinnamon until pieces are evenly coated. Distribute apple mixture evenly over cream cheese layer, gently pressing into cream cheese slightly. Crumble reserved oat mixture between fingers, creating varied texture pieces before sprinkling over apple layer, allowing some fruit to remain visible for visual appeal.
Achieve Perfect Finish
- Bake assembled bars until topping appears golden and set. Cool completely at room temperature before refrigerating to allow layers to set properly. Cut with sharp knife wiped clean between cuts for professional appearance. Allow bars to sit at room temperature approximately fifteen minutes before serving for ideal texture and flavor experience.
My family particularly loves these bars during apple picking season when fresh orchard apples bring extraordinary flavor to this recipe. My husband initially questioned the combination of cheesecake and apples, believing these flavors wouldn't complement each other properly. After his first bite, his skepticism immediately vanished, and he now requests these bars specifically whenever we visit apple orchards in autumn. Watching people experience these contrasting layers for the first time never fails to bring satisfaction as their expressions reveal the unexpected delight of this combination.
Versatile Serving Options
These multifaceted bars adapt beautifully to various serving occasions. For casual family dessert, serve slightly warm with vanilla ice cream melting gently over top. Pack into lunch boxes for welcome midday treat that provides sustaining energy through complex carbohydrates and protein. Arrange on platter alongside fresh apple slices and caramel dipping sauce for elegant dessert table presentation. During holiday gatherings, cut into smaller pieces as part of dessert buffet allowing guests to sample multiple offerings. Morning brunch settings welcome these bars as breakfast pastry alternative alongside fresh fruit and coffee.
 Pin it
Creative Flavor Variations
Transform these versatile bars through thoughtful variations matching seasonal availability and personal preferences. Replace apples with fresh peaches during summer months for stone fruit version. Add handful of fresh cranberries alongside apples during winter holidays for festive color and tartness. Introduce warm spice complexity by adding cardamom and ginger to cinnamon in apple mixture. Create maple pecan variation by adding chopped toasted pecans to topping and substituting pure maple syrup for portion of brown sugar. For chocolate lovers, sprinkle mini chocolate chips over apple layer before adding crumble topping.
Proper Storage Methods
Store completely cooled bars in airtight container, placing parchment paper between layers when stacking to preserve topping texture. Refrigerate for up to five days, though freshness peaks during first three days. Allow chilled bars to sit at room temperature fifteen minutes before serving for ideal texture and enhanced flavor. Freeze individually wrapped portions for longer preservation, maintaining quality up to two months when properly sealed. Thaw frozen bars overnight in refrigerator rather than room temperature for best textural results. Refresh previously frozen bars in 300°F oven for five minutes before serving to restore slight crispness to oatmeal layers.
These apple cheesecake oatmeal bars have become much more than simple dessert in my household. They mark seasonal transitions, welcome visiting friends, comfort during difficult times, and celebrate special occasions. The recipe has evolved slightly over years, reflecting my growing confidence in the kitchen and willingness to experiment. What remains constant is how these bars create moments of genuine connection around our table as conversation flows easily while everyone enjoys their perfectly layered portion. Perhaps this explains why simple desserts often carry such emotional significance—they become vehicles for memories far sweeter than any sugar they contain.
Frequently Asked Questions
- → Can I use a different type of apple for these bars?
- While Granny Smith apples are recommended for their tartness and firm texture that holds up well during baking, you can substitute with other firm baking apples like Honeycrisp, Braeburn, or Pink Lady. Avoid softer apples like McIntosh or Red Delicious as they'll break down too much during baking.
- → Why do my bars fall apart when I cut them?
- The most common reason is not chilling them long enough. These bars need to cool at room temperature for 30 minutes and then chill in the refrigerator for at least another 30 minutes before cutting. The chilling time allows the cheesecake layer to set properly and helps hold everything together.
- → Can I make these bars gluten-free?
- Yes! The recipe has been tested with gluten-free all-purpose flour and certified gluten-free oats with excellent results. Just make a direct 1:1 substitution of the regular flour with gluten-free flour, and ensure your oats are labeled gluten-free.
- → How do I know when the bars are fully baked?
- The crumble topping should be light golden brown, and the edges might look slightly more golden than the center. If you gently shake the pan, the center should be mostly set with perhaps a slight jiggle. The bars will continue to set as they cool.
- → Can I prepare these bars in advance for a party?
- Absolutely! These bars are perfect for make-ahead desserts. You can prepare them 1-2 days in advance and store them in the refrigerator. They also freeze well for up to two months, so you can make them even further in advance and thaw in the refrigerator overnight before serving.
- → Should I serve these bars cold or at room temperature?
- While these bars should be stored in the refrigerator, they taste best when allowed to sit at room temperature for about 10-15 minutes before serving. This takes the chill off and allows the flavors to shine while maintaining the structural integrity of the bars.