 Pin it
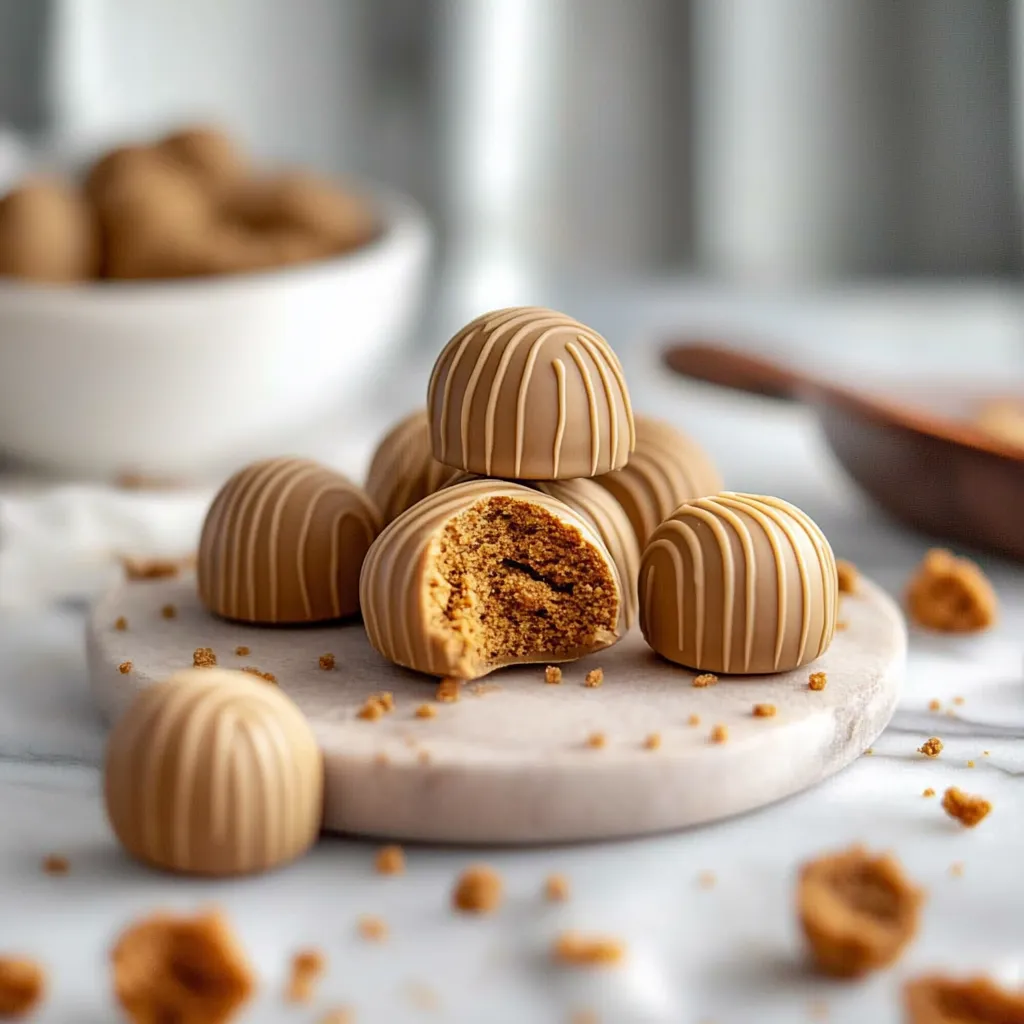
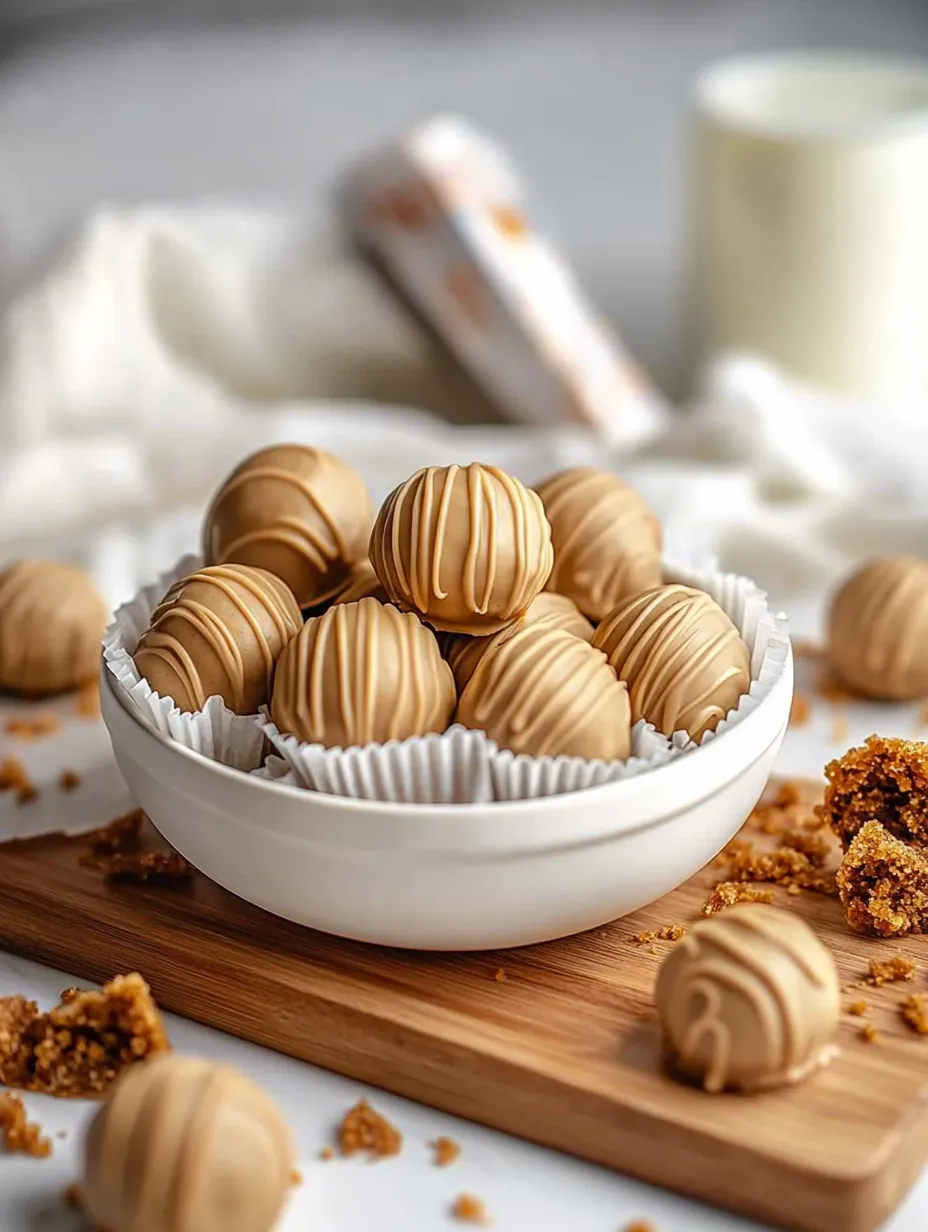
These irresistible no bake truffles capture the warm, spiced essence of beloved Biscoff cookies in a creamy, bite sized confection. The combination of cookie butter and white chocolate creates a luxurious sweetness balanced perfectly by the distinctive caramelized notes of Speculoos spice. Each truffle offers a moment of pure indulgence with its smooth interior and perfectly set exterior that gives way with just the right amount of resistance.
I made these for a holiday gathering last year and found myself hastily writing the recipe on napkins all evening. My sister in law, who typically avoids sweets, asked if she could take the remaining truffles home. The combination of the familiar Biscoff flavor in this unexpected form seems to captivate even the most disciplined sweet tooth.
Essential Ingredients
- Cookie butter: Lotus Biscoff or Trader Joe's Speculoos for authentic flavor
- Biscoff cookie crumbs: Processed to fine sand texture
- Cream cheese: Full-fat Philadelphia for optimal binding
- White chocolate: High-quality bars with cocoa butter
- Ground cinnamon: Enhances warm spice notes (optional)
Truffle Creation Process
- Cookie Preparation:
- Process cookies into fine crumbs using food processor or rolling pin
- Filling Mixture:
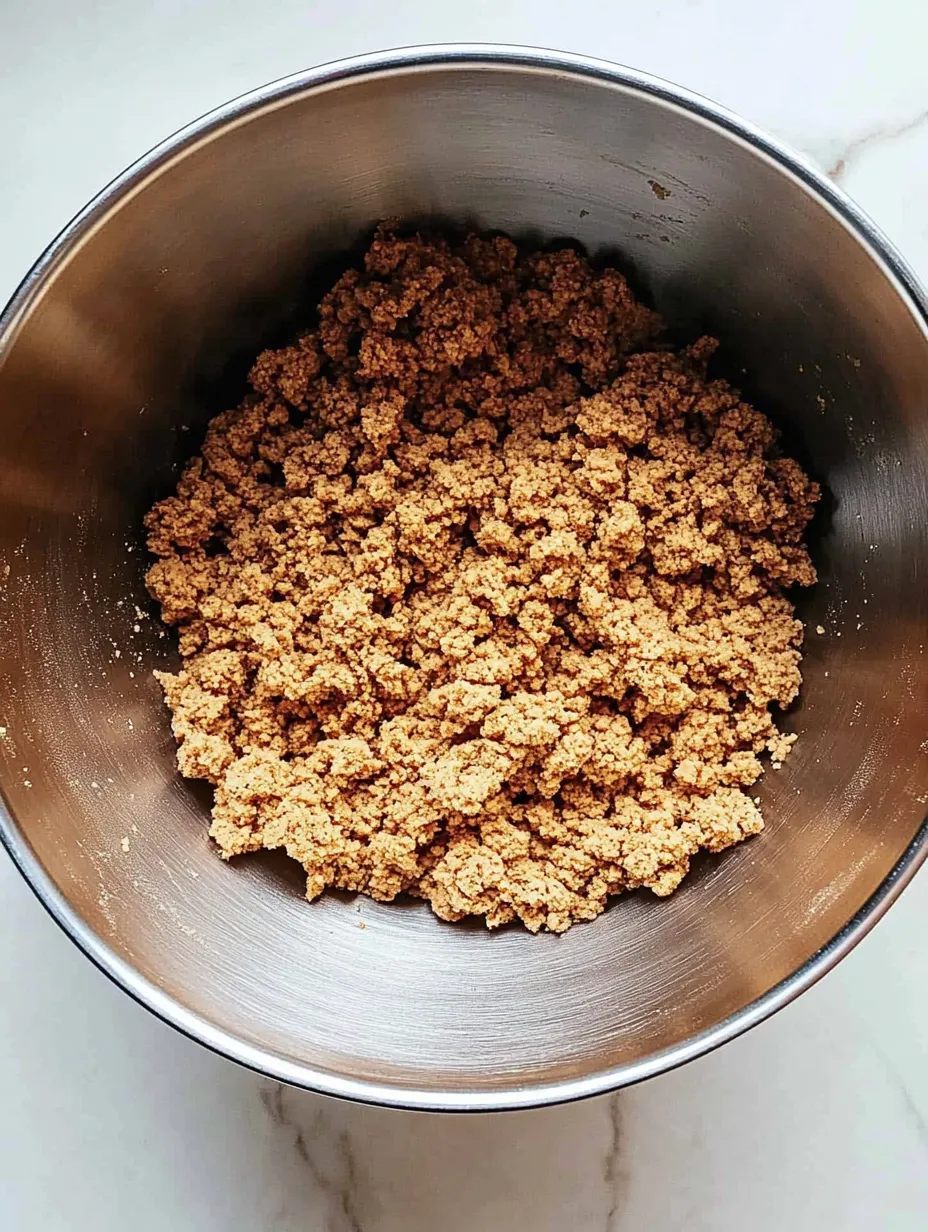
- Beat cookie butter and cream cheese until smooth, then incorporate crumbs
- Shaping:
- Form 1-inch balls with compacted mixture, freeze 15-30 minutes
- Coating:
- Melt white chocolate and cookie butter using double boiler
- Dipping:
- Coat chilled truffles and decorate with reserved crumbs
 Pin it
My grandmother introduced our family to Biscoff cookies after a European vacation. Creating these truffles feels like an homage to those memories, transforming that distinctive flavor into something new while honoring its origins.
Perfect Pairings
Serve with espresso for bitter contrast or chai tea to complement spices. Include on dessert boards with berries and candied nuts.
Flavor Variations
- Chocolate Twist: Use milk/dark chocolate coating
- Coffee Boost: Add espresso powder to filling
- Visual Drama: Drizzle contrasting chocolate
Storage Solutions
Refrigerate in airtight container up to 2 weeks. Freeze up to 2 months. Thaw 15-20 minutes before serving.
 Pin it
These truffles transform nostalgic flavors into novel forms. Their simplicity creates memorable impressions—perfect for gifting or dinner parties. A testament to how minimal effort can yield maximum delight through quality ingredients.
Frequently Asked Questions
- → What exactly is cookie butter/Biscoff spread?
- Cookie butter, often known by the popular brand name Biscoff spread, is a creamy spread made primarily from speculoos cookies—traditional spiced shortcrust biscuits from Belgium and the Netherlands. These cookies are ground into a fine powder and combined with oils and sugar to create a peanut butter-like consistency with a distinctive cinnamon-caramel flavor profile. The spread gained international popularity after Lotus Bakeries (makers of Biscoff cookies) commercialized it in the early 2000s. It has a rich, warm spice flavor with notes of cinnamon, nutmeg, ginger, allspice, and cloves. Cookie butter can be found in most grocery stores, either near peanut butter or in international food sections, and comes in smooth or crunchy varieties (though smooth works best for these truffles).
- → Can I make these truffles without a stand mixer?
- Absolutely! While a stand mixer makes the process convenient, you have several alternatives. A hand mixer works perfectly for creaming together the cream cheese and cookie butter. For a completely manual approach, ensure your cream cheese is very soft (leave it out for at least an hour), then use a wooden spoon and some elbow grease to beat the mixture until smooth. Alternatively, as mentioned in the tips, a food processor is excellent for achieving an ultra-smooth texture—simply pulse the cookie crumbs first, then add the softened cream cheese and cookie butter and process until combined. If you don't have any electric appliances, you can place the mixture in a sealed zip-top bag and knead it thoroughly with your hands until completely blended, though this method requires more time and effort to achieve a smooth consistency.
- → Why do my truffles need to be frozen before coating?
- Freezing the formed truffle balls for 15-30 minutes before coating is a crucial step for several reasons. First, the filling is quite soft at room temperature due to the cream cheese and cookie butter, making it difficult to dip without falling apart. Freezing firms the centers enough to hold their shape when immersed in warm chocolate. Second, the temperature difference between the cold truffle and the warm chocolate helps the coating set more quickly, creating a smoother finish with fewer drips and puddles. Finally, handling frozen truffles is much cleaner and easier than working with soft ones, allowing you to achieve a more professional-looking result. Don't worry about freezing affecting the texture—once the truffles come to room temperature before serving, they'll return to their perfect creamy consistency.
- → Why is my white chocolate seizing when I'm trying to melt it?
- White chocolate is particularly temperamental when melting due to its high cocoa butter content. Several factors can cause seizing: 1) Overheating—white chocolate burns easily, so always use short intervals and stir frequently when microwaving; 2) Moisture—even tiny water droplets can cause chocolate to seize, so ensure all utensils are completely dry; 3) Adding cold ingredients—mixing in cold cookie butter can shock the chocolate. To prevent issues, chop the chocolate finely for even melting, use gentle heat (30-second intervals at 50% power in the microwave is ideal), and warm the cookie butter slightly before adding. If your chocolate does seize, sometimes adding a teaspoon of vegetable oil and gently warming while stirring can rescue it. The bain-marie method (bowl over simmering water) offers more control but requires careful attention to prevent steam from introducing moisture to the chocolate.
- → How can I make these truffles look more professional?
- To achieve bakery-quality Biscoff truffles, focus on these finishing techniques: 1) For perfectly smooth coatings, make sure your truffle centers are very cold and your chocolate is the right temperature—warm enough to flow smoothly but not so hot it melts the centers; 2) Use a dipping fork or two regular forks to lift truffles with minimal contact points; 3) After dipping, gently tap your wrist (not the fork) to remove excess coating while creating a smooth surface; 4) For clean bottoms, refrigerate coated truffles then gently press the bottom edges on parchment paper; 5) Create consistent decorative drizzles by placing melted chocolate in a small plastic bag with a tiny corner snipped off; 6) Add contrasting toppings (like cookie crumbs) immediately after drizzling while still wet; 7) Allow truffles to set at room temperature rather than refrigerating for the shiniest finish; 8) For gift-giving, place each truffle in mini cupcake liners for a polished presentation.
- → Can I make these truffles ahead of time for a party or as gifts?
- These Biscoff truffles are perfect for advance preparation, making them ideal for parties and gift-giving. You can store the finished truffles in the refrigerator for up to two weeks or freeze them for up to two months. For gifting, prepare them 1-3 days ahead and keep refrigerated. When packaging, place each truffle in a mini cupcake liner within a sturdy gift box to prevent damage. If giving as gifts that won't be refrigerated, be aware that the truffles will soften at room temperature after about 2 hours, so advise recipients to refrigerate them upon receiving. For shipping, use expedited methods with ice packs, preferably during cooler months. If preparing far in advance, you can make the truffle centers and freeze them uncoated for up to three months, then thaw overnight in the refrigerator before dipping in the chocolate coating when ready to finish.
