
 Pin it
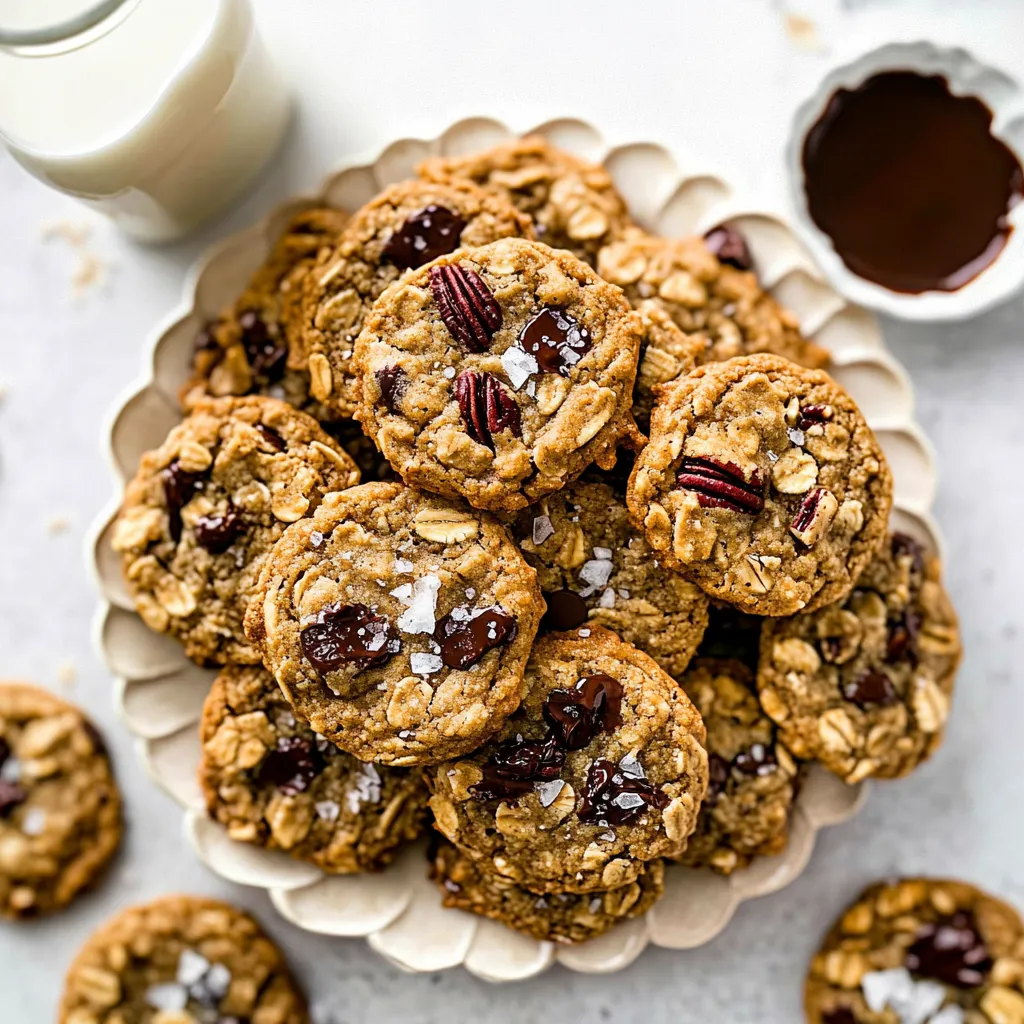
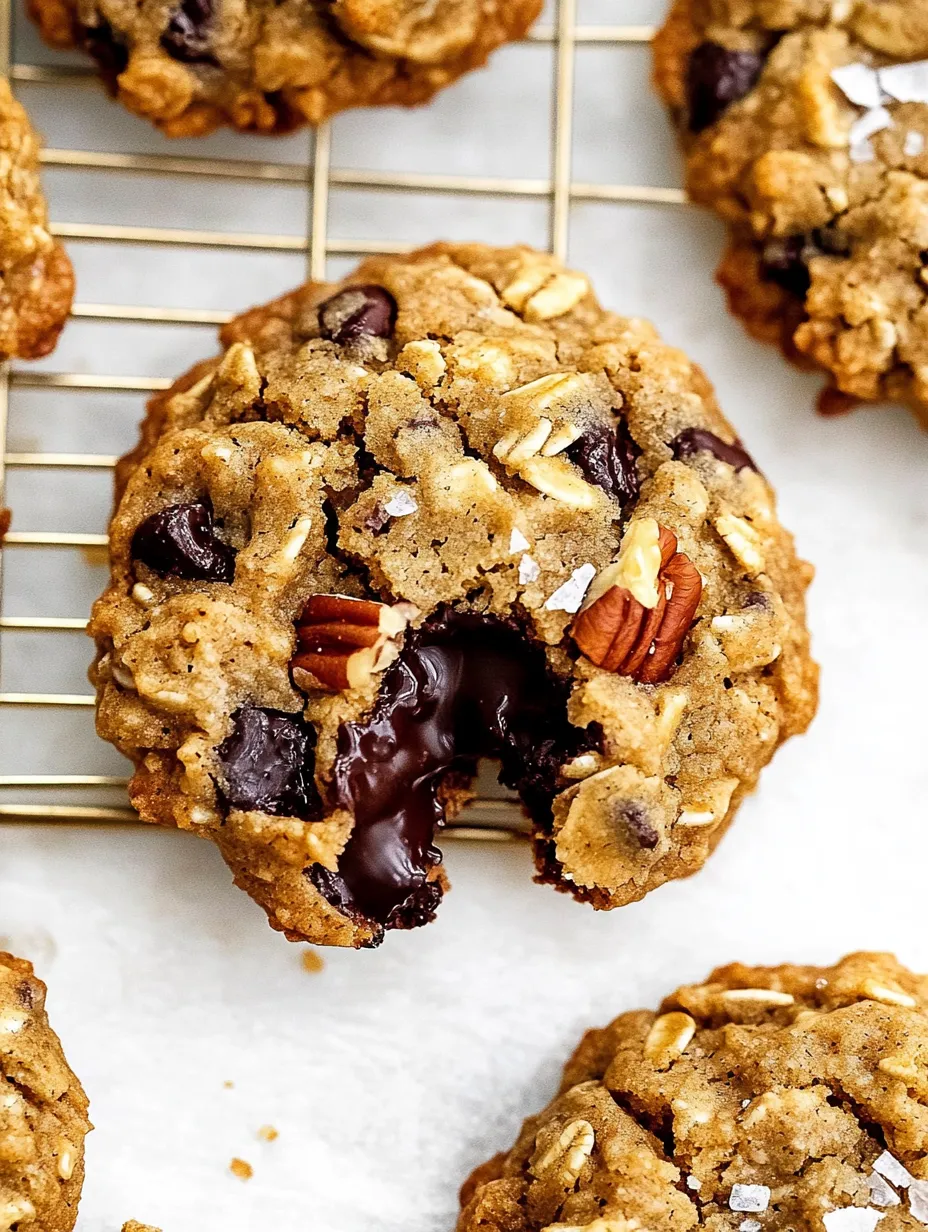
Brown Butter Oatmeal Cookies with Pecans, Dates, & Chocolate Chunks These brown butter oatmeal cookies transform the familiar into something extraordinary through thoughtful ingredient combinations and precise technique. The magical alchemy begins with butter slowly cooked until its milk solids caramelize, creating complex nutty undertones impossible to achieve any other way. Chewy old fashioned oats provide hearty texture while tender date pieces offer pockets of natural caramel sweetness throughout each bite. Toasted pecans contribute warm, earthy crunch that perfectly complements the melty pools of dark chocolate chunks. Every element plays its essential role in creating a cookie that balances nostalgic comfort with sophisticated flavor development, resulting in treats that disappear from cookie jars with remarkable speed.
I first developed these cookies after tasting a similar version at a local bakery that charged nearly four dollars per cookie. Determined to recreate that extraordinary flavor at home, I experimented with various ingredient combinations until achieving this perfect balance. My skeptical husband, who normally avoids nuts in baked goods, found himself reaching for seconds and thirds, eventually declaring them the best cookies I had ever made. Now these appear regularly for special occasions, care packages, and whenever we need an exceptional treat that pleases sophisticated palates while remaining accessible to traditional cookie lovers.
Essential Components
- Unsalted butter: Transforms through careful browning into a flavor powerhouse with nutty, caramelized notes
- Old fashioned oats: Provide substantial chew and maintain structural integrity during baking
- Medjool dates: Offer natural caramel sweetness and soft texture contrast
- Toasted pecans: Deliver buttery crunch that complements brown butter
- Dark chocolate chunks: Create irregular melty pockets for textural interest
The quality of vanilla extract makes a remarkable difference in these cookies. Using premium Madagascar bourbon vanilla noticeably enhances the flavor compared to standard varieties, creating depth that complements the brown butter perfectly.
 Pin it
Baking Process
- Brown Butter Mastery:
- Cook butter in a light-colored pan until golden brown with nutty aroma, stirring constantly to prevent burning. Transfer immediately to cool.
- Dough Foundation:
- Combine cooled butter with sugars, eggs, and vanilla. Mix dry ingredients separately before incorporating.
- Texture Development:
- Fold in oats, pecans, dates, and chocolate chunks with careful distribution for balanced bites.
- Chilling Technique:
- Portion dough balls and chill individually for optimal hydration and flavor melding.
- Baking Precision:
- Bake at 350°F until edges golden but centers soft. Sprinkle with flaky salt immediately after baking.
Through experimentation, I discovered chilling individual dough balls rather than bulk dough creates superior texture and easier handling. This method prevents excessive spreading while allowing convenient portion control.
My grandmother's wisdom about room-temperature ingredients proved crucial. Warming eggs in water before use creates better emulsion, resulting in cookies with perfect texture.
 Pin it
Serving & Storage
Serve slightly warm with cold milk or coffee. Store in airtight containers with parchment between layers. Freeze baked cookies or dough balls for up to three months.
These cookies have become legendary in my social circle, stopping conversations at gatherings as people savor their first bite. Their sophisticated yet approachable nature makes them perfect for both casual treats and special occasions.
Frequently Asked Questions
- → Why do I need to brown the butter for these cookies?
- Browning the butter is a key step that transforms these from ordinary oatmeal cookies into something special. When butter is browned, the milk solids caramelize, creating a nutty, toasted flavor with notes of caramel and hazelnut that permeate the entire cookie. This depth of flavor can't be achieved any other way. The process takes just 5-7 minutes and dramatically improves the final result. Be patient and watch carefully - the butter can go from perfectly browned to burnt quickly. You'll know it's ready when it smells nutty and has a golden-brown color with dark flecks (the browned milk solids).
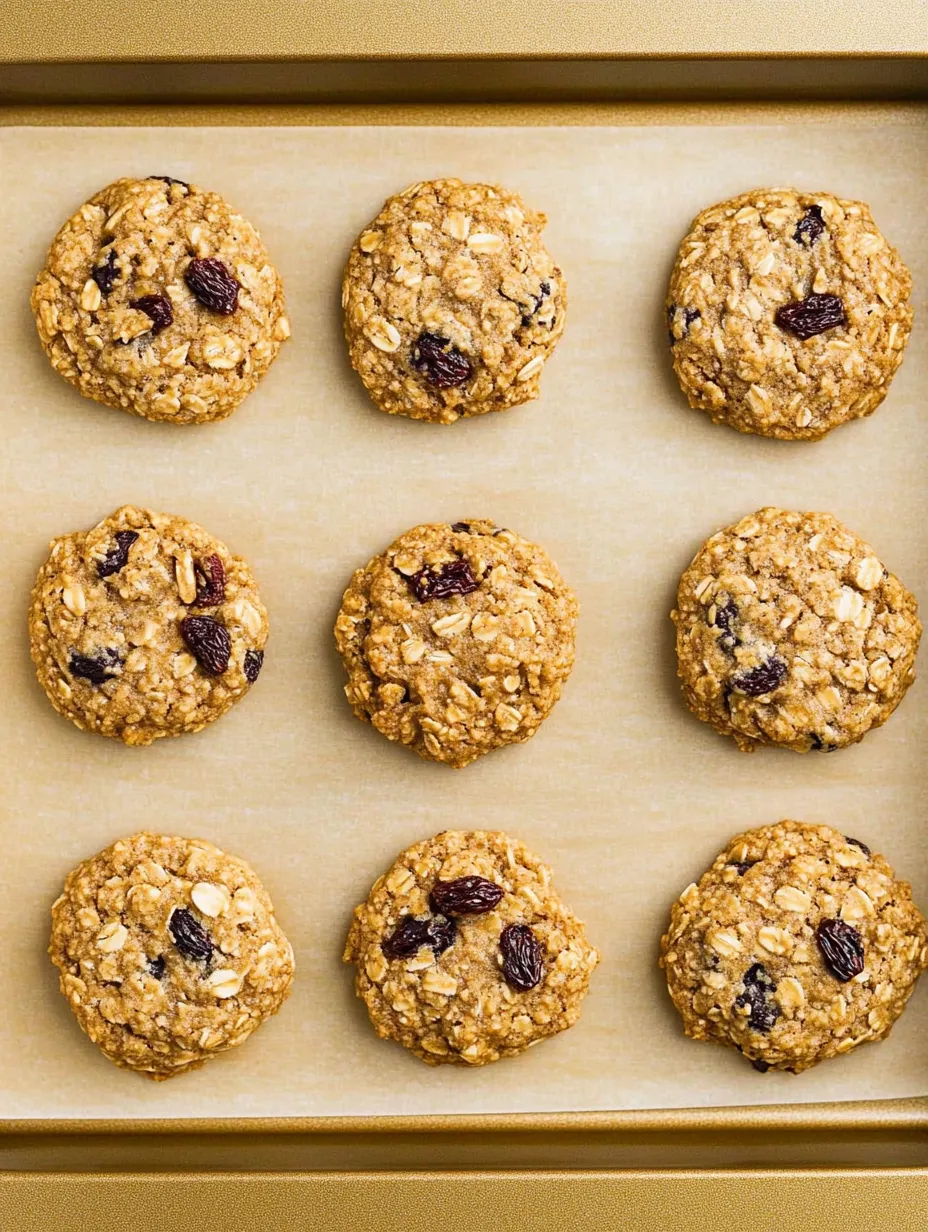
- → Can I substitute other dried fruits for the dates?
- Absolutely! While dates provide a wonderful caramel-like sweetness and chewy texture, you can substitute other dried fruits based on your preference. Good alternatives include: 1) Dried cherries for a tart-sweet flavor that pairs beautifully with chocolate, 2) Dried cranberries for a similar tart profile, 3) Dried apricots (chopped) for a bright, tangy note, 4) Raisins for a classic oatmeal cookie flavor, or 5) A mixture of different dried fruits for complexity. Whatever you choose, keep the quantity the same (3/4 cup) and chop larger dried fruits into small pieces similar in size to the chopped dates.
- → Why do I need to chill the cookie dough?
- Chilling the dough for at least 30 minutes serves several important purposes: 1) It allows the flour to fully hydrate and the flavors to meld together, 2) The butter solidifies, which prevents the cookies from spreading too much during baking, resulting in thicker, chewier cookies, 3) It gives the oats time to soften slightly and absorb moisture, improving the final texture, 4) The cooled dough is easier to handle and shape. While you can chill the dough for as little as 30 minutes, a longer chill (up to 48 hours) will develop even more flavor. If you're in a hurry, you can freeze the dough balls for 15 minutes instead of refrigerating for longer.
- → Can I make these cookies gluten-free?
- Yes, these cookies can be adapted to be gluten-free. Replace the all-purpose flour with a cup-for-cup gluten-free flour blend that contains xanthan gum. Also, be sure to use certified gluten-free oats, as regular oats may be processed in facilities that also process wheat. The rest of the recipe remains the same. Some gluten-free flour blends may absorb moisture differently, so if your dough seems too dry, add a tablespoon of milk; if it seems too wet, add a tablespoon of the gluten-free flour blend. The texture may be slightly different from the original, but they'll still be delicious.
- → Can I freeze the cookie dough or baked cookies?
- Both the cookie dough and baked cookies freeze excellently. To freeze the dough: Form into balls, place on a baking sheet and freeze until solid (about 1 hour), then transfer to a freezer bag or container. Frozen dough can be baked directly from frozen - just add 2-3 minutes to the baking time. To freeze baked cookies: Cool completely, then place in a single layer in a freezer container with parchment between layers. Thaw at room temperature for about 30 minutes before serving, or microwave individual cookies for 10-15 seconds. Both frozen dough and baked cookies will keep well for up to 3 months.
- → Why are my cookies spreading too much or too little?
- If your cookies are spreading too much: 1) The dough may not have been chilled long enough, 2) Your butter may have been too warm when making the dough, 3) The oven temperature may be too low (use an oven thermometer to check), 4) You may have used too little flour - be sure to measure correctly. If your cookies aren't spreading enough: 1) The dough may be too cold - let it sit at room temperature for 10 minutes before baking, 2) You may have used too much flour - spoon flour into measuring cups rather than scooping directly from the container, 3) The oven temperature may be too high, 4) You may have over-mixed the dough, developing too much gluten. Remember that these cookies are designed to be somewhat thick and chewy, not thin and crispy.