 Pin it
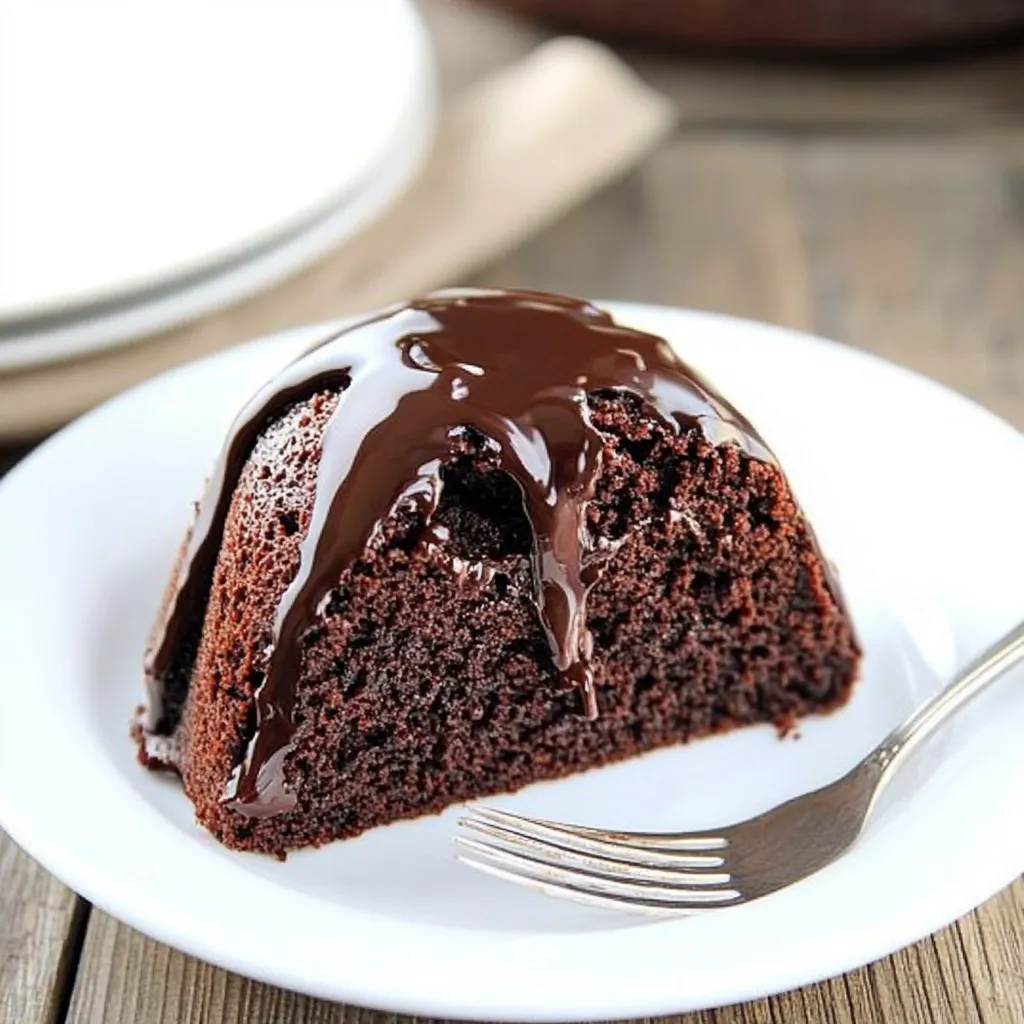
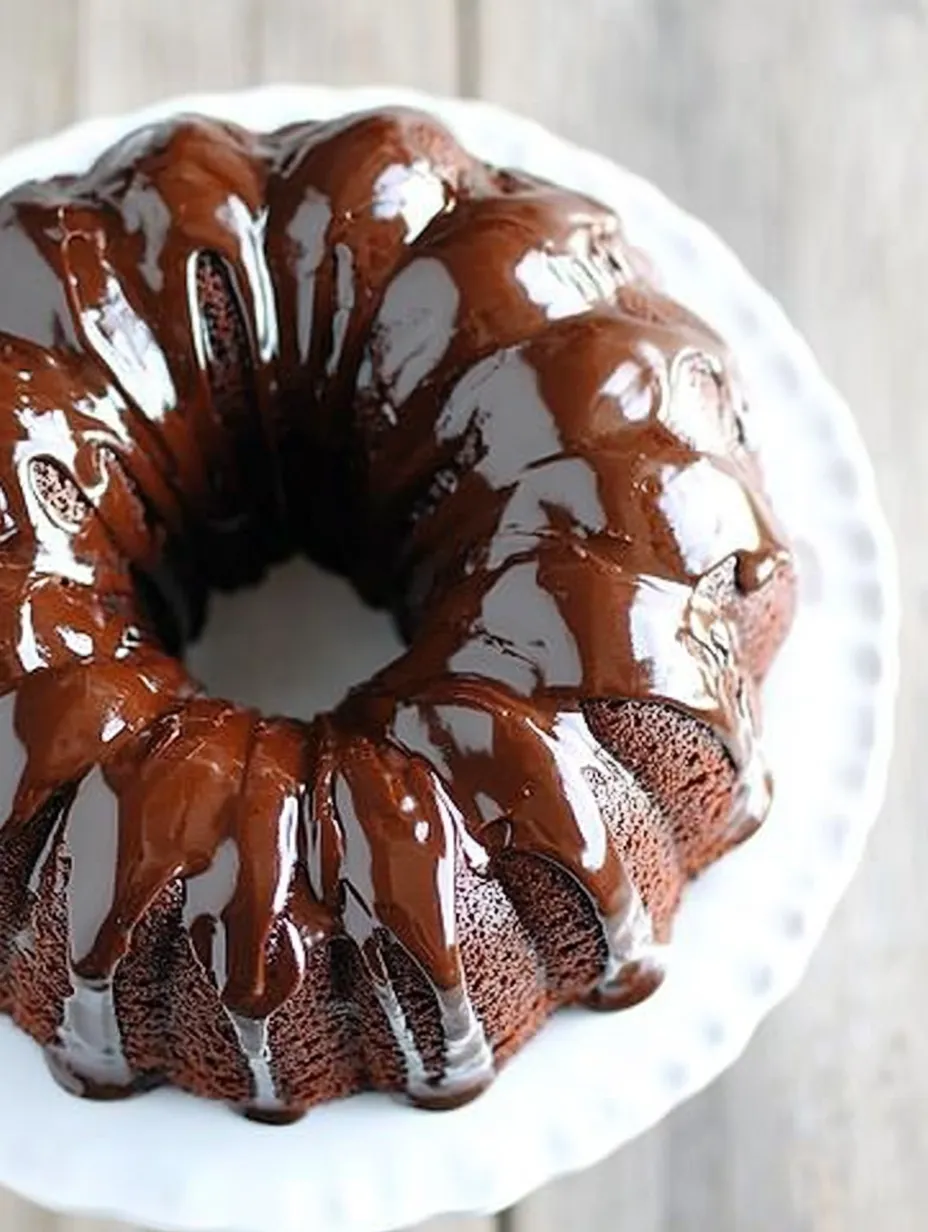
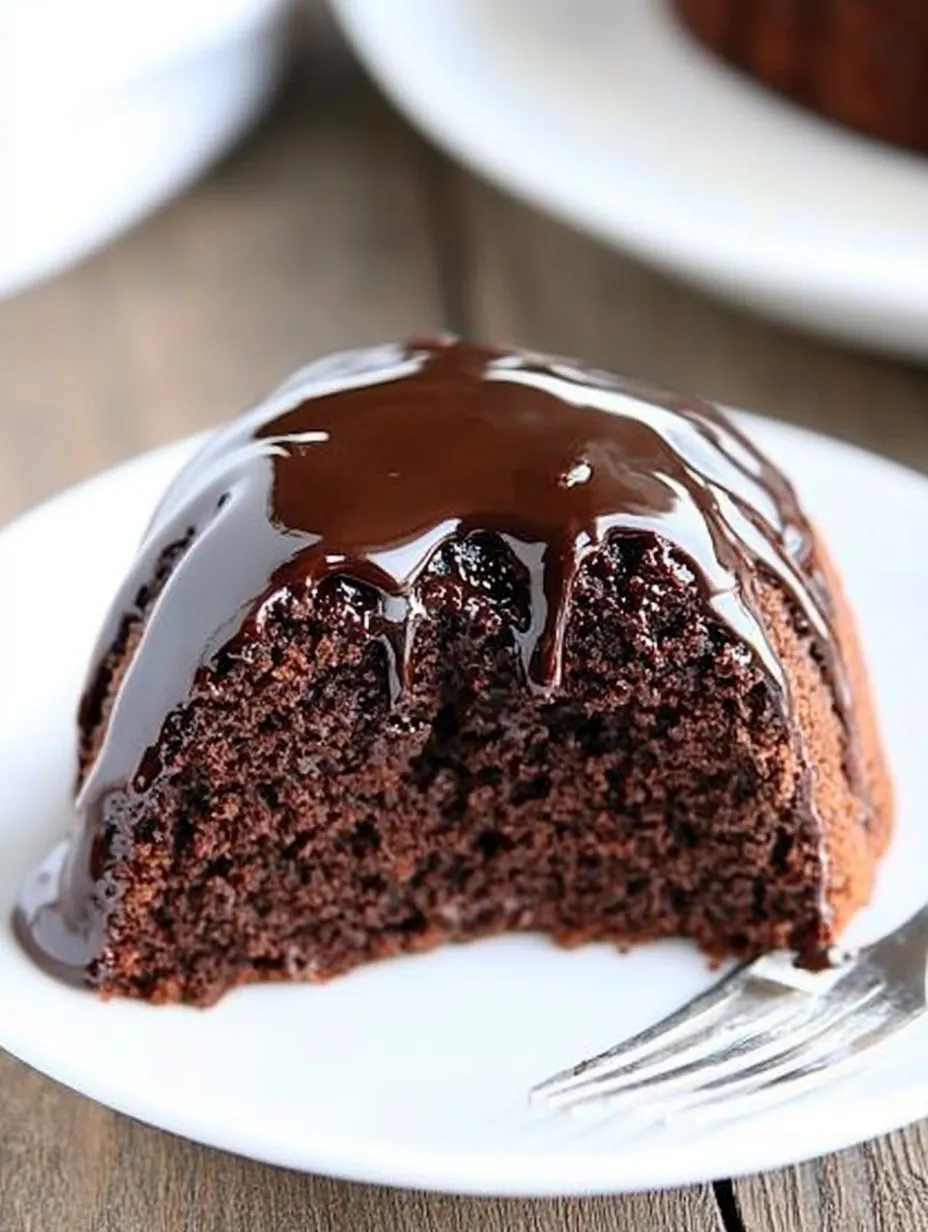
Chocolate sour cream bundt cake delivers pure chocolate indulgence with minimal effort, creating the perfect balance of rich flavor and velvety texture. This impressive dessert features a moist, tender crumb infused with deep chocolate notes, all crowned with a glossy chocolate glaze that cascades beautifully down the cake's distinctive curves. What makes this cake truly special is its remarkable simplicity—mixing by hand without fancy equipment—while yielding results that taste like they came from a high-end bakery.
I discovered this recipe during a particularly hectic holiday season when I needed a dessert that would impress without consuming my entire day. The first time I served it, my sister-in-law—who typically politely declines dessert—asked for seconds and then quietly requested the recipe. What won me over completely was how beautifully it kept, actually tasting better on day two, making it perfect for advance preparation. Now it's my go-to for everything from birthday celebrations to potlucks, or simply when serious chocolate cravings strike.
Essential Ingredients
- Dutch Process Cocoa: Creates deeper color and more complex flavor than natural cocoa
- Full-Fat Sour Cream: Provides both tenderness and subtle tanginess that enhances chocolate
- Boiling Water: The secret to blooming cocoa powder for maximum flavor development
- Bittersweet Chocolate: Gives the glaze sophisticated flavor without overwhelming sweetness
- Corn Syrup: Creates that perfect glossy finish on the glaze that holds its shine
 Pin it
Crafting the Cake
- Pan Preparation:
- Thoroughly coat bundt pan with butter and dust with cocoa powder. Preheat oven to 350°F.
- Chocolate Base:
- Melt butter with cocoa, salt, and water. Allow mixture to cool slightly.
- Batter Development:
- Whisk dry ingredients, then combine with wet ingredients. Add eggs, sour cream, and vanilla until smooth.
- Baking Perfection:
- Bake 40-45 minutes. Cool in pan 15 minutes before inverting.
- Glorious Glaze:
- Combine chocolate, corn syrup, and heated cream. Pour over cooled cake and let set.
My mother, who claims to have retired from baking, watched me make this cake. After tasting it, she immediately copied the recipe into her notebook—the highest compliment in our family. Sometimes simple methods yield extraordinary results.
Serving Suggestions
Serve with milk, ice cream, or raspberries. For holidays, add edible gold dust or bourbon-infused glaze. Perfect for casual or formal occasions.
Creative Adaptations
- Add mini chocolate chips or cinnamon/cayenne for Mexican twist
- Substitute coffee for water in batter
- Mix peppermint extract into glaze for holiday version
 Pin it
Storage Strategy
Store at room temperature up to 5 days. Freeze slices up to 3 months. Avoid refrigeration to preserve moisture.
Created during a kitchen equipment shortage, this recipe proves luxury desserts need no fancy tools. Its simplicity reminds us baking’s magic lies in transforming basics into extraordinary creations.
Frequently Asked Questions
- → What is the secret to getting a Bundt cake to release perfectly from the pan?
- The key to a clean release is thorough preparation of your Bundt pan. First, always use a high-quality non-stick Bundt pan. Even with non-stick, you should generously butter every crevice of the pan, using softened butter and a pastry brush to reach all the detailed areas. After buttering, dust the entire surface with flour, tapping out any excess. For chocolate cakes, you can use cocoa powder instead of flour to avoid white residue on the cake. Another important step is allowing the cake to cool in the pan for exactly the right amount of time - 15 minutes is ideal as it gives the cake time to set but doesn't allow it to cool completely and stick to the pan. If your cake still sticks, running a thin plastic knife (to avoid scratching your pan) around the edges can help loosen it.
- → Can I make this chocolate Bundt cake ahead of time?
- This chocolate Bundt cake is excellent for making ahead of time! In fact, many bakers find that the flavor improves after a day, as it gives the chocolate notes time to deepen. You can bake the cake up to 2 days in advance and store it unglazed in an airtight container at room temperature. For the freshest presentation, add the glaze within a few hours of serving. If you need to make it even further in advance, the unfrosted cake freezes beautifully for up to 3 months. Wrap it tightly in plastic wrap and then aluminum foil before freezing. Thaw overnight at room temperature, then add the fresh glaze before serving. The glaze itself can be made up to 3 days ahead and stored in the refrigerator - just gently reheat it until pourable before using.
- → What's the difference between Dutch process and regular cocoa powder in this recipe?
- Dutch process cocoa powder has been treated with an alkalizing agent that neutralizes its natural acidity, resulting in a darker color and smoother, less bitter flavor. In this recipe, Dutch process cocoa works particularly well because it creates a deeper, richer chocolate flavor and darker color in the cake. However, the recipe includes baking soda, which reacts with acidic ingredients to create rise. If you only have natural (non-Dutch) cocoa powder available, it will work fine because the baking soda will react with its natural acidity. The cake might have a slightly different flavor profile with natural cocoa - somewhat brighter and more acidic - but it will still be delicious. The most important thing is to use a high-quality cocoa powder, regardless of which type you choose.
- → Why is my chocolate glaze not shiny or is too thick/thin?
- A perfect chocolate glaze should be shiny and pourable but thick enough to coat the cake. If your glaze is too thick, add additional warm heavy cream, one teaspoon at a time, until you reach the desired consistency. If it's too thin, you can add a bit more finely chopped chocolate and let it melt in the residual heat, or let it cool slightly to thicken. For maximum shine, make sure your cream is hot enough to fully melt the chocolate without overheating (which can make it dull), and whisk gently but thoroughly to create a smooth emulsion. The corn syrup in the recipe is crucial for creating that professional-looking shine. Also, glazing the cake when the glaze is still slightly warm (but not hot) will help it flow beautifully and set with a glossy finish. If your glaze has cooled too much, gently rewarm it over a double boiler or in the microwave in 5-second intervals.
- → Can I substitute the sour cream in this recipe?
- Yes, there are several good substitutes for sour cream in this chocolate Bundt cake. As mentioned in the recipe, plain Greek yogurt is an excellent 1:1 replacement that provides similar moisture and tanginess. Full-fat Greek yogurt works best, but low-fat versions can also work. Other alternatives include crème fraîche for an even richer result, or buttermilk (use 2/3 cup since it's thinner than sour cream). In a pinch, you could even use full-fat plain regular yogurt, though it may make the batter slightly wetter. For dairy-free options, unsweetened coconut yogurt or a non-dairy sour cream alternative would work, though the flavor profile will change slightly. Whatever substitute you choose, the key is to maintain that slight tanginess and moisture that makes the cake's texture so special.
- → What are some variations I can try with this chocolate Bundt cake?
- This chocolate Bundt cake recipe provides an excellent base for creative variations. For a mocha version, add 1-2 tablespoons of espresso powder to the cocoa mixture. For texture and flavor contrast, fold in 1/2 cup of mini chocolate chips, chopped nuts, or dried cherries before baking. A peppermint variation works beautifully during the holidays - simply add 1/2 teaspoon of peppermint extract to the batter and sprinkle crushed candy canes over the glaze. For a Mexican chocolate twist, add 1 teaspoon of cinnamon and a pinch of cayenne pepper to the dry ingredients. You can also experiment with the glaze - try a white chocolate or caramel glaze for contrast, or a peanut butter glaze for a play on classic flavor combinations. For special occasions, fill the center hole with fresh berries or edible flowers before serving for a stunning presentation.
