
 Pin it
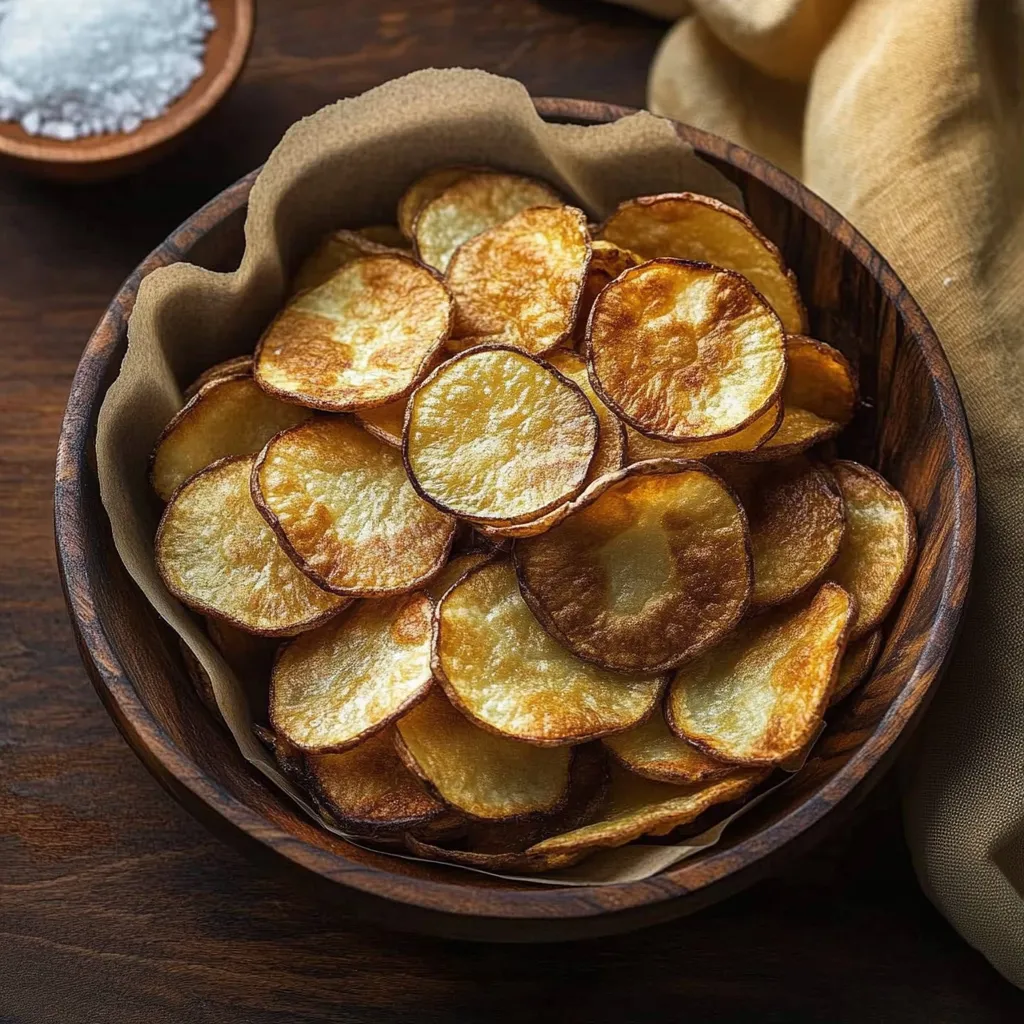
The satisfaction of creating your own potato chips at home is unmatched. Having perfected this recipe over countless family gatherings, I can guarantee these crispy, golden delights will surpass any store-bought version. These oven-baked treasures combine the perfect crunch with natural potato flavor, making them an irresistible snack that disappears minutes after coming out of the oven.
After trying countless methods, I discovered that this recipe consistently delivers the satisfying crunch my family craves. My grandchildren now specifically request these chips during our weekend gatherings.
Essential Ingredients Guide
- Russet Potatoes: Choose firm potatoes without green spots or sprouts. Their high starch content creates the perfect crispy texture
- Extra Virgin Olive Oil: Select a high-quality oil for better flavor and even browning
- Kosher Salt: The larger crystals distribute evenly and provide better flavor than table salt
- Optional Seasonings: Consider garlic powder, paprika, or dried herbs for variety
 Pin it
Kitchen Magic Steps
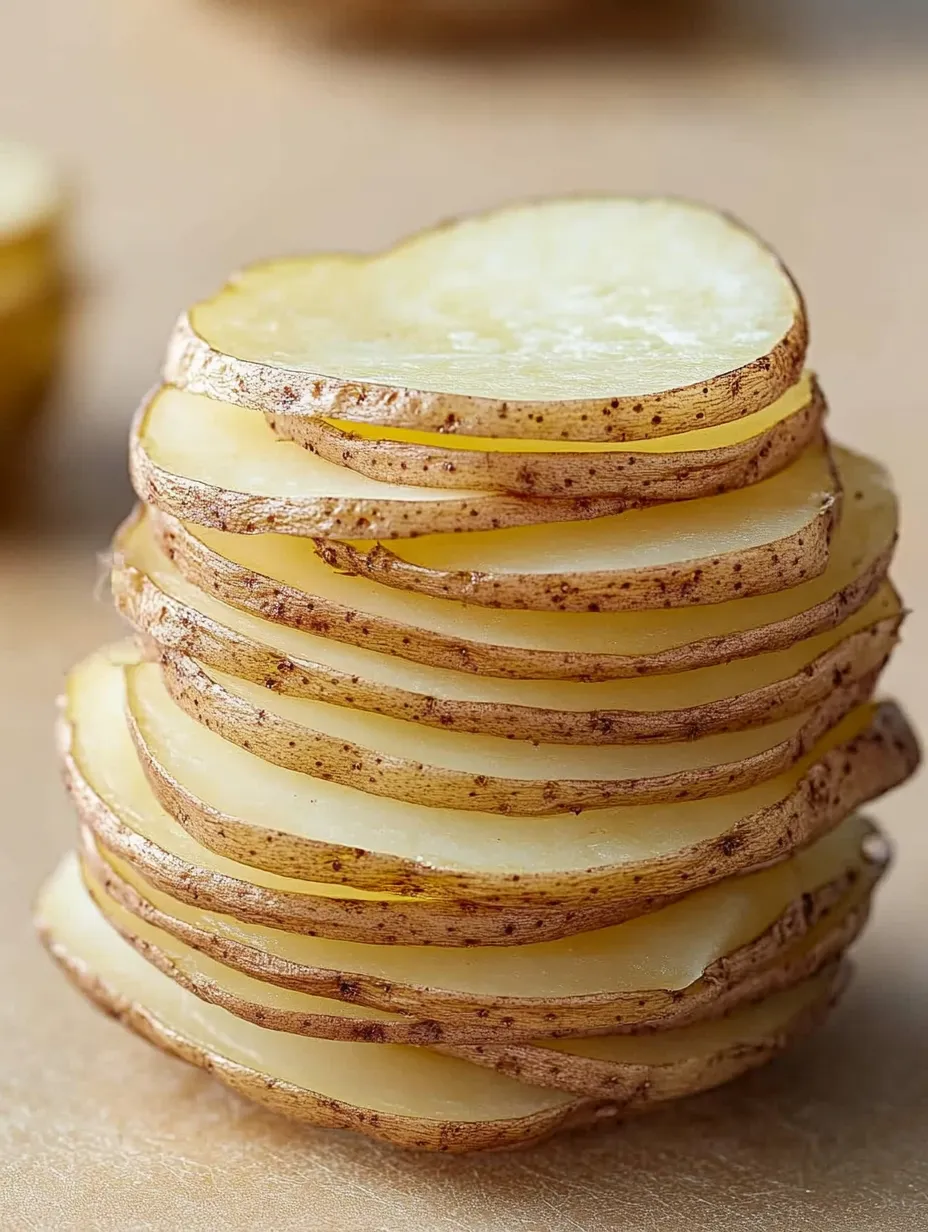
- Get Started: Thoroughly clean potatoes, keeping skin on for extra nutrition and rustic appearance. Set up your work station with mandoline and ice water bath
- Slice and Soak: Create uniform slices using mandoline, immediately placing them in ice water. This prevents browning and releases excess starch
- Preparation Magic: Pat each slice completely dry, coat with oil using gentle hands to prevent breaking
- Season With Love: Sprinkle salt evenly while arranging on baking sheets, ensuring no overlapping
- Golden Transformation: Position in preheated oven, watching carefully as they turn golden
- Final Touch: Allow proper cooling for maximum crispiness development
I've discovered that applying seasonings right after removing the chips from the oven helps them stick better. The residual heat creates a perfect binding effect with the salt and spices. My family's secret trick is to use a mixture of fine and coarse salt for a more complex flavor profile.
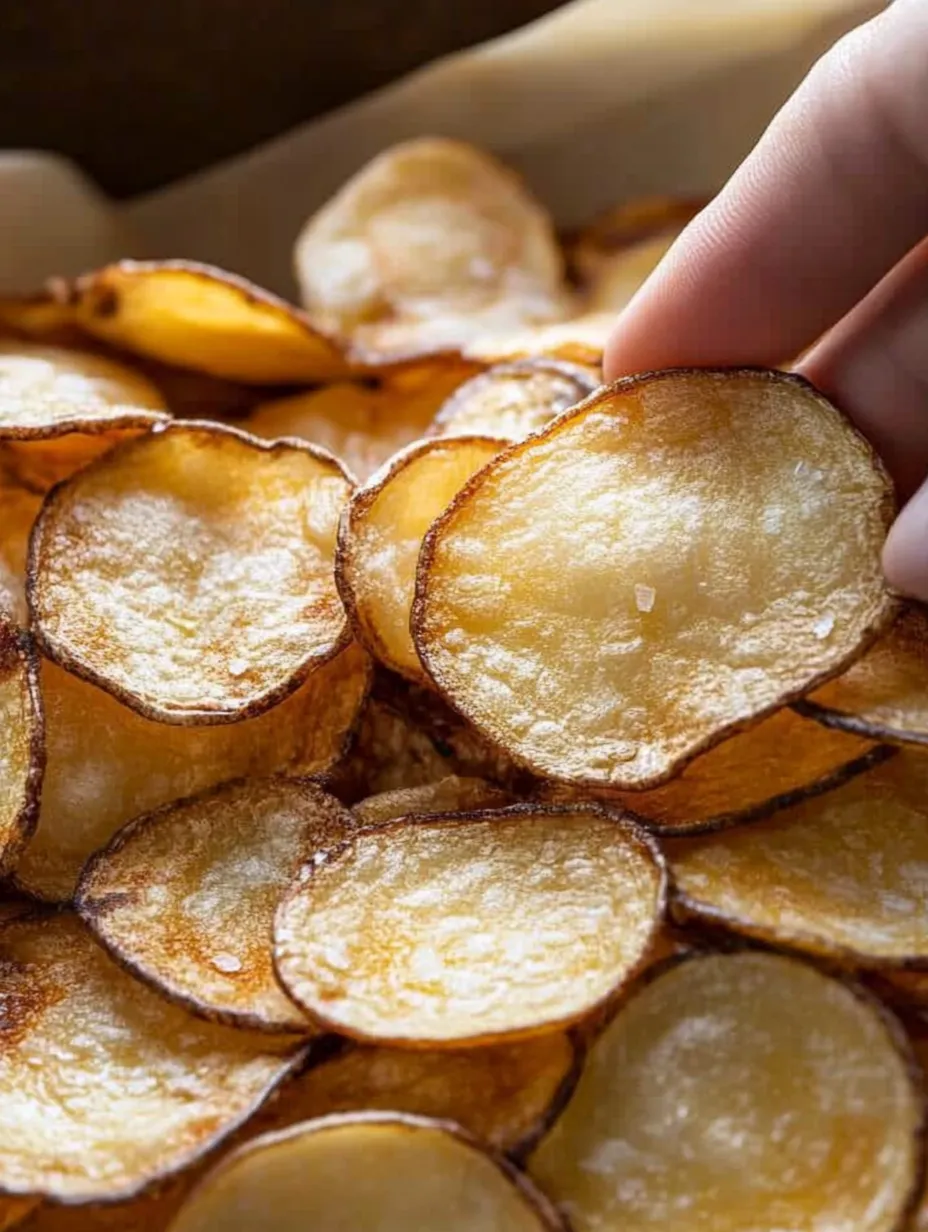
Color Guide Perfection
The visual journey of your chips tells you everything about their doneness. Watch for these color transitions during baking:
- Pale yellow indicates they need more time
- Golden brown edges signal they're almost ready
- Even golden color across the surface means perfection
One Sunday afternoon, my entire family gathered around the oven, monitoring each batch until we mastered the perfect color timing for our oven.
The Art of Layering
When preparing multiple batches, proper layering technique ensures consistent results. Place finished chips in a single layer on cooling racks initially. After they've cooled completely, you can stack them, but place parchment paper between layers to maintain crispiness. This method has saved countless batches from becoming soggy during family gatherings.
Troubleshooting Guide
Understanding common issues helps achieve consistent results:
- Soggy chips usually mean they're sliced too thick
- Burnt edges indicate too high temperature
- Uneven cooking suggests overcrowded baking sheets
Through years of making these chips, I've learned that patience and attention to detail make all the difference between good and exceptional results.
Extended Storage Solutions
- Using airtight containers with secure seals
- Adding food-grade silica gel packets to absorb moisture
- Storing at room temperature away from direct sunlight
Learn from my experience: never store them in plastic bags, as this traps moisture and compromises their crispiness.
 Pin it
Last-Minute Revival Tips
- Warm chips in a 200°F oven for 5 minutes to restore crispiness
- Never microwave them as this makes them chewy
- Let them cool on a wire rack before serving revived chips
Special Occasions Selection
For parties and gatherings, I recommend making multiple varieties:
- Classic salted for traditionalists
- Ranch seasoned for bold flavor lovers
- Herb-infused for sophisticated palates
Frequently Asked Questions
- → Why do you soak the potato slices in water?
- Soaking removes excess starch from the potatoes, which helps them become crispier when baked and prevents them from sticking together.
- → Can I use different seasonings on these chips?
- Yes! While salt is classic, you can experiment with seasonings like garlic powder, paprika, ranch seasoning, or your favorite spice blend.
- → How do I store homemade potato chips?
- Store them in an airtight container at room temperature. They're best consumed within 2-3 days for optimal crispiness.
- → Why is it important to slice the potatoes evenly?
- Even slices ensure all chips cook at the same rate, preventing some from burning while others remain undercooked.
- → Can I make these chips without a mandoline?
- While a mandoline is ideal for even slices, you can use a sharp knife, though it may take more time and practice to get consistent results.