
 Pin it
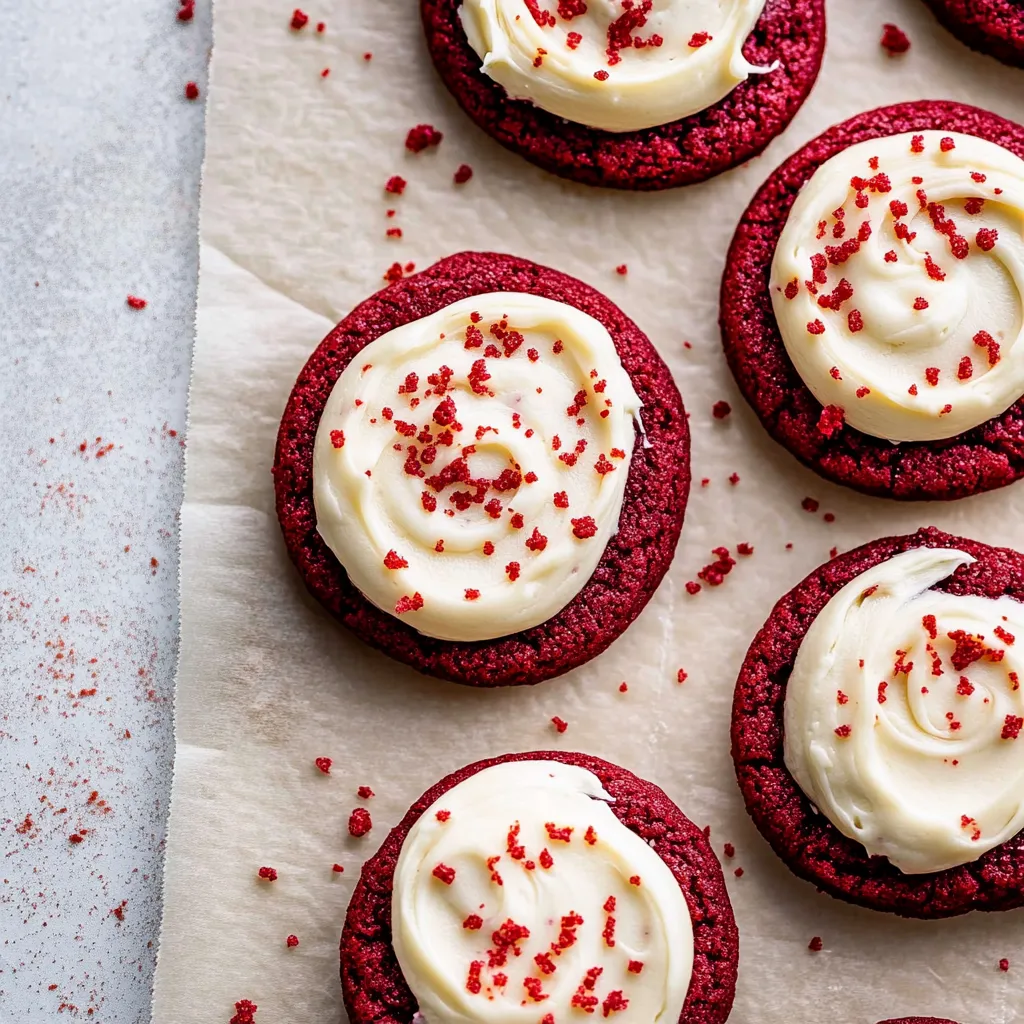
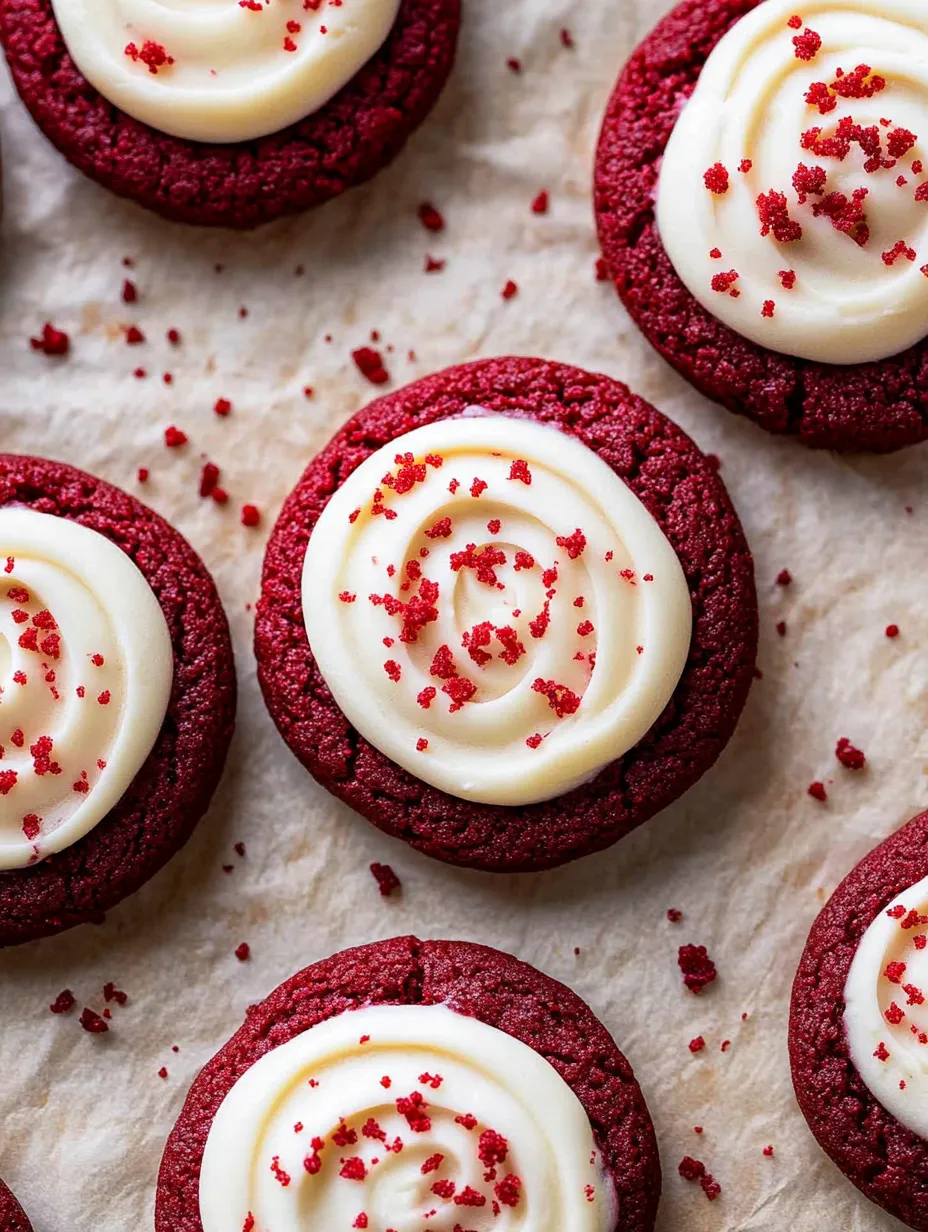
The perfect fusion of cookies and cupcakes comes alive in these red velvet cupcake cookies. Their tender, airy centers rise like miniature cupcakes while maintaining that irresistible chewy cookie texture. Each cookie gets crowned with silky cream cheese frosting, creating a delightful treat that satisfies both cookie and cake cravings.
Last weekend, I baked these for my daughter's birthday party. The look of wonder on the children's faces when they saw these vibrant red treats was priceless. Even the adults couldn't resist reaching for seconds.
Key Ingredients Selection
- Cake Flour: Creates a more delicate, tender crumb than all purpose flour.
- Natural Cocoa Powder: Provides subtle chocolate flavor and reacts with vinegar for proper color.
- Cream Cheese: Philadelphia brand works best for smooth, tangy frosting.
- Red Food Coloring: Gel coloring gives vibrant color without affecting texture.
- Milk Powder: Adds richness and helps create that perfect cakey texture.
- White Vinegar: Activates the red color and helps create tender texture.
 Pin it
Baking Magic Process
- Cookie Base Creation:
- Mix dry ingredients until well combined in large bowl.
- Butter Preparation:
- Cream butter and sugars until light and fluffy.
- Wet Ingredients Addition:
- Blend in eggs, vanilla, and food coloring until smooth.
- Combining Mixtures:
- Fold dry ingredients into wet ingredients carefully.
- Portioning Perfection:
- Use cookie scoop for uniform size and shape.
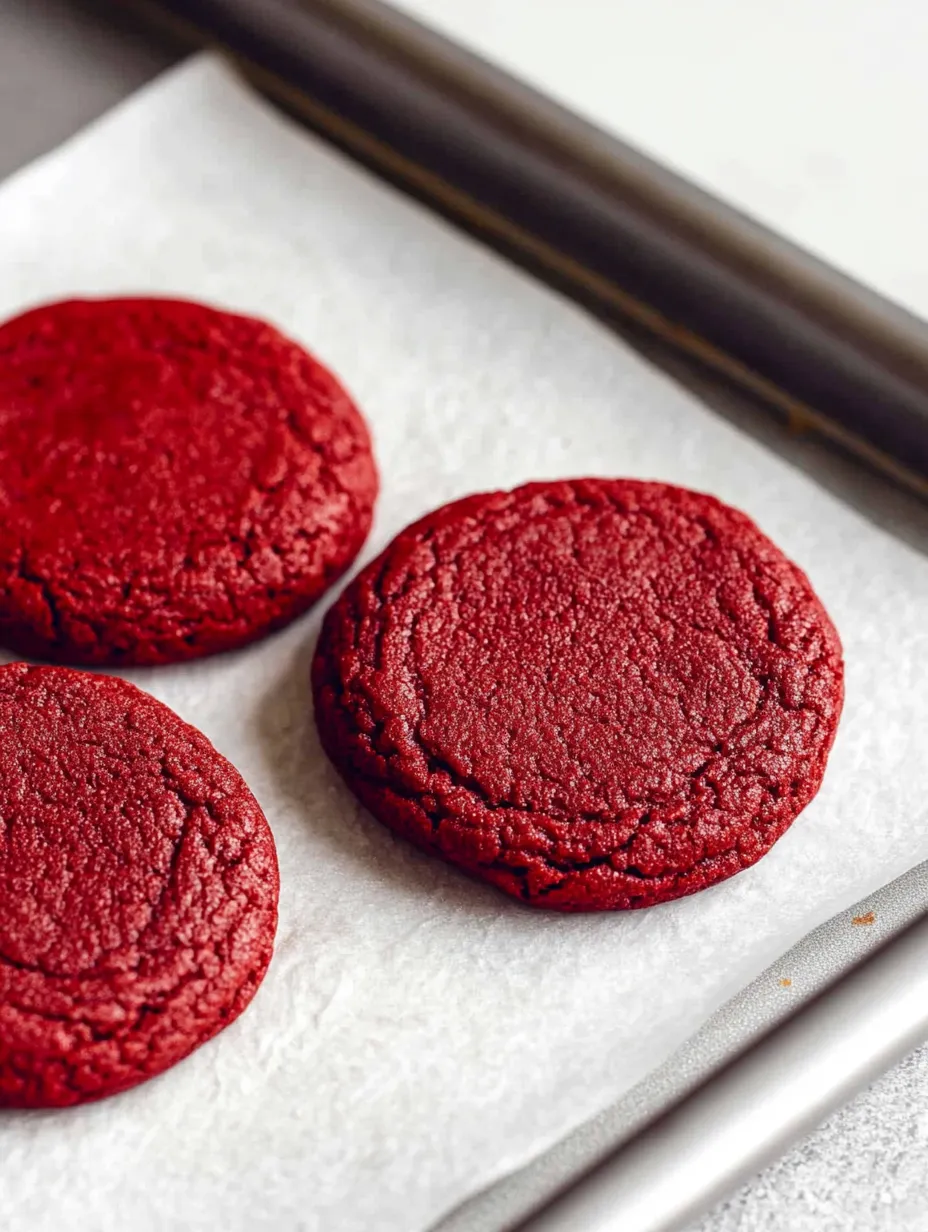
- Baking Excellence:
- Watch for slight dome formation and set edges.
- Cooling Phase:
- Allow cookies to set before moving to cooling rack.
- Frosting Creation:
- Whip cream cheese and butter until smooth.
- Final Decoration:
- Pipe beautiful swirls and add garnishes.
My family's secret is adding a tiny pinch of espresso powder to enhance the chocolate notes. It doesn't make the cookies taste like coffee, but it adds incredible depth that everyone notices but can't quite identify.
Perfect Cookie Companions
Serve these showstoppers with cold milk or hot coffee for the ultimate treat. For dessert tables, pair them with vanilla bean ice cream or create cookie sandwiches. They also make stunning holiday cookie platters alongside classic sugar cookies and chocolate chip favorites.
 Pin it
Sweet Variations
Customize these cookies to make them uniquely yours:
- Transform them into sandwich cookies.
- Add white chocolate chips to the dough.
- Create cream cheese stuffed centers.
- Top with chocolate ganache instead of frosting.
- Sprinkle with crushed candy canes for holidays.
Keeping Freshness Alive
Store unfrosted cookies in airtight containers using parchment paper between layers. For frosted cookies, refrigerate in single layers to maintain their beautiful appearance. Bring to room temperature for 15 minutes before serving for the best texture and flavor experience.
After countless batches in my kitchen, these cookies have become my signature treat. Their vibrant color and unique texture never fail to impress guests. While they might look complicated, they're actually quite straightforward to make. The key is patience and attention to detail, especially when creating those perfect frosting swirls. The joy of seeing someone bite into these cookies for the first time makes all the effort worthwhile.
Frequently Asked Questions
- → Why do these cookies need milk powder and cornstarch?
- The milk powder adds richness and tenderness, while cornstarch helps create a softer texture and allows the cookies to dome up like cupcake tops.
- → Can I make these cookies without food coloring?
- Yes, you can omit the red food coloring. The cookies will still taste delicious and have a light chocolate color from the cocoa powder.
- → How should I store these frosted cookies?
- Store them in an airtight container in the refrigerator for up to 5 days due to the cream cheese frosting.
- → Can I freeze these cookies?
- You can freeze the unfrosted cookies for up to 3 months. Add the frosting after thawing them to room temperature.
- → Why does the recipe call for vinegar?
- Vinegar reacts with the baking soda to help the cookies rise and creates the tender texture characteristic of red velvet baked goods.