 Pin it
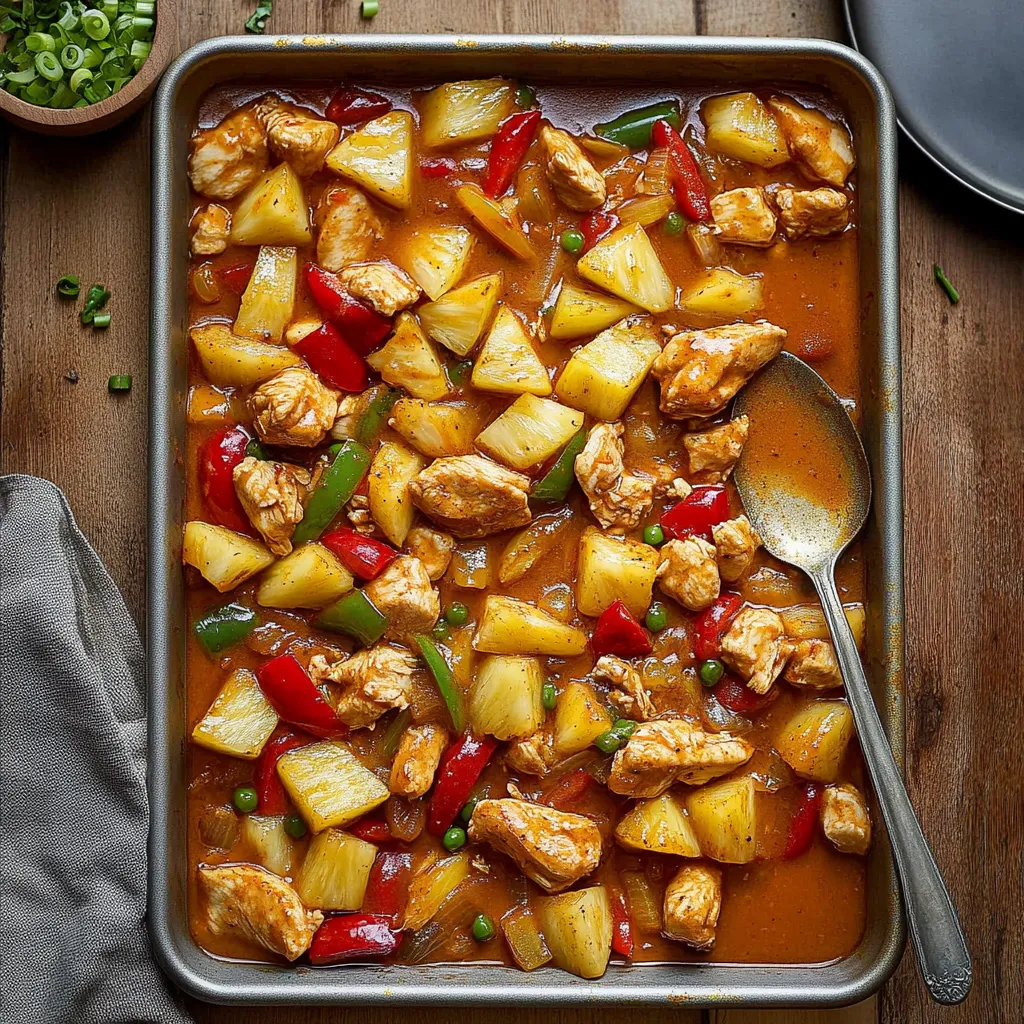
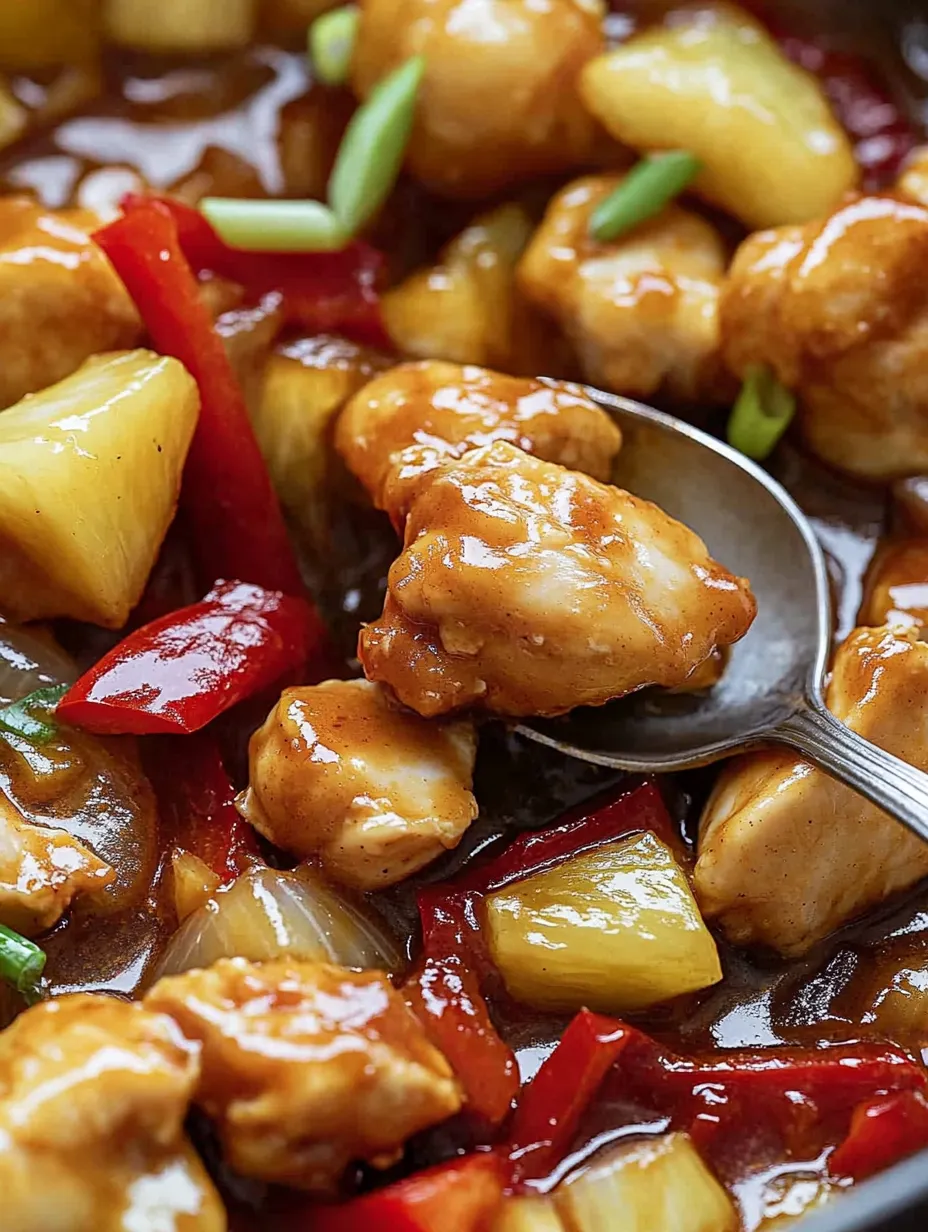
This vibrant sheet pan sweet and sour chicken transforms a beloved takeout classic into an effortless weeknight dinner. The beauty lies in its simplicity, combining tender chicken morsels with colorful bell peppers and juicy pineapple chunks, all roasted to perfection on a single pan. The ingredients caramelize beautifully in the oven, creating depth of flavor you simply cannot achieve from a delivery container. As everything roasts, the kitchen fills with an irresistible aroma that makes waiting the hardest part of the recipe.
I first created this recipe during a particularly hectic week when I needed something quick but didn't want to compromise on flavor. My teenagers, typically skeptical of homemade versions of their favorite takeout dishes, actually requested seconds. The combination of caramelized edges on the chicken and pineapple won them over completely, and this dish has been in our regular rotation ever since.
Essential Ingredients
- Boneless skinless chicken breasts: Cut into 1-inch cubes for even cooking
- Canned pineapple chunks: Drained thoroughly for proper caramelization
- Yellow onion: Adds aromatic depth when roasted
- Red/green bell peppers: Provide color contrast and balanced flavor
- Vegetable oil: Promotes browning and prevents sticking
- Sweet and sour sauce: Quality store-bought or homemade
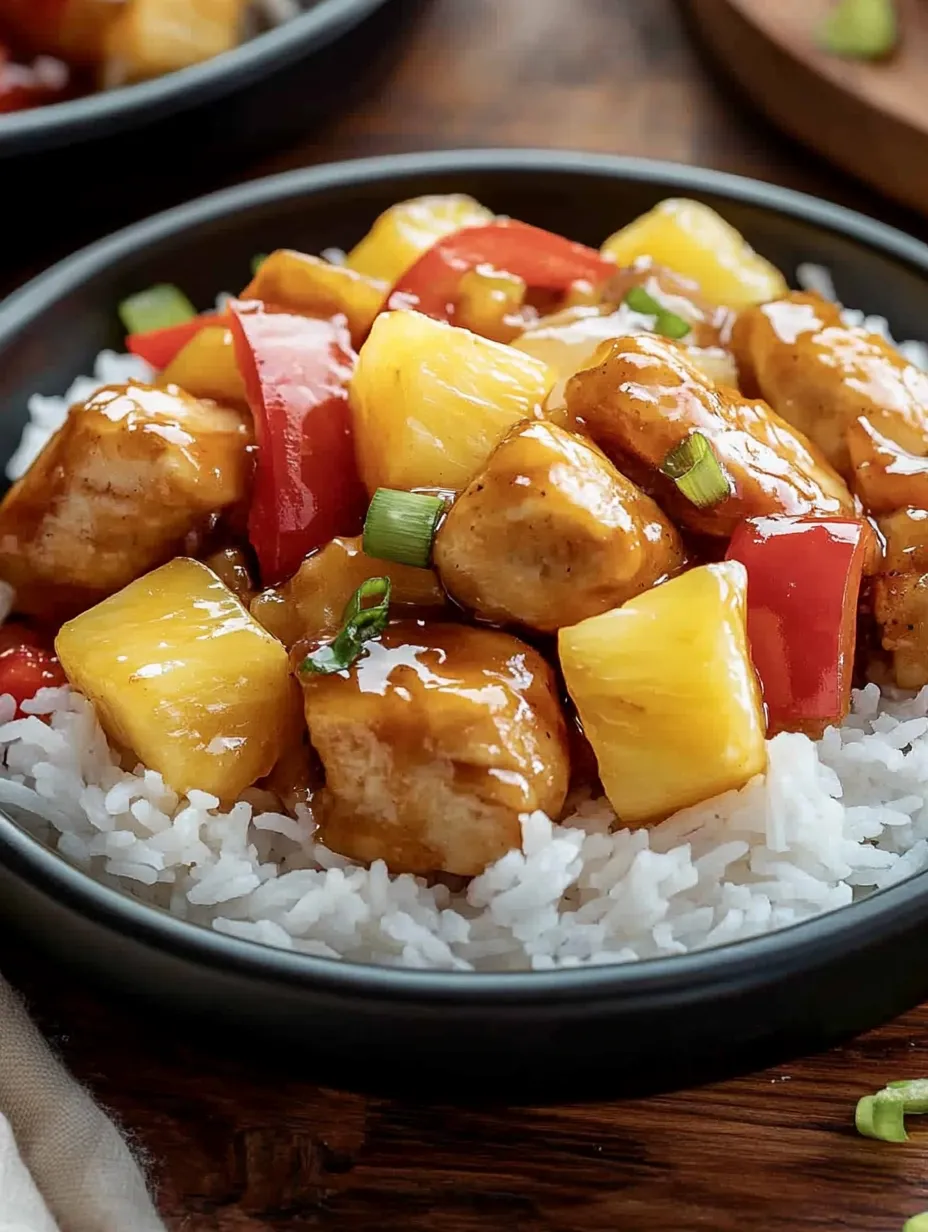
- Jasmine rice: Ideal base for soaking up sauce
 Pin it
Cooking Instructions
- Oven Preparation:
- Preheat to 400°F. Line baking sheet with parchment paper
- Ingredient Assembly:
- Toss chicken, pineapple, vegetables with oil and seasonings
- Initial Roasting:
- Spread in single layer, bake 20 minutes
- Sauce Addition:
- Coat ingredients with sweet and sour sauce, toss gently
- Final Cooking:
- Bake 15-20 minutes until chicken reaches 165°F
My family's Friday takeout tradition always included sweet and sour chicken. When I first made this homemade version, my husband preferred it over restaurant orders—especially the caramelized pineapple. Now it's our new tradition.
Serving Suggestions
Pair with steamed broccoli or cucumber salad. Add vegetable spring rolls for a complete meal. Serve family-style over jasmine rice for vibrant presentation.
Creative Variations
- Spicy Version: Add sriracha to sauce
- Keto-Friendly: Use cauliflower rice and reduce pineapple
- Seafood Swap: Substitute shrimp (reduce cook time)
- Vegetarian Option: Use tofu or portobello mushrooms
 Pin it
Storage Solutions
Refrigerate leftovers up to 3 days. Reheat with splash of water. Repurpose into fried rice or salads for new meals.
This dish balances convenience and satisfaction perfectly. While it cooks itself, the caramelized edges and vibrant colors make it special enough for guests—proof that simple methods can yield spectacular results.
Frequently Asked Questions
- → Can I use chicken thighs instead of chicken breast for this recipe?
- Absolutely! Boneless, skinless chicken thighs work wonderfully in this sheet pan recipe and many people prefer them for their juicier, more flavorful nature. If using thighs, you can keep the cooking time roughly the same, but they're actually more forgiving if slightly overcooked than chicken breasts. The fat content in thighs helps keep them moist and tender throughout the baking process. When cutting chicken thighs, try to make the pieces slightly larger and more uniform (about 1.5 inches) as they will shrink a bit more during cooking. For the best results with either cut, make sure not to overcrowd the pan, which ensures even cooking and allows the edges to caramelize properly.
- → What's the best sweet and sour sauce to use for this recipe?
- While store-bought sweet and sour sauce works perfectly for convenience (brands like Kikkoman, Lee Kum Kee, or even your local grocery store brand), making your own is surprisingly simple and gives you control over the flavor balance. A basic homemade version includes: 1/3 cup rice vinegar, 1/3 cup brown sugar, 1/4 cup ketchup, 2 tablespoons soy sauce, and 1 tablespoon cornstarch mixed with 2 tablespoons water. Simply simmer these ingredients together until thickened. Adjust sweetness or tanginess to your preference by varying the sugar or vinegar ratios. For a shortcut semi-homemade option, doctor up store-bought sauce with a splash of fresh pineapple juice from the can you're already using, a dash of rice vinegar for brightness, or a bit of sriracha for heat. Both options will yield delicious results!
- → How can I make this dish healthier?
- There are several ways to make this sheet pan meal even healthier without sacrificing flavor: 1) Use less sauce or make your own with reduced sugar content; 2) Add more vegetables like broccoli florets, snap peas, or zucchini to increase fiber and nutrients; 3) Serve over brown rice, quinoa, or cauliflower rice instead of white rice; 4) Reduce the oil to 1 tablespoon and use olive oil instead of vegetable oil; 5) For a lower-carb version, use fresh pineapple in smaller amounts rather than canned; 6) Add a tablespoon of chia seeds or hemp hearts at the end for an omega-3 boost. The beauty of sheet pan meals is their flexibility—you can easily adjust proportions to include more vegetables and less of the higher-calorie components while still enjoying the delicious sweet and sour flavor profile.
- → Why is my sheet pan meal soggy instead of caramelized?
- Sogginess in sheet pan meals typically stems from overcrowding the pan or excess moisture. To achieve better caramelization: 1) Use a larger sheet pan or two separate pans to give ingredients breathing room—overcrowding causes steaming instead of roasting; 2) Thoroughly drain the pineapple chunks and pat them dry with paper towels to remove excess juice; 3) Cut vegetables into similar-sized pieces for even cooking; 4) Preheat your oven completely before adding the pan; 5) Position the rack in the upper third of the oven for more direct heat; 6) If your oven has a convection/fan setting, use it to promote better air circulation; 7) Make sure to toss ingredients with enough oil for proper heat conduction. If you notice excess liquid forming during the first bake, carefully drain it off before adding the sauce. These adjustments will help achieve that desirable caramelization that adds depth of flavor to your sweet and sour chicken.
- → Can I prepare any components of this meal ahead of time?
- This sheet pan meal lends itself well to partial prep-ahead strategies that can save significant time on busy weeknights: 1) Cut all the chicken, peppers, and onions up to 2 days ahead and store them separately in airtight containers in the refrigerator; 2) Measure and mix the dry seasonings in advance and store in a small container or zip-top bag; 3) If making homemade sweet and sour sauce, prepare it up to 5 days ahead and refrigerate; 4) Cook rice in advance and refrigerate for up to 3 days, then reheat with a splash of water in the microwave; 5) For a complete meal kit, combine the chicken and vegetables in a large zip-top bag with the oil and seasonings, then freeze for up to 1 month—thaw overnight in the refrigerator before proceeding with the recipe. These preparation strategies can reduce your active cooking time to essentially just assembling and baking.
- → What are some good variations to try with this basic recipe?
- This versatile sheet pan format is perfect for creative variations while keeping the same cooking method: 1) Try a teriyaki version by swapping the sweet and sour sauce for teriyaki sauce and adding some broccoli; 2) Give it a tropical twist by adding mango chunks alongside the pineapple and incorporating a tablespoon of coconut oil; 3) Create a spicy version by adding sriracha or red pepper flakes to the sauce and including sliced jalapeños with the vegetables; 4) For a more substantial meal, add pre-cooked cubed sweet potatoes during the second half of cooking; 5) Make it more authentic by including water chestnuts and bamboo shoots in the vegetable mix; 6) Try a honey-garlic variation by using a combination of honey, soy sauce, and extra minced garlic instead of sweet and sour sauce. The core technique remains the same for all these variations—initial roasting of proteins and vegetables followed by adding sauce for the final cooking phase.
